
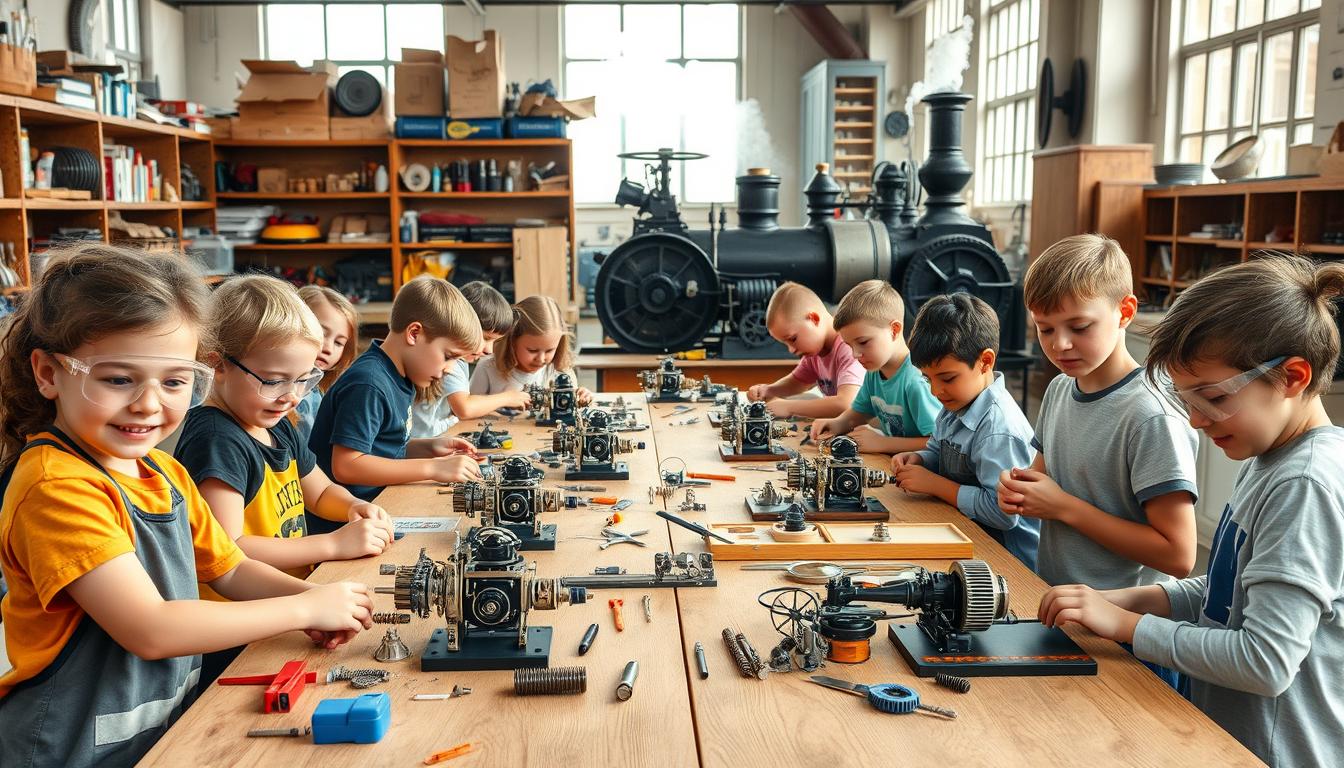
Have you ever seen a child’s eyes light up as they watch steam rise from a kettle? That moment shows the excitement of engineering. Hands-on projects are not just fun; they help kids develop important skills.
When young builders work on projects like a simple turbine, they learn more than just building. They discover balance, stability, and how to see things in space. Using simple items like a soda can, pins, and string, they create something that moves. It’s a hands-on way to understand big ideas.
Why is this important? It’s because when kids see steam power motion, they learn physics in a real way. They experience a key moment in history—the start of mechanical innovation. This is the beginning of their journey to become engineers and innovators. For tips on organizing such sessions, check out this guide on organizing a one-day workshop.
Activity 2: Steam Pressure Demonstration with Safe Classroom Equipment
Imagine a classroom where steam meets science in a spectacular way. This activity is not just about watching water boil. It’s a thrilling dive into the principles of physics that keeps students on the edge of their seats.
With the right equipment, students can explore the relationship between temperature and pressure. It feels more like a video game than a science lesson. They use sealed flasks, rubber tubing, and a pressure gauge.
In our hands-on STEM workshops, we tap into the natural curiosity of elementary school children. They are at a stage where critical thinking flourishes. This makes it the perfect time to introduce complex engineering concepts.
As the steam builds and the pressure gauge needle climbs, the excitement in the room is palpable. Students eagerly await the moment when they can ask, “What happens if we just let it keep going?”
This question is the gateway to understanding Boyle’s Law and the importance of safety valves. It’s a lesson in respect for the invisible forces that powered the steam engines of yesteryear. By framing the demonstration as a thrilling challenge, we engage students in real engineering education.
To make the most of this activity, here’s a simple table outlining the necessary equipment and safety precautions:
| Equipment | Purpose | Safety Precautions |
|---|---|---|
| Sealed Flask | Holds water for heating | Ensure it is not overfilled |
| Rubber Tubing | Connects flask to pressure gauge | Check for leaks before use |
| Pressure Gauge | Measures steam pressure | Keep away from hot surfaces |
| Heat Source | Boils water in the flask | Monitor temperature closely |
In conclusion, the steam pressure demonstration is more than just a fun experiment. It’s a gateway to understanding fundamental scientific principles. For those interested in expanding their classroom activities, check out this resource on building a classroom mini steam. Let’s ignite the spark of curiosity and watch as students transform into the engineers of tomorrow!
Activity 3: Heat Transfer Experiment: Coal, Wood, and Alternative Fuels
Let’s explore the world of heat transfer with coal, wood, and modern fuels. This experiment is more than just numbers. It changes how students see energy and its effects on our planet. By tracking water temperature, students learn through hands-on experience.
Coal might not be the most appealing topic. But, it’s important to discuss it when talking about steam engines. We’ll compare coal, wood, charcoal, and biofuels. This lets students think deeply about the differences.
Students will see how different fuels change water temperature. They’ll learn about thermal efficiency and the environmental effects. Wood burns cleaner but needs more space. Coal is dense but dirty. Biofuels are promising but often don’t work as well.
This experiment turns climate debates into real discussions. Students learn about “thermal conductivity” and more. It makes learning fun and meaningful.
Adding this experiment to your class is great for educational steam projects. It helps students think deeply about our energy sources. Are we ready to learn the truth? Let’s start experimenting!
Activity 4: Mechanical Advantage: Lever Systems in Steam Engine Design
Levers are the hidden stars of engineering that power steam engines. Archimedes once said he could move the world with a long lever and a good spot to stand. But how do we teach this idea to eighth graders buzzing with energy from lunch? The key is through interactive engineering lessons that make mechanical advantage real.
This activity breaks down the key lever systems in steam engines. Students use rulers, fulcrums, and weights to learn about the beam, connecting rod, and crank. They figure out the best mechanical advantage and then see how friction affects it. It’s a fun lesson in learning that nothing comes for free.
As students work on these ideas, they see James Watt’s genius. He didn’t just invent the steam engine; he made it better with smart mechanical links. Each beam engine is a complex lever problem, cleverly presented. By the end, students will see the driving wheels of a locomotive as a puzzle to solve.
For more hands-on projects that spark curiosity, check out simple machine projects. These projects challenge young minds to think and create. Whether they see it as learning or the end of wonder, one thing is clear: levers open up a world of possibilities.
Activity 5: Measuring Workshop: Precision Tools and Engineering Measurements
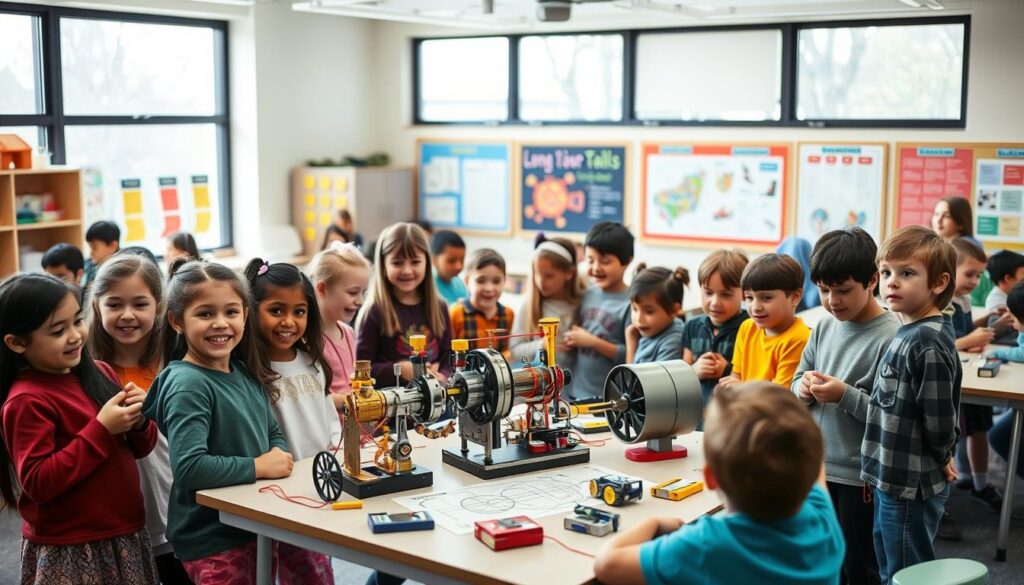
Welcome to the measuring workshop, where precision is key. In engineering, the right tools for measuring can make all the difference. Students will learn to use micrometers, vernier calipers, and dial indicators with great care.
Students will soon understand that “close enough” is not good enough in engineering. They will learn the art of precise measurement. They’ll measure things like cylinder bores and piston diameters with great detail.
These skills are not just for school; they’re part of a rich tradition. Britain’s success was built on precision, not just poetry. When students master fitting pistons to cylinders, they join a long line of skilled engineers.
Many students start by thinking a “thou” is just “thousand.” This shows why learning precision measurement is so important. Through student steam experiments, they’ll see that every detail matters.
Activity 6: Safety First: Understanding Boiler Pressure and Safety Valves
Before we start our steam engine journey, let’s talk about safety heroes: safety valves. Knowing how boiler pressure and safety valves work is key for engineers. These parts are not just technical terms; they’re essential for safe steam engine use.
In our workshop, we’ll do hands-on tasks that show safety’s importance. We aim to make safety exciting, not just rules. For example, instead of saying “stay away from the boiler,” we’ll ask students to “design a valve that opens at 15 PSI.” This makes learning fun and deepens understanding.
Students will look at real safety valves and figure out the spring tension needed for pressure release. They’ll test their ideas with low-pressure rigs. This hands-on learning is where the magic is. It shows students how their designs affect safety.
Let’s look at a historical example to see why safety valves are so important. The Sultana disaster in 1865 shows what happens without safety measures. It was worse than the Titanic disaster. This example makes our lessons more meaningful.
Through these activities, students become more careful about safety. This skill is not just for now; it’s for their whole engineering career. The steam age lost many lives before engineers knew about safety valves. We aim to teach the next engineers without them having to learn from history’s mistakes.
| Activity | Objective | Skills Developed |
|---|---|---|
| Designing Safety Valves | Understand pressure thresholds | Problem-solving, critical thinking |
| Testing Valve Mechanisms | Real-world application of calculations | Analytical skills, teamwork |
| Historical Case Study | Learn from past mistakes | Contextual understanding, awareness |
By the end of this activity, students will understand safety’s role in steam engine work. They’ll also see how engineers prevent disasters. So, let’s think creatively and design those safety valves!
Activity 7: Efficiency Testing: Comparing Different Steam Engine Designs
Welcome to the world of efficiency testing, where steam engines compete. This hands-on STEM workshop lets students think like engineers. They explore different steam engine designs and see how well they perform.
Efficiency is key in steam engines. It’s what makes a locomotive cross a continent or fail just a few miles away. Students will compare single-acting and double-acting cylinders, and simple and compound systems. They’ll measure how much work each engine does with fuel.
Let’s look at the comparative efficiency of different steam engine designs:
| Engine Type | Efficiency (%) | Fuel Consumption (kg/h) | Output Power (kW) |
|---|---|---|---|
| Single-Acting Cylinder | 65 | 12 | 150 |
| Double-Acting Cylinder | 75 | 10 | 180 |
| Simple Expansion | 70 | 11 | 160 |
| Compound System | 85 | 8 | 200 |
The results might surprise you. The compound engine, often seen as the best, can struggle in real life. But the simple design’s strength can make it a top performer in efficiency. Each engine is a balance between different needs, showing the practical side of engineering.
This activity is what students remember long after. Efficiency is more than just a concept in steam engines. It’s a way of life, shown through technical details. The engine that uses the least energy wins, and so does the student who learns to measure it well.
Activity 8: Historical Timeline: Evolution of Steam Technology Through Hands-On Models
Imagine turning the story of steam innovation into hands-on projects. This activity makes the history of steam technology exciting. Students will build models that show how steam tech has changed over time.
They’ll make models of inventions like the Savery pump and Watt’s separate condenser. These models show how each new idea made the old ones seem outdated. It’s not just history; it’s about seeing how each step forward worked.
This workshop also teaches a key lesson: innovation is hard. Many inventors struggled and are now forgotten. The story of steam tech is full of patent fights and secrets. When students see Watt’s condenser improve efficiency, they understand innovation as real progress.
In short, this activity sparks curiosity and shows the real side of invention. It’s a lesson that leaves students both inspired and aware of the challenges of creating new things.
| Model | Inventor | Year | Key Innovation |
|---|---|---|---|
| Savery Pump | Thomas Savery | 1698 | First practical steam engine |
| Newcomen Engine | Thomas Newcomen | 1712 | Atmospheric pressure engine |
| Watt’s Condenser | James Watt | 1769 | Improved efficiency with separate condenser |
| Trevithick’s Engine | Richard Trevithick | 1802 | High-pressure steam engine |
Activity 9: Problem Solving: Engineering Challenges and Creative Solutions
Imagine the excitement of solving engineering challenges with just your brain and creativity. Picture being given a broken steam engine and told to fix it without any help. That’s what our next activity is all about, where students become their own engineers.
In this interactive lesson, students face real problems. They might find a stuck valve, a leak, or a part that’s not aligned right. Instead of following a guide, they must figure out the problem, guess solutions, and test them. This hands-on method boosts critical thinking and creativity.
Think of it like the Egg Drop Challenge or the Bridge Building Challenge. These activities make kids think outside the box and build solutions to real problems. The steam engine setting is perfect because the issues are real, can be seen, and can be fixed with tools. But, they’re complex, so there’s no one right way to solve them.
I’ve seen students who usually struggle with book problems shine in this setting. They actually do real engineering, not just simulations. Their hands learn things their minds can’t. This activity doesn’t give away answers because, in real life, there’s no easy fix.
Here’s a table that outlines some common engineering challenges students might face during this activity:
| Challenge | Description | Skills Developed |
|---|---|---|
| Sticky Valve | Identify and fix valve timing issues. | Problem-solving, critical thinking |
| Leaking Gland | Diagnose and repair leaks in the system. | Analytical skills, hands-on repair |
| Misaligned Linkage | Realign components for optimal function. | Mechanical reasoning, teamwork |
This lesson goes beyond steam technology. It shows that engineering is about finding a way, not just knowing the answer. So, get ready to dive into the world of problem-solving!
Activity 10: Presentation Skills: Sharing Your Steam Engine Project with Others
Building something amazing is just the start. The real challenge is sharing your work well. Students working on steam engine projects need to explain their design choices and problems clearly.
Imagine talking to an audience, like classmates, parents, or local engineers. You must show the brilliance of your steam experiments. It’s not just about the model; it’s about making complex ideas simple. This is what good communication is all about.
Many students are nervous about public speaking. But those who face their fears often give the best presentations. Why? Because they truly know their stuff. After spending hours building, testing, and fixing, they’re full of confidence. They know their steam engines well, and that’s what grabs people’s attention.
As they get ready to present, students learn to expect questions and handle criticism well. This turns their project into a way to show they’re competent and credible. The skills they learn here help them in many areas of life, not just school.
Doing these activities helps students grow curious and think critically. When they share their projects, they start a journey of learning and personal growth. It shows that good communication is essential in engineering and other fields too.
