
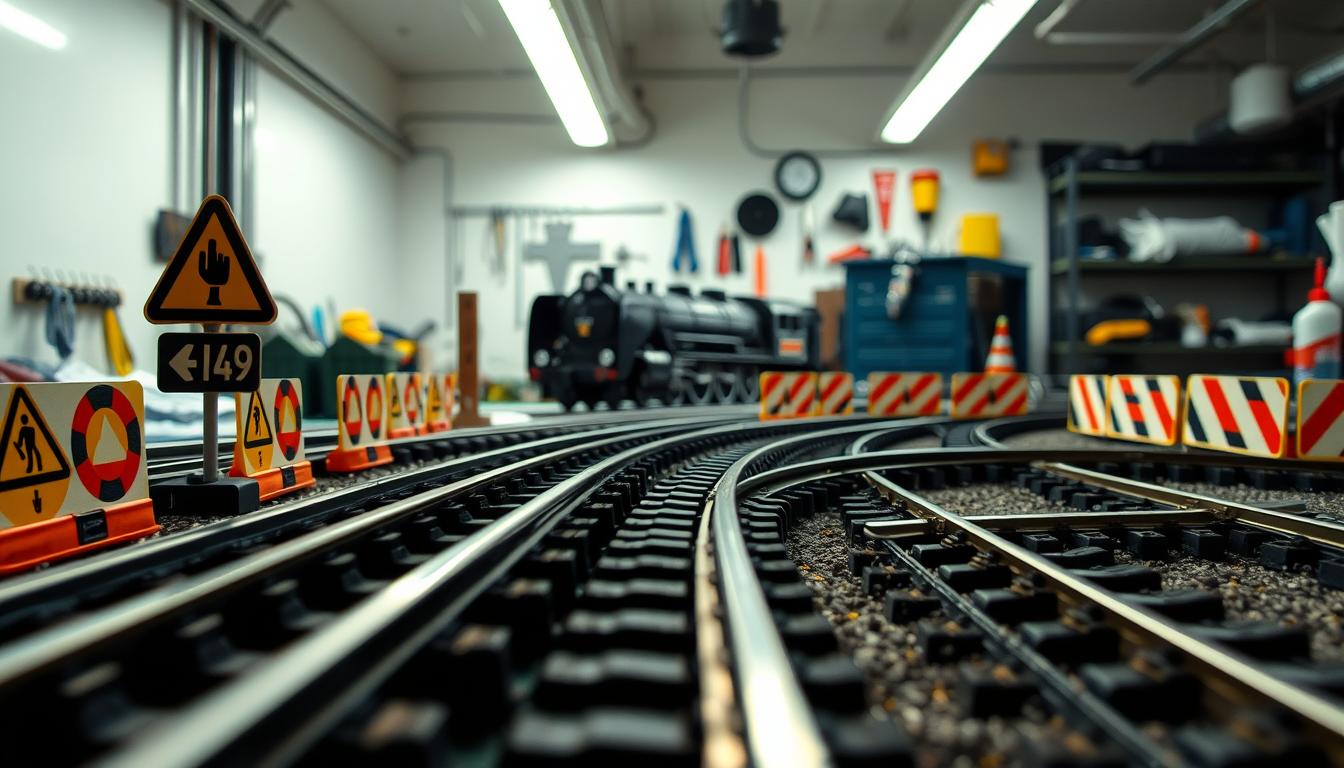
Welcome to “Foamgate” – where foam can be your best friend or worst foe. It’s not just about making a model railway track. It’s about making it without losing your fingers.
This part is like the safety meeting you’d actually want to go to. We’re talking about the safety rules that keep modelers safe, not in the hospital. No one wants their project to fall apart like a bad plan.
We’ll cover how to avoid breathing in toxic fumes, choose the right tools, and use adhesives that stick. We’ll compare white glue and caulk, giving you the facts you need to make a smart choice.
This isn’t about scaring you. It’s about sharing lessons learned the hard way. Remember, rushing and using the wrong tools can lead to stories you don’t want to share.
Planning Your Layout: scale, minimum radius, grade limits, clearances
Welcome to the architectural phase of your model railroad journey. Here, dreams meet mathematics and physics. It’s not just about placing tracks. It’s about creating a functional miniature world that follows railroad engineering laws.
Think of layout planning as drafting a constitution for your tiny nation. Get it wrong, and you’ll face problems. I learned this the hard way when my first layout looked like modern art.
Let’s talk about the geometry of movement. Your locomotives aren’t contortionists. They need reasonable curve radius to navigate turns gracefully. Smaller radii might save space but make your trains look like they’re performing interpretive dance.
Grade percentages are important. Imagine running uphill in flip-flops – that’s what a 4% grade feels like to your engines. Most modern locomotives handle 2-3% grades comfortably. But, push beyond that and you’ll hear them struggle.
Here’s a reality check on space requirements: achieving a 4-inch elevation at a 2% grade requires approximately 16 feet of track run. That’s not just math – it’s the difference between a smooth-operating railroad and a layout that screams “I didn’t measure twice.”
| Grade Percentage | Maximum Recommended | Space Needed for 4″ Rise | Real-World Comparison |
|---|---|---|---|
| 2% | Most locomotives | 16 feet | Gentle hill |
| 3% | Modern diesels | 10.6 feet | Moderate incline |
| 4% | Small steamers only | 8 feet | Mountain climbing |
Clearances deserve more attention than just accounting for your train’s ego. You need space for scenery, structures, and that inevitable moment when you need to retrieve a derailed car without dismantling your entire layout.
Track planning directly on foam surfaces offers flexibility. But remember: pencil marks are suggestions, not commitments. Test your concepts with temporary track arrangements before making anything permanent. Your future self will thank you when you avoid creating layout features that require archaeological excavation to modify.
The minimum curve radius isn’t just a number – it’s a promise to your equipment that they won’t need chiropractic adjustments after each run. Larger equipment needs gentler curves, while smaller engines can handle tighter turns. Know your roster’s limitations before committing to your track plan.
This planning phase separates temporary enthusiasm from lasting passion. Measure twice, cut once, and remember: every great railroad empire started with a well-drawn plan.
Materials & Tools + Budget/Time Plan
Welcome to the great model railroading schism. It’s a clash between convenience and creativity. Woodland Scenics offers perfectly molded inclines, like Ikea furniture for models. On the other side, foam-cutting revolutionaries use hot knives and optimism.
Material choices are key. 2″ pink foam is more than insulation; it’s a blank canvas. Woodland Scenics products promise quick results, but at what cost?

Tools show your approach. Do you buy pre-cut track or make your own? It’s not just building a layout; it’s a statement of values. Convenience versus creativity is a lifestyle choice.
Budgets are harsh realities. A $15 foam incline versus 8 hours of carving is more than numbers. It’s about what you value more: money or time. Beginners often underestimate both.
Here’s a budget framework:
- Double your material estimate
- Add 30% for “while I’m at the hobby shop” purchases
- Remember: every project has hidden costs like adhesives and unforeseen replacements
The time plan needs realism too. Most enthusiasts have short attention spans. Progress happens in bursts between interruptions.
Retired modelers offer wisdom. They see slow progress as meditation, not failure. Their projects age like fine wine, with no rush.
Your project pace should match reality. Weekend warriors can’t keep up with retirees. Set milestones, not deadlines. Celebrate small wins like finished track sections.
Remember, the journey is as important as the destination. Whether you choose Woodland Scenics or foam-cutting, your layout shows your approach. There’s no wrong choice; just different paths.
Final pro tip: track your spending against estimates. You’ll either laugh or cry at the difference. But that’s the hobby’s charm and madness.
Build the Baseboard: foam layers, supports, noise control
Let’s talk about the foundation of your miniature empire – the part that separates hobbyists from artists. Your foam baseboard isn’t just a platform; it’s the silent partner in your railroad adventure. It makes your trains glide smoothly or shudder, depending on how well it’s built.
Why foam? It’s the democratic choice – lightweight, easy to shape, and forgiving of mistakes. Unlike traditional plywood, foam doesn’t judge your layout decisions. But foam needs proper support to avoid sagging.
The secret sauce lies in the support structure. Think of it as building a miniature suspension bridge for your trains. Most experts recommend 16-inch spacing between supports. This creates the perfect balance between structural integrity and material efficiency.
Here’s what separates the amateurs from the pros:
- Layered approach: Combine 2-inch foam sheets with plywood supports
- Strategic spacing: 16-inch intervals prevent the dreaded “foam sag”
- Noise dampening: Rubber isolation pads between layers
- Modular design: Create sections that can be reconfigured later
The plywood-and-foam combination works like a beautiful political compromise. You get the stability of wood with the flexibility of foam. It’s the bipartisan approach to model railroading that actually works. For those seeking detailed techniques, this bench-top foam guide offers brilliant insights.
Noise control separates the hobbyists from the artists. Nothing ruins the illusion of a peaceful countryside scene like a train that sounds like it’s chewing gravel. The solution? Isolation and insulation. Use rubber pads between your foam layers and support structure – think of them as noise-canceling headphones for your layout.
Your foam baseboard should feel solid when you tap it – no hollow sounds, no flexing. Test it by running your heaviest locomotive across unsupported sections. If it dips more than a millimeter, add more supports. Remember: over-engineering here saves you from future therapy sessions.
The final test? The coin test. Place a quarter on the track and run a train past it. If the coin stays put, you’ve built a proper foam baseboard. If it vibrates off, back to the drawing board. This isn’t just about stability – it’s about creating a foundation worthy of your miniature world.
Lay the Track: centerline marking, gauge tool, transitions, test car
This is where your foam canvas turns into a real railroad system. Forget about abstract art. We’re now in the world of precision engineering, where every millimeter counts.
Centerline marking is for the pros, not hobbyists. Don’t guess this step unless you like derailments. Use a flexible ruler or a track planning tool to mark your main lines first.
Your track gauge tool is your new holy scripture. It shows truths your eyes might miss. Check every track piece before you fix it. Your trains will tell if you cheated.
Transitions need your full attention. Sudden curves can throw cars off track like bad political moves. Smooth transitions keep the momentum going and prevent embarrassing derailments.
The test car procedure:
- Run empty cars through new sections
- Watch for hesitation or hopping
- Listen for scraping sounds
- Check clearance on both sides
Your test car is the most honest critic you’ll ever have. It doesn’t care about your feelings or how long you spent on a section. It just tells the truth through how it moves.
Remember: trains vote with their wheels. They’re brutally honest and demand perfect tracks. Proper track laying makes you a model railroading adult, not a kid playing with Christmas sets.
Invest in a quality track gauge tool and use it all the time. This tool prevents more problems than any other in your workshop. Your future self will thank you during testing.
Final pro tip: never glue track until your test car approves the whole run. Let the rolling stock vote before making things permanent.
Wiring Basics: Your Testing Safety Net
Let’s talk about the model railroading version of reading software terms – basic DC wiring. This section is like your safety net before you dive into digital command control.
Think of simple DC wiring as the first step in a relationship. It’s like testing if you’re compatible without the big commitment. It’s like listening to a band’s free podcast before buying their concert tickets.
You only need three things for a basic testing loop. A DC power pack, two feeder wires, and one insulated rail joiner. These create enough current to check if your layout works.
Setting up a simple circuit is what you’re doing. Connect one wire to the outer rail and another to the inner rail. Then, watch your test car complete the loop. No need for complex systems or advanced controllers.
This method saves you from the disappointment of finding big problems after buying expensive digital systems. It’s like checking if the plumbing works before adding fancy fixtures.
Your testing loop helps find electrical issues, dirty tracks, or connection problems. Finding these early means easier fixes without tearing down your layout.
Remember, this isn’t about making a permanent system. It’s about checking your track work before investing in complex wiring. That safety net is key to avoiding frustration and finding joy in your hobby.
Testing & QA: smoothness, kinks, derailment fixes
Welcome to the world of model railroading, where physics is the ultimate judge. Here, your dreams of engineering meet the harsh reality of gravity. That 2% grade you thought was easy? It’s now a mountain for your train.
Grade percentages are tough math. Your train that ran smoothly on flat tracks now stumbles. The answer isn’t more power. It’s about smarter power distribution.
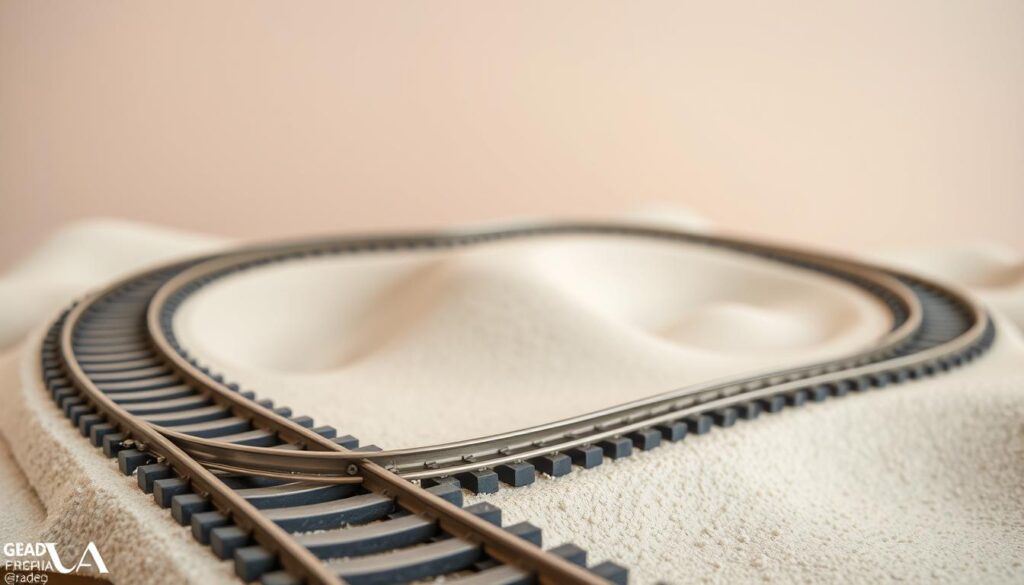
Super-elevation on curves is more than just looks. It’s what keeps your train running smoothly, not derailing. It’s like banking turns, just like NASCAR drivers do. Physics makes it necessary.
Here’s how I test for smoothness:
- Run different engines at various speeds
- Test both uphill and downhill
- Record how each engine performs at different grades
- See where wheels might lose contact with rails
Kinks are like surprises in a mystery. They pop up at unexpected places, like joints or after temperature changes. Finding them is like solving a puzzle with a flashlight and a ruler.
Fixing derailments is like defusing a bomb. Common problems include:
- Bad rail alignment at transitions
- Uneven grades through curves
- Small track imperfections
- Wheel clearance issues on tight turns
Every derailment has a story. Your job is to listen to what the tracks are saying. Sometimes, a tiny adjustment can make a huge difference.
This quality assurance phase is where hobbyists become artists. It’s when your layout goes from idea to real thing. Embrace the small flaws – they make your railroad special.
Documentation: drawings, photos, data log
Think your memory is a steel trap? Wait until you try to remember why that curve derails trains every third Tuesday. Documentation isn’t for obsessive compulsives—it’s for smart modelers who know memory is the first thing to betray you.
Good records are like writing your memoirs while living the story. They capture what actually happened, not what you wish had happened.
Photographic evidence beats fuzzy memories every time. Snap progress shots from the same angles. Capture details before they disappear under scenery. Your future self will thank you when troubleshooting.
Create a simple system:
- Date-stamp every photo
- Shoot from fixed reference points
- Document problem areas before fixes
- Capture wiring before it’s buried
Drawings aren’t just for architects. Sketch track plans, wiring diagrams, and clearance measurements. These become your railroad’s DNA—essential for repairs and expansions.
Your data log is more reliable than a fitness app tracking failed diets. Record:
- Test run results
- Modification dates
- Material quantities used
- Problem areas and solutions
This isn’t busywork. It’s creating reference material that actually helps. When that tunnel needs widening or wiring needs tracing, your documentation becomes priceless.
Organize digitally with clear folders. Cloud storage beats hoping you’ll remember where you saved those critical track photos. Label everything like your sanity depends on it—because it does.
Proper records scream “I learned from my mistakes” far more eloquently than frustrated swearing at derailed locomotives. Build your memory palace while the memories are fresh.
Showcase Day & Reflection
When you show off your model railroading masterpiece, it’s a big moment. Friends gather, eyes fixed on the tiny details you worked on for months. It’s not just about trains; it’s a piece of culture, showing your patience and skill.
Showcase day is a mix of pride and a little worry. Should you share how you bent that tricky curve with a hair dryer? Or just smile and offer a drink? This hobby is more than building layouts. It’s about creating stories worth sharing.
Looking back, you learn from your experiences. Every fix, every hidden wire, adds to your legacy. Model railroading teaches you more than just engineering. It teaches you humility, humor, and how to give a good compliment.
So, let’s celebrate the journey. The next layout is coming, and so are new stories.
