
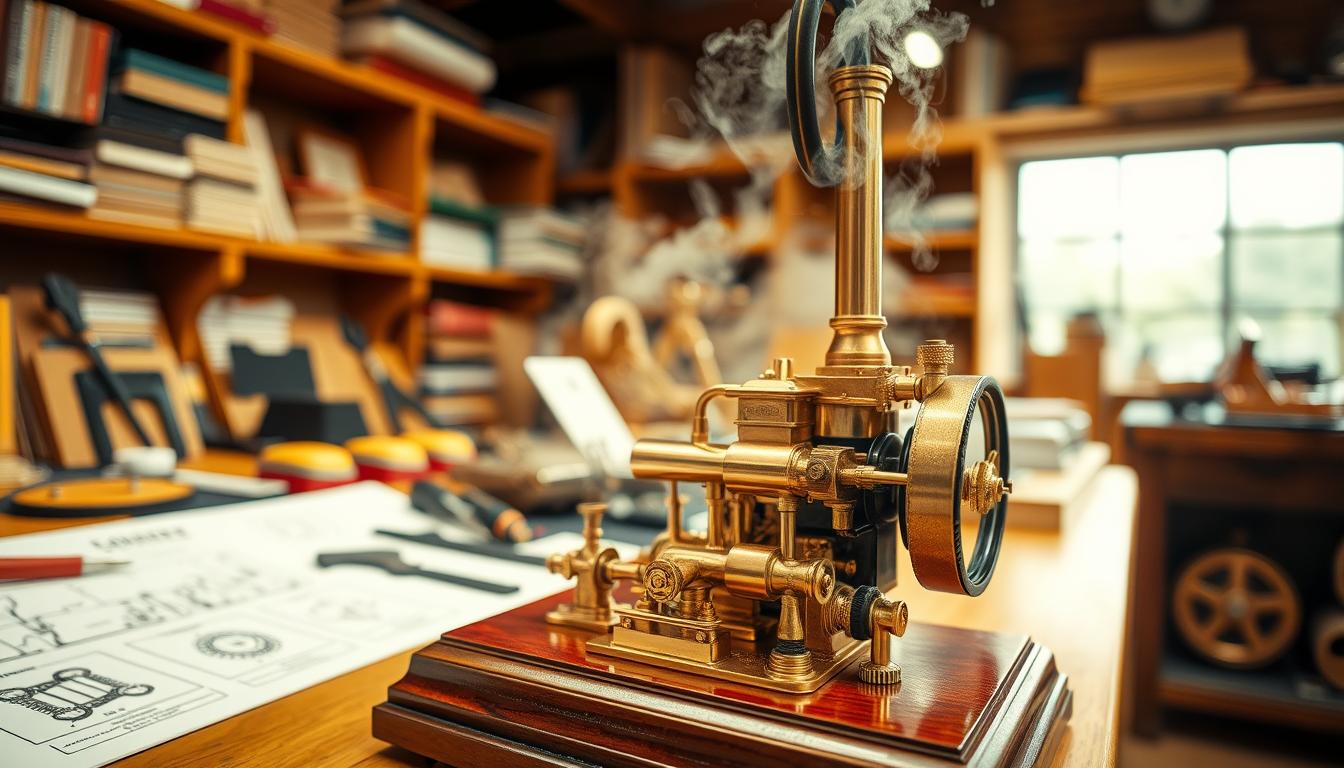
Textbooks and diagrams can only do so much. To really understand physics and engineering, students need to see it work. A model steam engine lets them do just that.
This isn’t just a relic from the past. It’s a bridge that connects the Industrial Revolution’s genius to today’s mechanical systems. Watching parts move, hearing steam hiss, and feeling energy transform is captivating. It’s something static images can’t match.
As a teaching tool, it shows key ideas like energy change and design clearly. For teachers, using a kit is safe and controlled. It makes complex lessons into memorable lessons in precision engineering.
Anatomy: Boiler, Piston, Flywheel, Valves
Let’s open the hood and meet the four essential components that give a model steam engine its life and motion. Think of this as a visual glossary. Each part has a specific job, and together they perform an elegant mechanical dance.
This dance converts the raw energy of heat into the smooth, rotary motion that powered the Industrial Revolution. Understanding this anatomy is the first step to grasping mechanical systems.
Here is a breakdown of each major part, its form, and its critical function:
- The Boiler: The System’s Heart
The boiler is the pressure chamber where water is heated to create steam. It’s the source of the engine’s power. As the water boils, steam builds up under pressure, storing energy.
This high-pressure steam is then piped to the cylinder. The boiler’s strength and seal are vital. Any leak here means a loss of power before the work even begins.
- The Piston and Cylinder: The Engine’s Muscle
This is where force is created. The cylinder is a precision tube, and the piston is a closely fitted disc that moves inside it. High-pressure steam enters the cylinder and pushes against the piston.
This push creates strong, linear force. This back-and-forth movement is called reciprocating motion. The piston is the primary worker, transforming steam pressure into physical movement.
- The Flywheel: The Motion Stabilizer
The flywheel is a heavy wheel mounted on the engine’s crankshaft. Its main job is to smooth out the operation. The piston delivers power in strong pulses, not a constant flow.
The flywheel’s inertia keeps the crankshaft turning between these pulses. This converts the jerky reciprocating motion into a continuous, usable rotary motion. The partnership between the piston and flywheel is a classic example of energy transfer in machinery.
- The Valves: The System’s Brain
Valves are the traffic directors for steam. They control timing. At the precise moment, a valve opens to allow fresh steam into the cylinder. Then it closes, trapping the steam to push the piston.
Then, it opens another port to let the used steam escape. This precise timing is everything. Models often use slide valves or piston valves, which must have microscopic, precise tolerances to prevent steam leaks and maximize efficiency.
How do they work together? The boiler creates steam. The valves direct this steam into the cylinder at the right time. The steam pushes the piston, creating linear force. The piston’s rod turns the crankshaft, and the heavy flywheel on that shaft smooths the rotation. It’s a perfect chain reaction.
Seeing these parts in action makes abstract concepts like pressure, force, and energy transfer tangible. The precise fit of the piston in the cylinder and the critical mass of the flywheel are not just details; they are the essence of the machine’s design.
Safety Protocols and Supervision
The boiler is often seen as the most dangerous part. It needs respect and strict safety rules from the start. This is the key to safe boiler use and a successful lesson.
Before the engine is unpacked, educators must check it carefully. They look at the safety valve and the water level gauge. These are not just extras.
These parts are your main safety tools. The safety valve stops too much pressure. The water level gauge keeps the boiler from running out of water. The teacher must check these before each use.
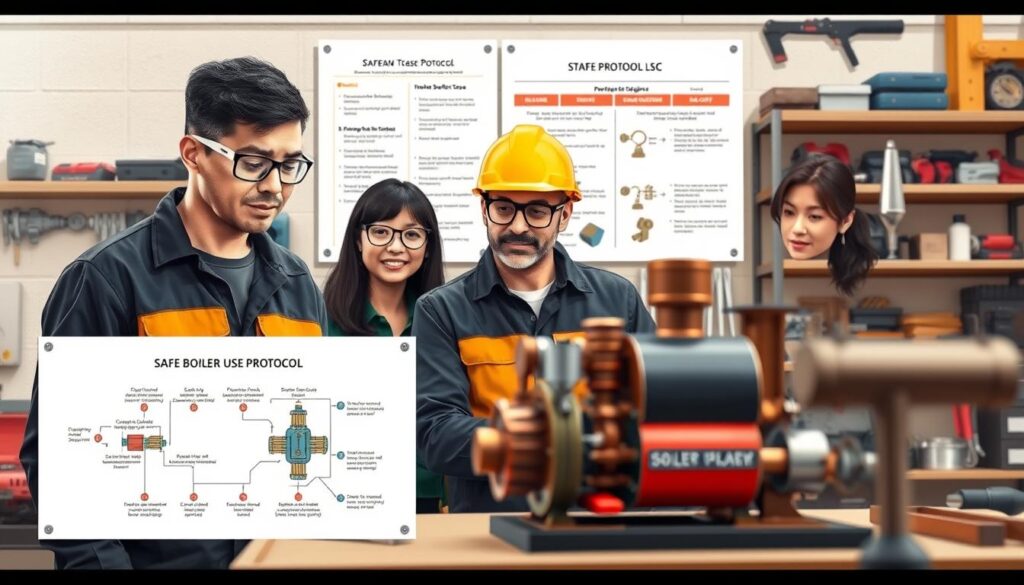
Everyone near the engine must wear PPE. This includes gloves and goggles that protect against heat. Always work in a place with good air flow to avoid fumes.
Always supervise the model closely. Never let it run without someone watching. Assign roles to students to keep things safe and organized.
Have a “Fuel Monitor” to handle the heat. An “Observer” can watch from a distance and record readings. This keeps everyone involved and safe.
The engine and steam lines get very hot. Make a “No-Touch Zone” around it. Use barriers or tape if needed.
Before each demo, use this checklist for safe boiler use.
| Checklist Item | Purpose | Action Required |
|---|---|---|
| Safety Valve Inspection | Prevents over-pressurization | Test valve movement; ensure it’s not stuck. |
| Water Level Verification | Avoids boiler dry-firing | Fill to indicated level with distilled water only. |
| Workspace Setup | Ensures clear, stable area | Clear clutter; place model on non-flammable surface. |
| PPE Distribution | Protects from heat and debris | Issue gloves and goggles to all participants in proximity. |
| Emergency Plan Briefing | Prepares for unexpected events | Review steps to safely shut down engine and evacuate area. |
Building and using these engines requires a deep respect for safety. It’s a powerful tool for teaching, but it’s not for every classroom. The teacher’s strict control ensures students are always safe.
This way, what could be dangerous becomes a lesson in responsibility and careful engineering.
Lesson Plan (90–120 minutes)
Educators can use this 90–120 minute plan to teach students about steam engines. It starts with curiosity and ends with understanding. The plan is detailed, ensuring a smooth lesson from start to finish.
- Working model steam engine (fully assembled and tested)
- Fuel (solid fuel tablets or denatured alcohol)
- Water
- Safety goggles (one pair per participant)
- Heat-resistant gloves for the instructor
- Projector or screen for introductory video
- Timers for station rotations
- Printed worksheets and station instructions
Phase 1: Engage and Introduce (15 minutes)
Start with a hook that grabs attention. Show a video about steam power’s history. Or ask, “How can boiling water make a heavy train move?”
Have a quick discussion to see what students know. Then, explain the engine’s parts—boiler, piston, flywheel, and valves. Use simple words to describe their functions.
Phase 2: Teacher-Led Live Demonstration (20 minutes)
This is the main part of the lesson. Place the model where everyone can see it. Explain each step as you do it.
Wear gloves and goggles to show safety. Explain how thermal energy turns into motion. Ask questions like, “What makes the flywheel spin?” or “Where is the pressure building?”
Phase 3: Hands-On Station Rotations (40-50 minutes)
Split the class into small groups. Move groups through three stations every 12-15 minutes.
Station A: Disassembly & Assembly. Students take apart and reassemble a safe engine model.
Station B: Motion Math. Groups count piston cycles per minute using stopwatches and counters.
Station C: Energy Transfer Diagram. Students draw a map showing energy flow from fuel to flywheel.
Phase 4: Group Synthesis and Discussion (15 minutes)
Bring the class together again. Have each group share their findings. Use discussion prompts to deepen understanding.
Ask, “How did hands-on work change your view of the demo?” or “What’s the key to energy conversion?” This part solidifies learning and answers questions.
Flex Time & Conclusion (5-10 minutes)
Use the last time for Q&A or a short exit ticket. Ask students to write what they learned and what they’re curious about. This gives feedback on the lesson’s success and helps plan future lessons.
This plan makes learning fun and effective in one class. It turns a static model into a lively learning experience.
Live Demonstration Script and Student Observations
A well-executed classroom demo makes complex ideas easy to understand. It shows how abstract concepts work in real life. This part gives you a detailed plan for your steam engine demo.
The script keeps everyone safe and clear. The worksheet helps students focus. Together, they make learning exciting.
Follow this scripted narration for your classroom demo. Speak clearly and point to each part as you talk about it.
- Preparation & Safety Check: “Before we start, everyone must stay back. I’m wearing safety goggles. I’ve checked the model and the work area is clear.”
- Assembly & Filling: “Watch as I put the boiler on the stand. Now, I’m adding water with the dropper. I’m also adding a small fuel tablet to the burner.”
- Ignition & Initial Observation: “I’m lighting the fuel. Keep a close eye on the flame with me. As the water heats, we’ll wait for steam pressure to build. Listen for the first hiss.”
- Engine Start & Operation: “There! Watch the flywheel. See its initial jerk as the piston gets the first push of steam? Listen as the ‘chuff’ sound becomes rhythmic. The engine is now using heat energy to move.”
- Monitoring & Shutdown: “Notice how the engine’s speed changes if I slightly shield the flame? We’re seeing how heat input affects mechanical output. To stop, I will remove the fuel source and let it cool.”
Student Observation Worksheet Prompts
Give out this worksheet before the demo. Tell students to write down their notes during the demo. This makes the demo an active learning experience.
- Flame and Speed: Describe how the flame’s intensity affects the flywheel’s speed. What happens when the flame is brighter or dimmer?
- Safety Valve Function: Did you see or hear steam escaping from the small valve on the boiler? If so, what does this tell you about the pressure inside the system?
- Energy Conversion Chain: Follow the energy path. Start with the fuel’s chemical energy. How does it change to heat, then to motion, and sound? Describe the evidence for each step you observed.
- Sound Changes: How did the engine’s sound change from the first hiss to full operation? What do you think causes this change?
This mix of guided narration and focused questions makes sure students don’t just watch. They see, hear, and analyze the key principles of mechanical systems in action.
Station Rotations: Disassembly/Assembly, Motion Math, Energy Transfer
Station rotations turn the classroom into a hands-on lab. Students dive into engine mechanics from different angles. This approach suits various learning styles and reinforces key concepts through real experience.
Three stations run at once, keeping everyone involved. Each station covers a unique part of the steam engine’s operation. Students spend 20-30 minutes at each spot before moving on.
The table below gives a clear overview of each station’s focus and main activities.
| Station | Primary Focus | Key Activity | Learning Style |
|---|---|---|---|
| 1. Disassembly/Assembly | Tactile Exploration & Mechanical Connection | Hands-on interaction with a cool, non-operational engine. | Kinesthetic & Visual |
| 2. Motion Math | Quantitative Application | Measuring and calculating motion parameters. | Logical-Mathematical |
| 3. Energy Transfer | Conceptual Mapping | Diagramming energy conversion stages. | Visual & Conceptual |
Station 1: Disassembly and Assembly
This station uses a non-working engine model. Students can touch and move the parts. They see how the piston and flywheel work together through the crankshaft.
The main idea here is conversion. The piston’s back-and-forth motion turns into the flywheel’s rotation. Students get to see this process up close.
When assembling, students often find problems. They learn to check for loose parts and air leaks. These skills are very useful.
Station 2: Motion Math
Here, math meets real-world mechanics. Students use tools like rulers and stopwatches. They apply formulas to solve real problems.
They might measure the piston’s stroke or count flywheel revolutions. This makes speed and distance real concepts.
These tasks show the engine’s performance in numbers. They answer questions about how fast and how far things move.
Station 3: Energy Transfer
This station looks at why the engine works. Students use diagrams or models. They trace each step of energy change in the engine.
The process is straightforward. Fuel’s chemical energy turns into heat. Heat makes steam, which then turns the flywheel.
By labeling each step, students understand the whole process. They see how energy moves from fuel to spinning wheel. This gives them a complete picture of the engine’s energy journey.
This rotation model engages students in meaningful ways. They build, calculate, and think deeply about the engine. This multi-faceted approach helps them grasp steam engine mechanics fully.
Worksheet Questions and Answer Keys
This section gives teachers a ready-to-print worksheet and detailed answer key. It’s designed to check if students understand mechanical systems. The questions get harder, from simple recall to solving problems.
Use this tool after the assembly and testing guide. It helps students really get the concepts. Teachers can see what needs more work.
The table below shows how the worksheet is structured. It builds up to a full assessment.
| Question Type | Sample Prompt | Key Concept Assessed | Answer Key Reference |
|---|---|---|---|
| Diagram Labeling | “Label the boiler, piston, flywheel, and safety valve.” | Engine Anatomy | Part A, Items 1-4 |
| Short Answer | “Describe the energy transfer from heat to motion.” | Energy Conversion Principles | Part B, Question 1 |
| Scenario-Based Troubleshooting | “The engine starts but then stalls. List two possible causes.” | Applied Systems Thinking | Part C, Scenario 2 |
Student Worksheet Sample
Part A: Label the Diagram
Use the terms below to label the engine diagram’s key parts.
- Boiler
- Piston
- Flywheel
- Steam Outlet Valve
- Safety Valve
Part B: Short Answer & Energy Transfer
- Describe how thermal energy from the boiler turns into the flywheel’s motion.
- What is the flywheel’s main role in this system?
- Name a safety feature in the model steam engine and explain its purpose.
Part C: Scenario-Based Troubleshooting
- If the engine won’t start with heat, what three things should you check first?
- If the engine starts but stalls quickly, list two mechanical reasons.
- If steam leaks from a joint instead of moving the piston, what does it likely mean?
Comprehensive Answer Key for Educators
Part A: Diagram Labeling
- Boiler: The sealed chamber where water is heated to produce steam.
- Piston: The part pushed by steam pressure, creating linear motion.
- Flywheel: The heavy wheel that stores rotational inertia for smooth operation.
- Steam Outlet Valve: The controlled pathway for steam to enter the cylinder.
- Safety Valve: A pressure-release mechanism to prevent boiler over-pressurization.
Part B: Short Answer
- Answer: Heat boils water in the boiler, creating high-pressure steam. This steam travels to the cylinder, pushing the piston back and forth. The piston’s motion is converted to rotation via a crank, spinning the flywheel. Key point: Heat → Pressure → Linear Motion → Rotary Motion.
- Answer: The flywheel’s inertia smooths out the power pulses from the piston. This provides continuous rotation even when the piston is changing direction.
- Answer: The safety valve. If pressure inside the boiler gets too high, this valve opens automatically. It releases excess steam to prevent a possible rupture.
Part C: Troubleshooting
- Answer: Check for: 1) Sufficient water in the boiler, 2) All valves being in the correct open/closed positions for operation, and 3) Secure connections on all tubing to prevent steam leaks.
- Answer: Possible causes: 1) Insufficient heat input to maintain steam pressure, or 2) A mechanical bind or excessive friction in the piston or linkage assembly.
- Answer: This indicates a loss of pressure due to a leak. The steam is escaping before it can do work on the piston. It highlights the need for a sealed system for efficient energy transfer.
This worksheet and key offer a formal assessment that reinforces core concepts. The troubleshooting questions, in particular, develop critical thinking by asking students to diagnose system failures. This moves learning beyond memorization to true mechanical understanding.
Common Misconceptions and How to Address Them
Understanding mechanical systems means facing and fixing common myths. Students often have ideas that can block real learning if not challenged. By tackling these errors, a simple lesson can become a deep learning experience.
Teachers need clear, simple answers to these misunderstandings. The table below shows common errors, the truth, and how to correct them during your lesson.
| Common Misconception | The Reality | How to Address It |
|---|---|---|
| Steam is the fuel that powers the engine. | Steam is the working fluid. The fuel is the heat source (e.g., denatured alcohol) applied externally to the boiler. | Use the popcorn analogy: “The heat is the stove (fuel). The water inside the boiler is like the kernel’s moisture. The heat transforms the water into steam (the pop), which creates the push.” |
| You can add water to a hot boiler. | This is extremely dangerous. Adding cold water to a hot, pressurized boiler can cause a steam explosion or thermal shock. | Make this a strict safety rule. Show that the boiler should only be filled when it’s cool. Compare it to never adding water to a hot oil pan. |
| The boiler can run safely until it’s completely dry. | Running a boiler dry is a critical hazard. Without water, the metal can melt or catch fire. | Explain that water is key for cooling. Show the water level window and stress to shut down the engine before it runs dry. |
| The electricity generated can power real devices. | The dynamo produces a demonstration-level voltage and current. It’s enough to light a small LED or spin a tiny motor. | Make it clear: “This shows the principle of energy conversion. The amount is tiny—like a model train versus a real locomotive.” |
| The flywheel’s purpose is just to look cool. | The flywheel is a key inertia bank. It smooths out the power pulses from the piston, ensuring continuous rotation. | Have students watch the engine start with and without the flywheel attached (if safe to do so). Compare it to a bicycle wheel: hard to start spinning, but once moving, it wants to keep going smoothly. |
Directly addressing these points prevents knowledge gaps. It helps build a correct mental model from the start. When students share a misconception, use it as a teaching moment. Guide them to the evidence from the model’s operation itself.
Maintenance and Storage of the Model
Proper care and storage of the working model steam engine are key to its longevity and classroom safety. A consistent routine keeps this precise apparatus reliable for lessons. It also teaches students the importance of preventative maintenance.
Always start by cooling the boiler and metal parts down naturally. Never use water or air to cool it quickly, as this can cause damage.
Next, dry every part thoroughly. Moisture harms metal. Clean the boiler shell, piston cylinder, and flywheel with a soft cloth. Dry the glass water gauge and brass fittings too. This step prevents corrosion and keeps the engine looking great.
Before storing, check all connections. This is vital for safe boiler use. Make sure all pipe fittings and valve stems are tight. Look for any wear on seals or gaskets that could cause leaks. A quick check can prevent big problems.
Apply a small amount of light machine oil to moving parts like the piston rod and linkage points. This reduces friction and wear. But avoid over-lubricating, as too much oil can attract dust.
Follow this simple maintenance checklist after every use:
- Cool: Let the engine cool completely.
- Dry: Wipe all components, including the glass gauge.
- Inspect: Check seals, gaskets, and connections for tightness.
- Lubricate: Apply oil to specified moving parts.
For storage, use a sturdy case with custom foam inserts. The foam should fit the boiler, flywheel, and base separately. This protects the brass fittings and glass water gauge from damage.
Store the case in a dry, climate-controlled area. Avoid extreme heat or humidity, as it can damage materials. Label the case clearly, so everyone knows it contains a valuable teaching tool.
Teaching these routines does more than just preserve equipment. It shows students that engineers value their tools. It turns a simple cleanup into a lesson on preventative care, a key part of responsible design and operation. A well-maintained model steam engine is a testament to the care invested in it, ready to spark curiosity for years.
Assessment Options (Quiz, Exit Ticket, Mini Report)
After showing off the lesson, you can use low-stakes tests to check if students got it. These tools help teachers see if students understand mechanical systems without making them stressed. The best choice depends on what you want to achieve and how much time you have.
This table provides a quick comparison of the three primary assessment strategies discussed below.
| Assessment Type | Best For | Sample Prompt | Time Needed |
|---|---|---|---|
| Quick Quiz | Verifying factual recall of parts and processes. | “Name the four main components of the model steam engine.” | 5-10 minutes |
| Exit Ticket | Checking for a single, key conceptual understanding. | “In one sentence, explain the flywheel’s job in the system.” | 2-3 minutes |
| Mini-Report | Encouraging deeper research, analysis, or creative design. | “Research and summarize one historical impact of the steam engine.” | 30-60 minutes (homework) |
The Quick Quiz: Verify Factual Recall
A short, five-question quiz is a quick way to see if students remember important facts. It focuses on basic knowledge from the lesson’s parts and process sections. The questions should be straightforward and easy to understand.
Sample questions might include:
- Which part converts thermal energy into motion?
- What is the function of the safety valve?
- True or False: The flywheel helps maintain constant speed.
This quick check gives you instant feedback. You can quickly see which ideas need a quick review before moving on.
The Exit Ticket: Capture a Core Concept
An exit ticket asks a single, focused question as students leave. It requires them to put information into their own words. This way, you can see if they understand, not just memorize.
The classic prompt, “In one sentence, explain what the flywheel’s job is,” tests their ability to think clearly. Did they get the idea of inertia and smooth energy output? Their one-sentence answers show if they really understand or if they’re confused.
This method is quick and gives a clear picture of the class’s understanding.
The Mini-Report: Encourage Deeper Exploration
For a bigger project, try a mini-report. This lets students explore more, linking the model to bigger ideas. It helps them learn research skills and think creatively.
You can give two options. The first is to research how steam engines changed things. Students could look into how they affected transportation or manufacturing.
The second option is a design challenge. Ask them to suggest a simple way to improve the model. Maybe they could draw a better boiler or a different valve system. This lets them use their new knowledge in a creative way.
Choosing the right assessment option helps you match the evaluation to your goals. Use the quiz for a quick check. The exit ticket gives a snapshot of understanding. The mini-report takes learning further.
All three methods help you see how well your lesson worked. They give you the data to improve future lessons.
Enrichment: Build a Paper or 3D-Printed Engine
Students learn about pistons, cranks, and flywheels by making their own engines. These activities are perfect for those who love the steam engine demo. They offer a safe way to understand mechanics better.
Students go from watching a kit to making their own model. This hands-on approach helps them think like designers. It connects old mechanics to today’s making.
Teachers can guide students in two main projects. Both are easier than working with metal but teach important lessons.
- Working Paper Model: Students use printable templates to build a working model. They cut, fold, and assemble parts to see how pistons and cranks work. This project focuses on motion and geometry with simple materials.
- 3D-Printed Static Model: Students print engine parts from pre-designed files. They then assemble and decorate the parts. This introduces digital making and basic assembly skills.
For more experienced students, suggest modifying a CAD design. They could change a flywheel’s shape or add a custom nameplate to a 3D model.
This step teaches computer-aided design, key in today’s engineering. It turns a building project into a design challenge.
These projects make complex ideas real. Students don’t just learn about engines; they apply what they know to make something new. This boosts their confidence and shows how classroom physics applies to real-world projects.
Standards Alignment and Vocabulary List
Adding the working model steam engine lesson to a school curriculum boosts its value. It fits with important national standards, making it a great tool for teaching mechanical systems and engineering.
The lesson supports Next Generation Science Standards (NGSS) like MS-PS3-5 for energy transfer and MS-ETS1 for engineering design. It also meets Common Core State Standards for technical reading and math. This ensures students learn real STEM concepts, focusing on thermodynamics and mechanical engineering.
A clear vocabulary list helps students talk about mechanical systems accurately. Key terms from the lesson include:
- Boiler: The sealed chamber where water is heated to produce steam.
- Thermal Energy: The internal energy present in a system due to its temperature.
- Oscillating Cylinder: A piston cylinder that rocks back and forth to convert steam pressure into motion.
- Safety Valve: A critical component that releases excess pressure to prevent boiler overpressure.
- Flywheel: A rotating disk that stores rotational energy to smooth out the engine’s motion.
Learning these terms helps learners describe mechanical systems well. It prepares them for more advanced studies and confident communication in science and engineering.
