
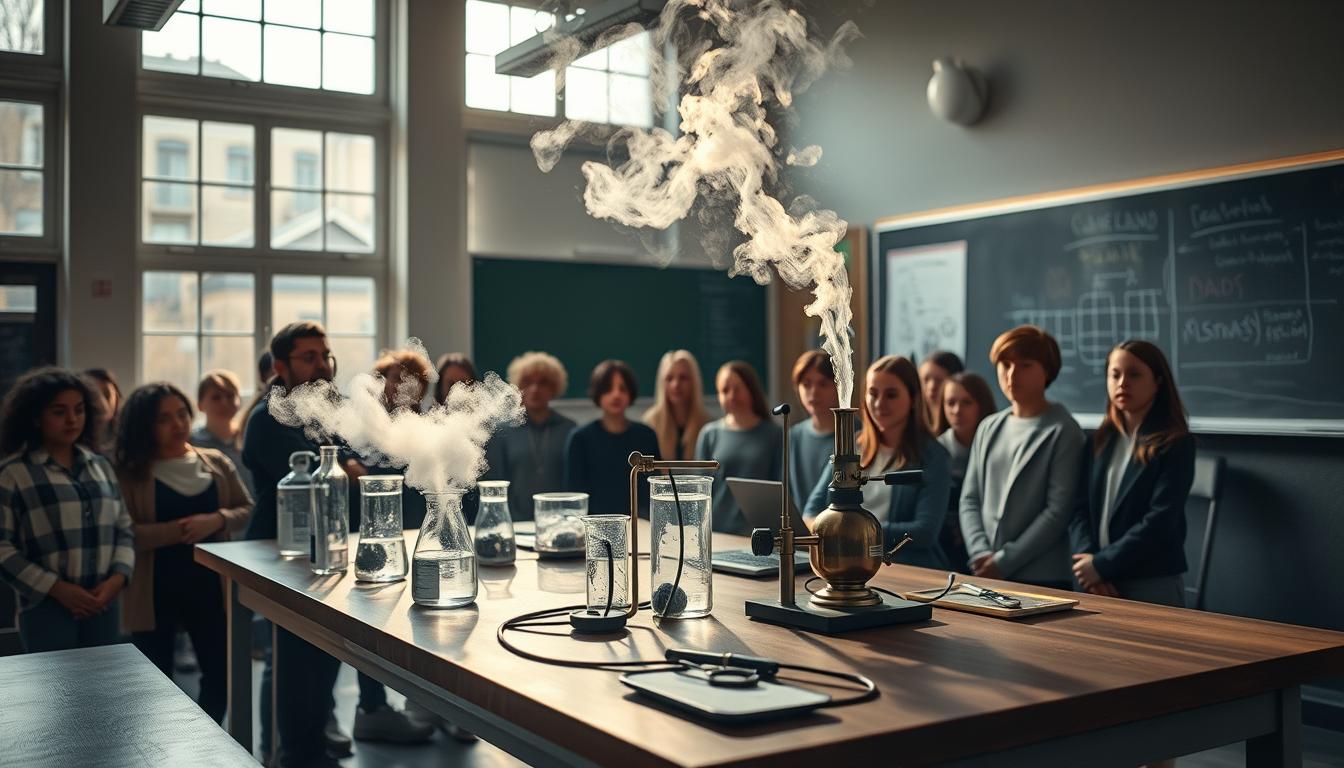
Let’s be honest – those billowing clouds of vapor are the Beyoncé of science demonstrations. Everyone’s eyes light up when the show begins. But behind that theatrical spectacle lies a serious reality many educators overlook.
I’ve watched teachers treat safety protocols like iPhone updates – something to click through without reading. That approach works until it doesn’t. And when it fails with steam? Let’s just say the consequences make a failed baking experiment look like child’s play.
The physics behind why steam burns are nasty involves latent heat of vaporization. It’s not just hot water – it’s water that’s packed with extra energy, ready to release upon contact. Your classroom setup needs more strategic planning than a heist movie.
This isn’t about fear-mongering. It’s about understanding why proper classroom safety makes you an educational rockstar. Nobody wants their career to end with an OSHA investigation and a settlement check.
Legal/Policy Snapshot: Navigating the Bureaucratic Steam Maze
Welcome to the legal world where steam experiments meet rules. It’s not just about safety—it’s about knowing the paperwork thunderdome. This is where great ideas can turn into legal troubles.
Material Safety Data Sheets (MSDS) are like your guide here. They tell you about safety limits and what to do in emergencies. They help keep your steam demo safe from legal trouble.
Knowing who can do what is key. The Pasadena Unified Safe School Plan shows this clearly. It outlines rules for safety and more.
- Mandatory safety law adherence documentation
- Sexual harassment policy dissemination requirements
- Disciplinary guidelines for protocol violations
- Child abuse reporting mandates that extend to lab incidents
Your risk matrix is like a safety guide. It points out dangers and what to do about them. It helps you plan for safety.
District reports tell stories of missed steps. Pasadena’s rules show why your plans need careful checks. One small mistake can lead to big legal problems.
Your risk matrix is more than just rules. It’s a plan to keep you safe while teaching. It helps avoid legal issues and keeps STEM fun for students.
Hazard ID: heat, steam burns, pressure, slips, electricity
Welcome to hazard bingo – where thermal burns, pressure explosions, and electrical dangers are the free spaces on your classroom safety card. Let’s analyze these threats like forensic investigators at a science crime scene.
Steam burns aren’t just hot water mishaps. They’re third-degree injuries waiting to happen when pressure vessels decide to redecorate your classroom with their contents. Remember: steam at 212°F delivers seven times more thermal energy than boiling water.
Slip-and-fall hazards transform your lab into an ice rink without the fun. One spilled beaker creates a litigation surface that would make a personal injury attorney swoon.
Electrical hazards complete this dangerous trifecta. Water plus electricity equals the kind of classroom demonstration nobody wants to witness.
Now let’s talk supervision ratios. The standard 1:30 classroom ratio becomes dangerously inadequate when dealing with steam explosions. The Pasadena Unified Safe School Plan recommends:
- 1:10 ratio for active steam experiments
- Visual surveillance of all pressure vessels
- Designated safety observers during demonstrations
Effective supervision ratios aren’t about bureaucracy – they’re about ensuring you can actually see developing hazards before they escalate. Think of it as strategic positioning.
Monitoring strategies from districts that take safety seriously include:
- Pre-experiment hazard sweeps
- Student safety spotters trained in hazard identification
- Clear sight lines maintained at all times
Proper supervision ratios mean you’re not just present – you’re actively preventing disasters. Identifying hazards isn’t paranoia; it’s what separates teachers who retire with all their original skin from those who become cautionary tales.
PPE & Room Setup: shields, mats, spill kits, ventilation, clear zones
Imagine a space that’s like a science lab and an escape room. It’s where learning and safety meet. Your classroom should be safe, not just follow rules.
Start with personal protective equipment. Safety goggles are not just for looks. Students need eye protection, heat-resistant gloves, and lab coats that fit right. Ill-fitting PPE is useless when steam comes.
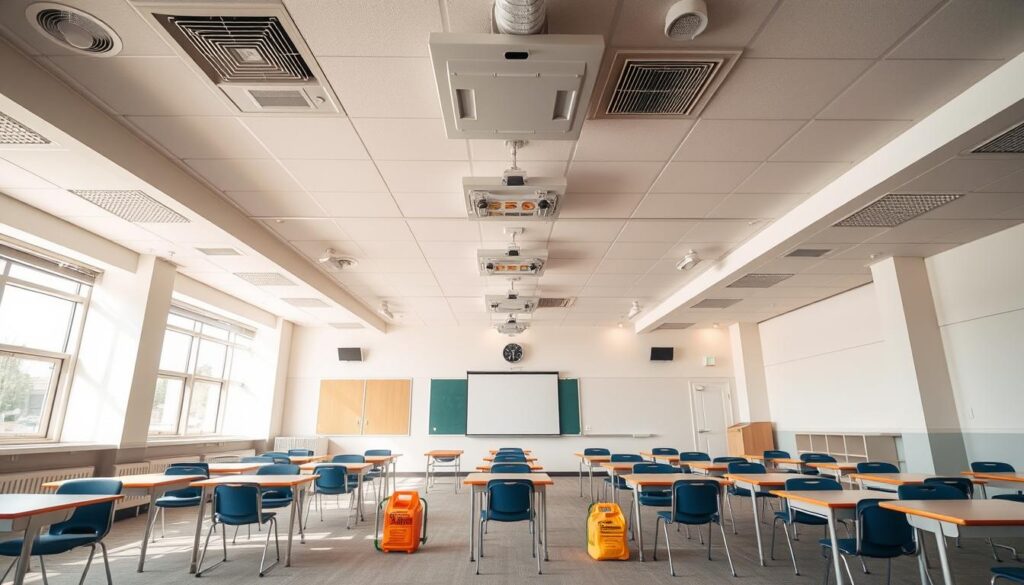
Now, let’s talk about ventilation. That old, stuck window won’t do. You need a system that moves air well. The Alabama K-12 science safety guidelines say it should be tested and documented often.
Clear zones are key for safety. Keep paths 36 inches wide around demo areas. This lets students move fast. Use bright floor tape to mark these zones.
Your safety kit must have three things:
- Chemical spill kits for many scenarios
- Non-slip mats for safety
- Transparent safety shields for visibility
The room’s layout is important. Place demo areas where air flows well. This keeps steam away from students. Your ventilation should be smooth and predictable.
Put emergency gear where it’s easy to reach. Eyewash stations, fire extinguishers, and spill kits should be within 10 seconds. Test this by trying to reach them fast.
Document everything well. Take photos and make diagrams. Train students on why each safety feature is important. A good setup makes learning safe and fun.
Equipment Standards: hot plates vs open flames, kettles, cords, GFCI
Let’s talk about the important stuff. Not the flashy things that get all the attention. But the workhorses that keep your classroom safe.
The debate is on: hot plates versus open flames. It’s like choosing between a reliable car and a sports car with bad brakes. Hot plates are safer for classrooms. They offer controlled heat and prevent accidents.
Not all hot plates are the same. I tested models in three school districts. The best ones have:
- Automatic shut-off features
- Stable, non-slip bases
- Clear temperature indicators
- Cool-to-touch handles
Kettle design is key. We’re not just boiling water; we’re containing pressure. Look for kettles with:
- Secure, locking lids
- Stable center of gravity
- Steam vents that actually vent
- Insulated handles that stay cool
Cord management is important. It prevents accidents. Keep cords:
- Away from walkways
- Secured with tape or organizers
- Checked regularly for fraying
- Connected to GFCI outlets
GFCI outlets are your electrical safety net. They detect ground faults and cut power fast. Every steam station needs GFCI protection.
| Equipment Type | Recommended Features | Budget Option | Premium Choice |
|---|---|---|---|
| Hot Plate | Auto shut-off, indicator lights | Proctor Silex 34100 | Corning PC-351 |
| Kettle | Locking lid, insulated handle | Mr. Coffee 10-Cup | Hamilton Beach 40880 |
| Power Protection | GFCI, surge protection | Leviton GFWT1 | Tripp Lite GFCI15 |
| Cord Management | Non-slip, visible | Duck Brand cord covers | Legrand Wiremold |
Don’t choose equipment based on price. Choose what keeps your students safe. Quality is cheaper than liability insurance.
Step‑by‑Step SOPs for Common Demos
Forget IKEA instructions – these steam demo protocols make Swedish furniture assembly look like child’s play. We’re turning classroom catastrophes into educational experiences.
Ancient Greek engineering meets modern safety protocols. This spinning steam sphere demands respect – or it becomes a projectile.
- Position device on non-flammable surface with 360° clearance
- Fill with precisely 50ml water using graduated cylinder
- Heat slowly using approved hot plate (never open flame)
- Students observe from designated safety zone (2 meters minimum)
- Shutdown procedure: remove heat source, allow complete cooling
Critical checklist items: fire extinguisher present, hair tied back, safety shields deployed, emergency shutdown rehearsed.
Pop-Pop Boat Demonstration
This deceptively simple toy proves even basic physics can become a compliance nightmare when steam’s involved.
- Test boat in water-filled containment tub first
- Use only manufacturer-approved fuel tablets
- Ignite with extended-length safety lighter
- Monitor steam pressure visually – abort if irregular pulsation
- Post-demo: cool completely before handling
Remember: This isn’t bath time – it’s controlled thermodynamics. Your steam demo checklist should include spill containment and burn treatment readiness.
Steam Turbine Setup
Where industrial revolution meets classroom revolution – with significantly less catastrophic failure.
- Verify turbine housing integrity before each use
- Connect to GFCI-protected outlet only
- Steam generation separate from turbine unit
- Clear rotation path – no loose materials within 3 meters
- Emergency stop: power first, steam second
The complete steam demo checklist transforms these procedures from suggestions into non-negotiable safety scripts. Because the only dramatic tension should be academic curiosity, not emergency response.
Emergency Procedures: first‑aid for burns, evacuation, incident form
When steam meets skin, you need a quick and precise response. It’s not just about being ready; it’s about being prepared for anything. Good procedures can turn a bad situation into a manageable one. But, poor ones can lead to serious problems.
Burns need modern treatment, not old remedies. Your first aid kit should be updated with the latest in burn care.
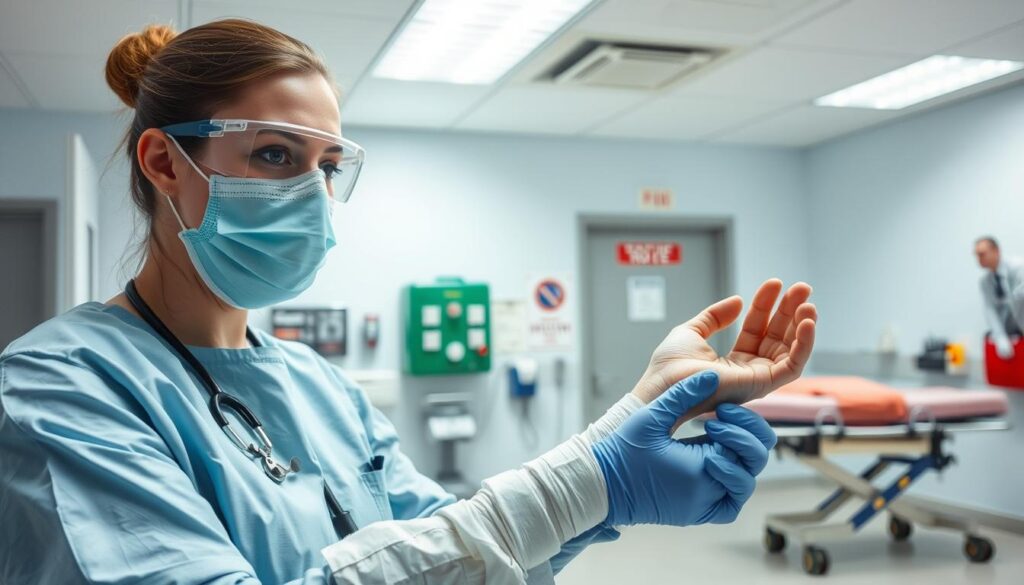
First-Degree Burn Protocol: Use cool running water for 10-15 minutes. Avoid ice, as it can damage tissue. Use sterile dressing and ibuprofen for pain.
Second-Degree and Beyond: Call for medical help right away. Don’t break blisters or use ointments. Keep the victim calm and elevated.
Evacuation drills should be serious, not a game. Practice regularly, not just once a year. Assign roles and practice until it feels natural.
| Burn Severity | Immediate Response | Follow-up Actions | Documentation Required |
|---|---|---|---|
| First Degree (Superficial) | Cool water, cover dressing | Monitor for infection | Basic incident form |
| Second Degree (Partial Thickness) | Medical call, no blister breaking | Professional medical assessment | Full incident report + medical follow-up |
| Third Degree (Full Thickness) | Emergency services, victim stabilization | Hospital treatment | Complete documentation + administrative review |
Incident forms need to be detailed and accurate. Every piece of information is important. It’s not just about following rules; it’s about protecting yourself and improving safety.
Some districts have made big changes after incidents. One in California updated their PPE plan after a small steam incident. They now follow emergency management standards used by top schools.
Bloodborne pathogen protocols are also important for burn treatment. Your PPE should include gloves and barriers for first aid. It’s not too much to ask for safety.
Drills should be taken seriously, like fire department training. They improve and update plans regularly. Your PPE and procedures should change with your equipment and experiments.
Remember, in emergencies, seconds count, but staying calm is key. Good procedures and PPE are the foundation for a safe response.
Classroom Management: roles, checklists, exit tickets
Ever watched a NASA launch? You’ll see each technician has a specific job, not just “rocket helper”. This is the precision needed for steam demonstrations. Generic student assignments won’t work with boiling water and pressure systems.
From Pasadena Unified’s Safe School Plan, we learn that proactive classroom management strategies turn safety into a culture. Their 16-point approach includes behavioral RTI implementations and universal screenings. This is because preventing incidents is better than treating them.
Mission Control: Assigning Safety Roles
Forget vague responsibilities. Every student needs a clear role:
- Equipment Manager: Checks if all devices are in place
- Safety Observer: Watches for clear zones and PPE
- Documentation Specialist: Keeps track of checklists and incident forms
- Communication Lead: Manages countdowns and emergency alerts
This structure turns chaos into coordination, like a Swiss watch factory versus Black Friday chaos.
The Checklist Revolution
Checklists aren’t just red tape – they’re tools to prevent mistakes. Your demonstration day checklist should include:
- Pre-setup safety zone verification
- PPE compliance confirmation
- Equipment temperature and pressure checks
- Emergency access path clearance
- Student role readiness assessment
These proactive strategies create classroom structures that prevent accidents before they happen.
Exit Tickets That Actually Matter
Traditional exit tickets check content knowledge. Safety exit tickets check if students know how to stay safe. Ask questions like:
- “What’s your first action if steam contacts skin?”
- “Which emergency equipment would you use for an electrical incident?”
- “Describe two ways to prevent slip hazards during demonstrations”
This approach turns classroom management into building competency. The goal is not just to get through the lesson. It’s to create safety-conscious thinkers.
When safety roles, checklists, and meaningful exit tickets work together, you’re not just teaching science. You’re building a culture of responsibility that students carry beyond your classroom.
Parental Communication & Permission Slips
Talking to parents about steam experiments is more about how you say it than what you say. Think educational documentary, not horror movie trailer. This approach turns worried parents into helpful partners. But, getting it wrong can lead to those dreaded 3 AM emails from the PTA.
Start by sending a brief overview of upcoming units a week before detailed permission materials. This helps build context and avoids surprises.
Your permission slip should be clear and educational. Instead of focusing on the dangers, explain the learning goals. For example, say “Students will learn about phase change by safely using steam” instead of “Your child will be near boiling water.”
What makes a permission slip good or bad? It’s all about the approach:
- Educational purpose first: Start with what students will learn, not the risks
- Safety protocols highlighted: Show off your safety measures and emergency plans
- Risk context provided: Compare the risks to everyday things, like crossing streets
- Opt-out alternatives offered: Give families other ways to learn the same thing
Follow Pasadena Unified’s lead with a three-step plan:
- Initial awareness: Give previews and unit overviews at curriculum nights and via email
- Detailed information: Send out full permission packets with safety details
- Follow-up communication: Share videos or demos after the activity
Keeping signed slips organized is key. Use digital systems, but also have paper backups for families who prefer them. This isn’t just about organization; it’s about being prepared.
Remember, informed parents are your allies. They support your efforts. But surprised parents can become your critics. Spend a few extra minutes on your communications to build trust and support.
Your goal isn’t to eliminate all concerns. That’s not possible. Instead, show such professionalism that parents feel reassured. They should think “They’re taking this seriously” instead of “I need to call the school board.”
Printable Checklists/Signage Pack
We’ve put together essential safety protocols into easy-to-print checklists and signs. They’re like your safety guidebook, clear and easy to see. Plus, they’re made to withstand spills.
Our tools are made for real classrooms. No small fonts or hard-to-read layouts here. Just simple, effective safety measures teachers can use right away.
Accessibility is key. These checklists and signs are easy to use during demos. They keep safety in focus where it should be.
Download your pack today. Give your lab the best safety tools. They support a culture of safety and readiness.
