
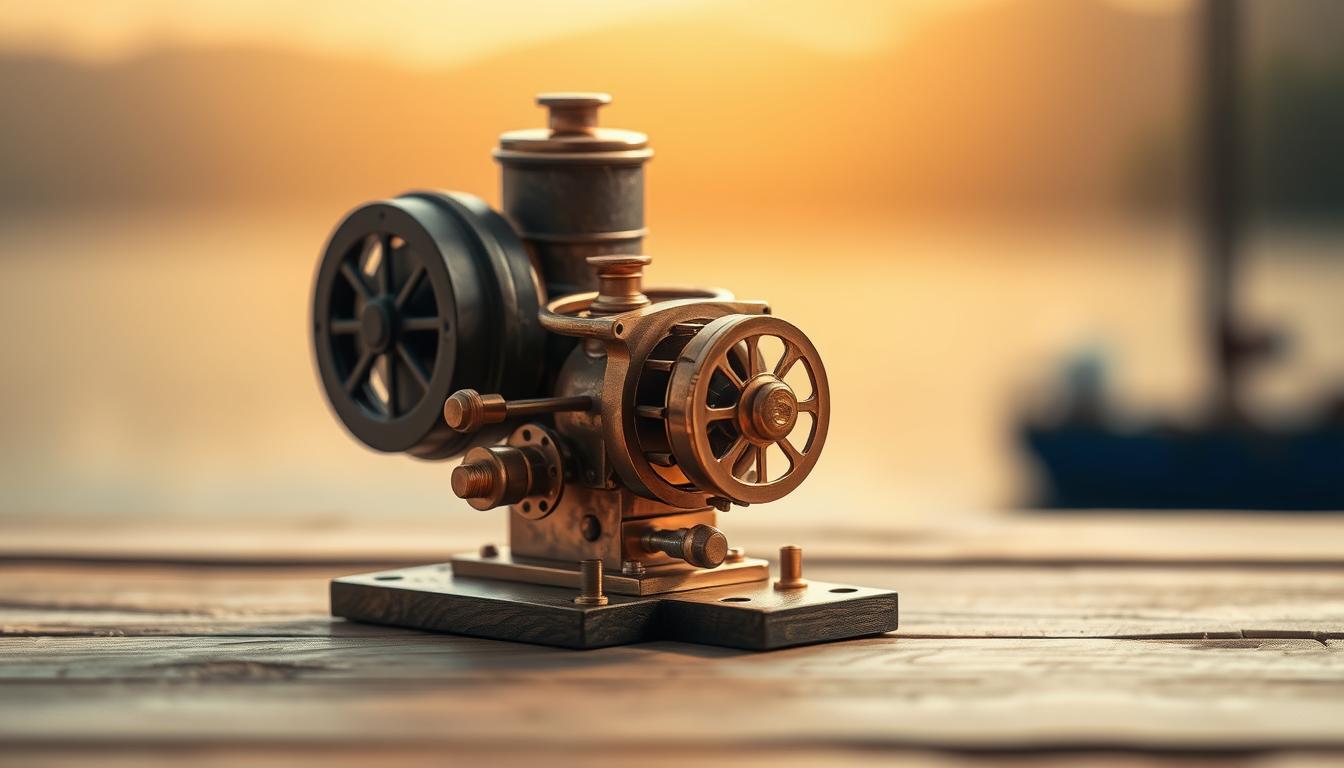
Do you remember that moment when you found something so simple yet amazing? That’s what the pop-pop boat is like. It’s a steam-powered wonder that many in the West have never seen.
These tiny marvels brought joy to kids all over the world. But after World War II, they mostly disappeared from American toy shelves. Now, they’re back, blending history with today’s STEM learning.
Let’s see how this pop-pop boat engine ties into science standards. It shows us that even the simplest things can teach us a lot about energy and science.
Safety First: adult supervision, PPE, heat-proof surface, never seal containers, fire extinguisher/first-aid on hand
The pop-pop candle steam engine is safer than many birthday parties with fireworks. We often put kids close to open flames in big pastry monuments. But this tiny marine experiment makes us think twice.
Even so, we follow strict fire safety rules for this candle steam engine project. It’s like teaching kids about safe innovation.
- Adult supervision – This isn’t a solo mission
- Personal Protective Equipment – Safety glasses and heat-resistant gloves
- Heat-proof surface – Ceramic tile or metal baking sheet
- Never seal containers – Physics prevents explosions, but don’t test this
- Fire extinguisher nearby – ABC type within arm’s reach
- First-aid kit – For unexpected thermal introductions
The candle steam engine is beautifully engineered for safety. It can’t build up enough pressure to explode. It’s like a smart teakettle that moves itself.
Water expands, then contracts, and repeats. This simple physics keeps it safe.
But we’re working with fire and hot metal. Be careful. Keep your workspace away from flammable things. Have water ready for any fires.
This candle steam engine shows how safety can be built into design. It works because of its clever design. Now, let’s see how it actually works.
How It Works: phase change, expansion/contraction, pulse oscillation thrust
Forget complex machinery and high-pressure systems. Our little boat runs on elegant thermodynamics. It’s the kind that would make a Victorian engineer nod in approval while sipping tea. This isn’t steam engine nostalgia; it’s physics in its purest, most accessible form.
At its core, this low-pressure steam project shows how simple phase changes can create continuous motion. Water heats, becomes steam, expands dramatically. It’s like watching a quiet introvert suddenly become the life of the party.
The magic happens through pulse oscillation thrust. Steam expansion pushes water out one end, creating suction that draws more water in. The cycle repeats – expansion, contraction, push, pull. It’s nature’s version of a perpetual motion machine, powered by thermal energy instead of magic.
This beautifully simple system shows how thermal energy converts to mechanical motion. No turbines, no pistons, no complex valves. Just the humble dance of molecules changing states and creating movement through their transformation.
What makes this low-pressure steam project so fascinating is its accessibility. While industrial steam systems require massive pressure vessels and safety protocols, our pop-pop engine works with barely more pressure than a sigh. It’s thermodynamics demystified – proof that big concepts can play out in small, beautiful ways.
The pulse oscillation creates a distinctive sound too – that satisfying “pop-pop” that gives the engine its name. Each pop represents another cycle of phase change, another conversion of heat into motion, another demonstration of fundamental physics working right before your eyes.
Materials & Tools + Cost & Prep Timeline
Forget Amazon Prime – the real excitement is at your local hardware store. This project turns simple items into amazing feats, like a dish made from pantry staples.
Your materials list is like a scavenger hunt at the hardware store. You’ll need copper tubing, balsa wood, and tools that won’t cost a lot.
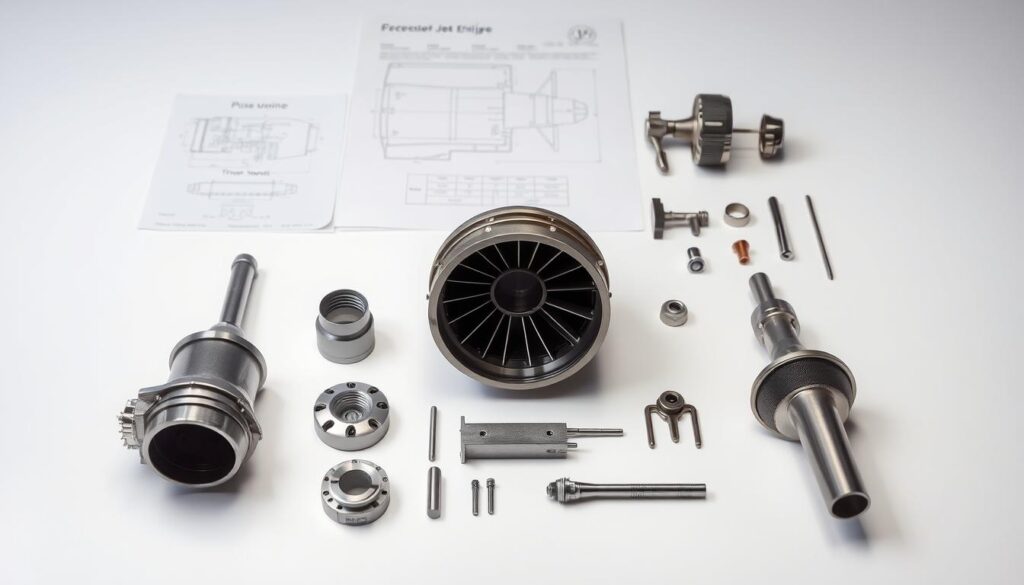
The cost? Less than a streaming service you forgot to cancel. Prep time? Shorter than explaining TikTok to your grandparents.
Essential Components for Pulse Jet Propulsion
Copper tubing is like the circulatory system. Pick a diameter wisely, not too thin, not too thick. Balsa wood is the skeleton, showing that light materials can make a big difference.
The coiling mechanism is the key. It’s not NASA-level engineering but clever repurposing that would impress MacGyver.
| Item | Approx. Cost | Source & Notes |
|---|---|---|
| Copper tubing (6-8mm diameter) | $12-18 | Hardware stores – avoid pre-bent sections |
| Balsa wood sheets | $8-12 | Craft stores – lighter than your excuses |
| Basic hand tools | $15-25 | Probably in your garage already |
| Tin foil baking pan | $3-5 | Grocery store – the unsung hero |
| Heat source | $10-20 | Alcohol burner or small propane torch |
This materials list costs under $50. It’s cheaper than most video games but way more educational. The project takes one afternoon and gives you bragging rights forever.
Every item on this list has multiple uses. It shows that engineering is about using tools well, not just having the best ones.
Step-by-Step Build: coil tube • form hull from foil pan/tin • mount coil • add intake/exhaust • prime with water • heat
Welcome to the moment where theoretical physics turns into real engineering. This isn’t just putting parts together – it’s turning copper and tin into something amazing. Our simple materials will soon become a moving marvel of science.
First, we start with the copper coil. Fill it with sugar before bending to avoid kinks. Then, wrap it around a shape, making a spiral that would impress Archimedes.
Next, we make the hull, the base of our boat. In Bangladesh, people use tin cans. In the West, aluminum foil pans are preferred. Either way, we’re giving old trash a new life as a boat.
Assembly needs precise geometry. Place the coil at the right angle to avoid problems. The intake should be just under water, and the exhaust should point straight back. It’s all about physics, but it feels like art.
Here’s your guide:
| Step | Key Action | Pro Tip | Time Estimate |
|---|---|---|---|
| 1. Coil Formation | Bend copper tube around form | Use sugar filling to prevent collapse | 15 minutes |
| 2. Hull Creation | Shape tin can or foil pan | Ensure watertight seams | 10 minutes |
| 3. Coil Mounting | Secure coil to hull | 45-degree angle optimal | 5 minutes |
| 4. Intake/Exhaust | Position openings | Intake submerged, exhaust clear | 5 minutes |
| 5. Priming | Add water to coil | Just enough to fill bottom loop | 2 minutes |
Now, prime your coil with water. Not too much to drown the physics, just enough for a cool effect. Then, heat it up and watch as energy turns into motion.
Your tin can boat is more than just recycled stuff. It shows that deep science is in everyday things. The change from parts to a moving boat is always magical.
Remember, a great tin can boat starts with a well-made coil. The sugar trick is key to avoiding problems. Your choice of hull gives your boat character, but it can’t change its ability to move.
Mounting the coil right is key to success. The intake and exhaust need careful placement. These steps turn theory into real motion.
When that first bubble moves through your coil, you’ll see why this tin can boat project is so special. It makes thermodynamics real, physics fun, and recycling amazing.
Launch & Test: water depth, starting tricks, measuring speed and sound
The moment of truth is here. Water meets metal, and dreams meet reality. This isn’t just a science project. It’s where your ideas either soar or sink.
Water depth is key. Too little, and your boat hits the bottom. Too much, and it fights against itself. Find that perfect spot where the water is just right.
Starting the boat is like a dance. Place the candle just right. Make sure the flame touches the coil gently, not too hard.
Then, wait for the magic to happen. Watch for the first bubble. Then another. And another, until it sounds like a smooth engine.
Measuring speed is like a race. Set a 3-foot course and time each lap. It’s like timing a fast car.
The sound it makes is music. It shows how well the engine is working. Each sound tells a story of movement and control.
This is where STEM meets STEAM. The sound is like art. Your simple boat shows off big engineering ideas through this STEM activity.
Don’t forget about the environment. Test it in different conditions. See how it changes.
The best STEM activity isn’t always a success. It’s the one that fails in a way that makes you think.
Troubleshooting: leaks, coil kinks, poor thrust, flame distance
When your pop-pop boat engine sounds sad instead of happy, it’s time to fix it. This is not failure. It’s a chance to learn and improve.
Leaks mean it’s time to check your coil connections. Look at every joint carefully. A small mistake can cause big problems. Bubbles will show you where to fix the issue.
Kinks in your coil? That’s why we used sugar during construction. If you skipped this, you might have problems. Sugar helps the coil bend without breaking.
Poor thrust often means the flame is in the wrong place. Too close and you get steam explosions. Too far and it’s too weak. You need to find the perfect spot for the flame.
Every time you fix a problem, you learn more about how it works. The pop-pop boat engine teaches us through its mistakes. Now, adjust the flame, check the connections, and make waves again.
Extensions: compare tube diameters, fuels/heat sources, hull shapes; record data tables/graphs
Now that you’ve launched your basic steam engine, the real fun starts. Your low-pressure steam project is turning into a real STEM investigation.
Let’s look at tube diameter first. Does bigger tubing mean more power or just more resistance? Try using 1/4-inch and 3/8-inch coils. See which one lasts longer and goes farther.
Then, test different heat sources. Candles give weak heat, but alcohol burners are stronger. Butane lighters are even more intense. Find out which one makes your engine run best.
Now, let’s play with hull shapes. Does a pointed bow really help or just look cool? Try different shapes with aluminum foil. Flat bottoms versus V-shapes. See how each shape affects movement.
Keep detailed records like a scientist. Track:
- Tube diameter versus thrust duration
- Fuel type versus heat intensity
- Hull shape versus movement smoothness
Make graphs of your findings. Show thrust over time. Plot efficiency against heat. This way, you’re not just messing around – you’re doing real science.
These changes make your low-pressure steam project more than just building. You’re testing ideas, analyzing data, and doing real science.
And making your high school physics teacher proud in the process.
Assessment Rubric & Student Reflection
Grading this candle steam engine project isn’t about perfection. It’s about learning from both successes and failures. The failures often teach us more than the successes do.
Our rubric focuses on the journey, not just the end result. We look for signs of learning, creativity, and those moments when science comes alive.
Student reflections are where the real magic happens. Ask them about their experiences with heat transfer and condensation. What did they learn from their failures about thermal expansion?
Here’s a special rubric for you:
- Experimental Courage (25%): Willingness to test, fail, and try again
- Physics Connection (25%): Linking observations to thermal dynamics principles
- Problem-Solving (25%): Creative adjustments to leaks, kinks, and weak thrust
- Documentation (25%): Honest recording of both successes and glorious failures
The student who fixes a leaky connection after three tries? That’s an A+ performance. The team that doesn’t launch but understands why? That’s deeper learning than any textbook.
Reflection questions should explore the gap between theory and practice. “What did your hands learn that your textbook couldn’t teach you? How did failure become your most effective instructor?”
Remember, we’re not just checking if they built a working engine. We’re looking at how they learned physics. The smell of melted wax and steam? That’s the scent of real education.
Cleanup, Storage & Safe Disposal
Every experiment has an encore, and ours is the unglamorous but essential cleanup. It’s like doing the dishes after a great meal. It’s where responsibility meets innovation.
Start by cooling all components. Wipe down the coil and hull with a dry cloth. Check your materials list to ensure nothing is missing or damaged. Proper storage means your pop-pop boat lives to putt another day.
Store the boat in a dry place, away from heat sources. Disassemble if needed, but keep parts together. Refer back to your materials list for organization tips. This isn’t just tidying up; it’s preserving your engineering masterpiece.
Dispose of used water responsibly. Never dump chemicals or fuels down the drain. Recycle foil pans and metal scraps. Safe disposal respects both the environment and safety protocols.
This final step completes the experiment’s lifecycle. It teaches that true science considers the entire process, not just the exciting middle. Plus, nothing says “I’ve learned something” like putting everything away properly.
