
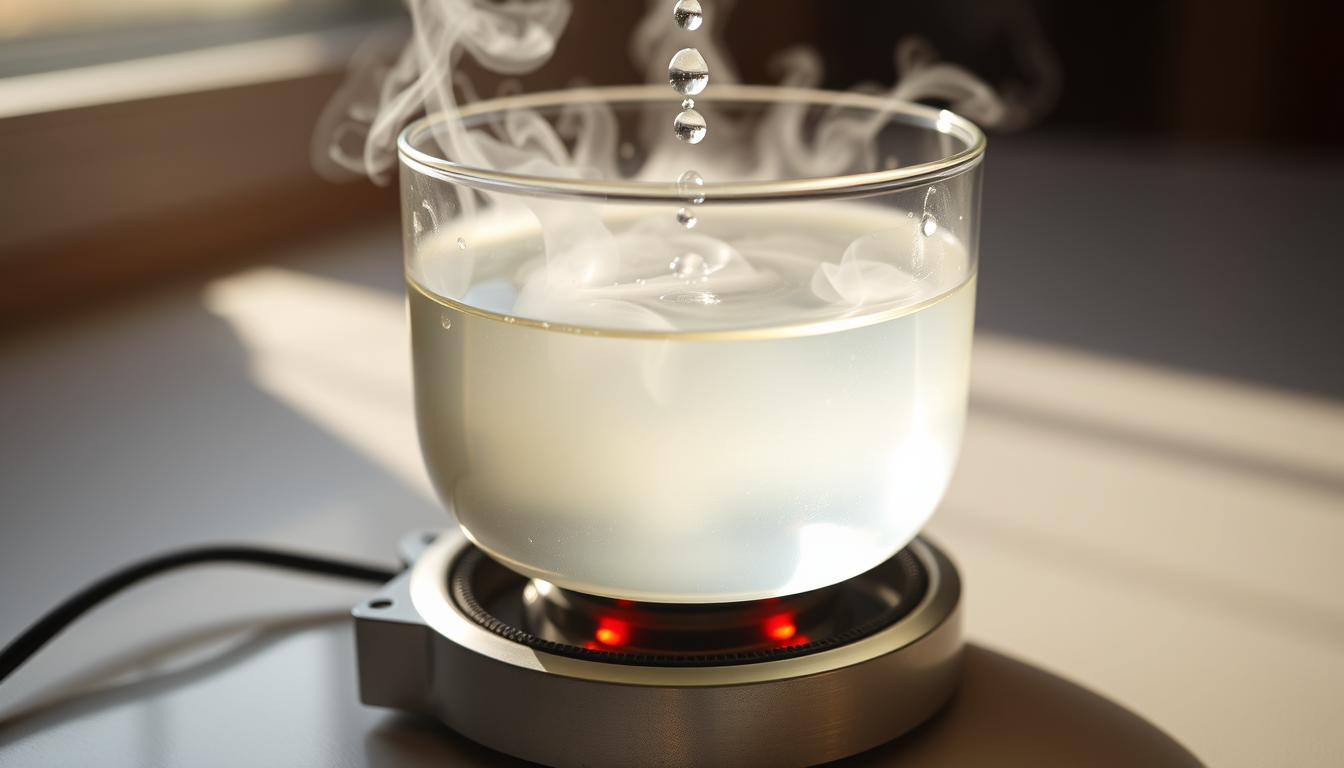
Welcome to the most fun thermodynamics lesson you’ll find. It’s like Bill Nye and Neil deGrasse Tyson mixed with MythBusters excitement.
We’re not just boiling water. We’re diving into phase change physics that would impress Marie Curie.
This phase change demo shows how classroom magic meets real-world energy standards. It’s the same science behind espresso machines and NASA’s coolers.
Integrated solutions and heat balance are more than engineering terms. They’re the universe’s rules, whether in labs or designing huge systems.
Safety & Setup: low-pressure open system only, shield, gloves, water on hand
Before we start, let’s set some strict rules. This condensation loop experiment needs to follow one rule: it’s all about open systems. This means no closed systems.
Our setup is like James Bond’s world – all about precision and safety. We use low-pressure systems to avoid the mess of steam explosions.
You’ll need a set of tools that’s as complex as a nuclear submarine’s. Think of safety shields, heat-resistant gloves, and water ready to go. It’s all about avoiding accidents, not just for fun.
The open-system design is more than just safety. It’s a smart way to handle energy. Unlike sealed systems that can get too hot, our setup lets energy out safely.
Places like NASA and medical fields use this method too. They show how to handle energy without causing trouble. Your condensation loop will teach you the same lesson.
Learning about steam should be fun, not painful. Our low-pressure setup makes sure our experiment is educational, not scary.
Build the Loop: kettle/boiler → silicone tube → cooling coil in ice bath → beaker
Forget about Swedish furniture assembly. We’re making something useful, not just testing relationships. Our goal is to turn kitchen items into a mini power plant, showing big ideas in a small way. It’s science, but with a twist.
This setup is simple yet powerful. It’s like a closed-loop system that NASA engineers would approve of. It’s thermodynamics meets MacGyver, using everyday items to show big truths about energy.
The Kettle Transformation
Your electric kettle is now our boiler. It’s not a huge machine but a kitchen item that shows big science doesn’t need a lot of money. The kettle turns water into steam, starting our journey.
Remember, keep the kettle on a stable, heat-safe surface. We’re aiming for controlled chaos, not a mess.
Silicone Tube Highway
The silicone tubing is our clear path for water to change. It lets students see steam turn into water right before their eyes. The clear tubing offers a close-up view of the science.
Make sure to use strong clamps at each connection. We want the energy to flow smoothly, without surprises.
Cooling Coil Drama
The cooling coil in ice water is where things get exciting. It’s like taking a sauna user into the Arctic – the sudden cold makes the steam change back into water.
Keep the ice bath cold throughout the experiment. Add ice as needed to keep the water cold.
Beaker Reception
The beaker is where our water ends up. It’s where we see the steam to water cycle complete. The beaker lets us measure and watch the water.
Put the beaker on a stable surface, below the ice bath. Gravity helps the water flow into the beaker.
| Component | Function | Safety Consideration | Observation Point |
|---|---|---|---|
| Kettle/Boiler | Phase change initiator | Stable placement, heat protection | Steam generation rate |
| Silicone Tube | Vapor transport highway | Secure connections | Steam flow visibility |
| Cooling Coil | Thermal shock applicator | Ice bath containment | Condensation beginning |
| Beaker | Collection and measurement | Stable positioning | Final water quantity |
This setup shows the same ideas that power plants and spacecraft use. It’s a small version of big heat exchange systems. It shows that simple setups can reveal deep truths.
Each part of the loop is key to our journey from steam to water. The whole system works together, with each part playing its role in the science.
Observe: bubble formation, vapor travel, condensation, mass balance
Welcome to nature’s most captivating reality show. Here, water molecules stage their great escape and surrender. It’s not just watching – it’s detective work, where you track energy transfer clues.
The process unfolds like a political drama. It includes rebellions, journeys, surrenders, and careful accounting.
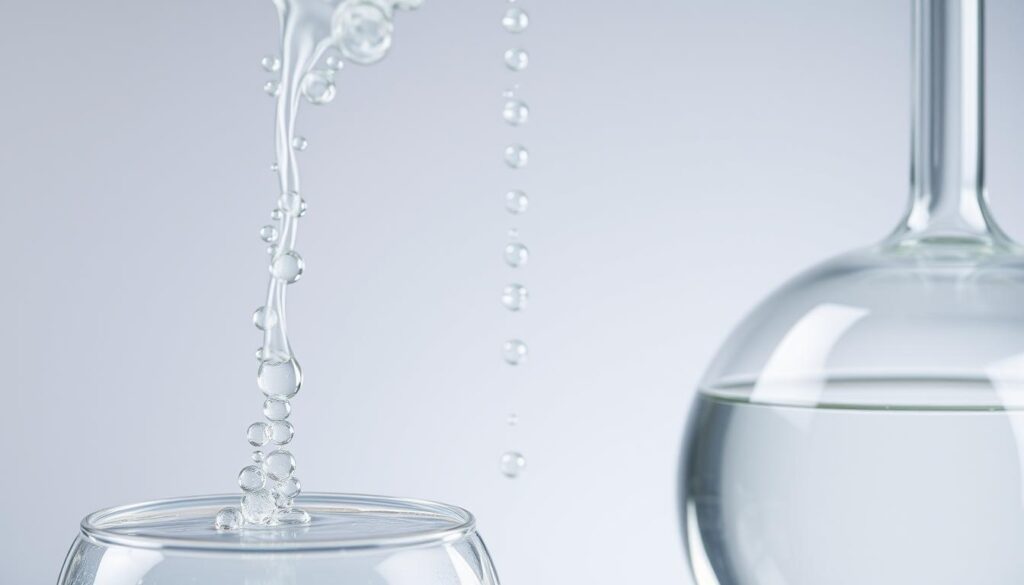
Bubble Formation: Nature’s Popcorn Show
Watch the kettle like it’s opening night on Broadway. The first bubbles are tiny rebellions against liquid confinement. Each bubble shows water molecules gaining enough energy to break free.
Notice how bubbles form first at the bottom and sides? This is where heat concentrates, like political dissent in marginalized communities. The pattern reveals thermal gradients and nucleation sites – nature’s way of showing us where the action starts.
Vapor Travel: The Transparent Subway
Follow the vapor through clear tubing like commuters rushing through a transparent subway system. These aren’t ordinary commuters – they’re water molecules with anger management issues, moving at speeds that would make NASCAR drivers jealous.
Observe how the vapor maintains its gaseous state while traveling. No condensation yet – just pure, energetic steam racing toward its destiny. This journey demonstrates how energy, once acquired, wants to keep moving until something stops it.
Condensation: The Great Surrender
Here’s where the magic happens. Watch energetic vapor become placid liquid in the cooling coil, releasing latent heat like political candidates releasing embarrassing past statements. This phase change isn’t just physical – it’s emotional.
The condensation process reveals thermodynamics in its purest form. Energy that was hidden suddenly becomes visible as heat transferred to the cooling bath. It’s nature’s way of showing that nothing disappears – it just changes form.
Mass Balance: Physics’ Accounting Department
Now for the forensic accounting. Measure what goes up (as steam) and what comes down (as water). The universe hates unbalanced booksheets almost as much as the IRS does.
Track the water levels in both containers. Notice how the mass redistributes but never disappears? This balancing act demonstrates conservation principles that govern everything from laboratory experiments to planetary systems.
Your observations here form the foundation for understanding latent heat transfers and energy conservation. Each visual clue contributes to solving thermodynamics’ greatest mysteries.
Measure: temperature at points, time to first condensate, energy discussion
Watching bubbles form is fun, but measuring is where we get real data. This turns kitchen experiments into actual science. In thermodynamics, measuring is key – without it, you’re just talking about hot water.
Temperature Checkpoints Tell the Story
Temperature measurements are like checking the system’s health. We look for signs of overheating or cooling too much.
We put thermometers at three spots: where the water comes out, in the clear tubing, and before it condenses. The temperature differences show how much energy is lost. It’s like seeing if a machine works well or not.
We take these readings every 30 seconds. This fine detail shows how heat moves in real time, not just in theory.
The Clock Starts Ticking at First Condensate
When the first condensate forms, time starts. We measure from when boiling starts to when the first droplet falls.
This tells us how good our cooling system is. A quick time means it’s working well. A slow time means it needs help. It’s like seeing how fast a government reacts to a problem.
Connecting Kitchen Physics to Cosmic Principles
Our energy talk connects small experiments to big ideas. The heat moving through our clear tubing could power cities if we scale it up.
Our condensation process is like how rain clouds form. The same science that makes clouds in Nebraska works in our beaker, but without the politics.
The clear tubing shows our science openly. It’s not just pretty. It means we can see everything happening, unlike some hidden processes.
This careful measuring turns simple watching into real science. We’re not just seeing water boil. We’re tracking energy changes in a beautiful way.
Explain: latent heat, pressure vs boiling point, why not seal a system
Our phase change demo reveals a deep truth. It shows how boiling water leads to important thermodynamic lessons. The real magic happens between the states, not within them.
The Hidden Energy Tax of Transformation
Latent heat is like a hidden fee in thermodynamics. When water boils, the energy you add doesn’t raise the temperature. It’s more like a service charge for changing phases.
Heating water from 90°C to 100°C needs energy. But turning 100°C water into steam takes five times more energy. This energy goes into breaking molecular bonds.
Steam burns are so severe because of this. The latent heat stored during vaporization is released when it touches your skin. It’s like a thermal savings bond paying out all at once.
Pressure’s Negotiation With Boiling Point
Pressure and boiling point have a constant negotiation. When one goes up, the other must go down.
Lower atmospheric pressure means water boils at lower temperatures. This is why Denver tea boils faster than Death Valley tea (though both taste disappointing).
Industrial steam systems use this to their advantage. By controlling pressure, engineers can set exact boiling points. It’s like seasoning a sauce – a bit more pressure here, a bit lower temperature there.
Our phase change demo shows this beautifully. When steam hits the cooling coil, pressure drops. Suddenly, molecules want to be water again.
Why Sealed Systems Become Pressure Cookers of Regret
Now for a safety lesson: never seal a boiling system. Closed containers with expanding steam are like repressed emotions – they will eventually explode.
Open systems breathe. They allow pressure and temperature to be regulated. They also fail gracefully. Like well-designed societies, they have release valves, not suppression mechanisms.
Research on shell-and-tube condensers backs this up. Efficient pressure regulation is about flow, not containment. The best systems let energy move freely, not be trapped.
Our simple phase change demo teaches a big lesson. Control through freedom works better than control through restriction. This principle applies to managing steam or societal pressures.
Student Roles & Data Sheets
Welcome to the backstage of our condensation loop experiment. Here, students become active participants with important job titles. It’s like a Broadway show, but with thermal readings instead of ticket sales.
Every condensation loop investigation needs a specialized crew. The Temperature Czar tracks thermal changes with a thermometer. The Timekeeper measures condensation rates with great precision. The Data Recorder documents everything, like a courtroom stenographer.
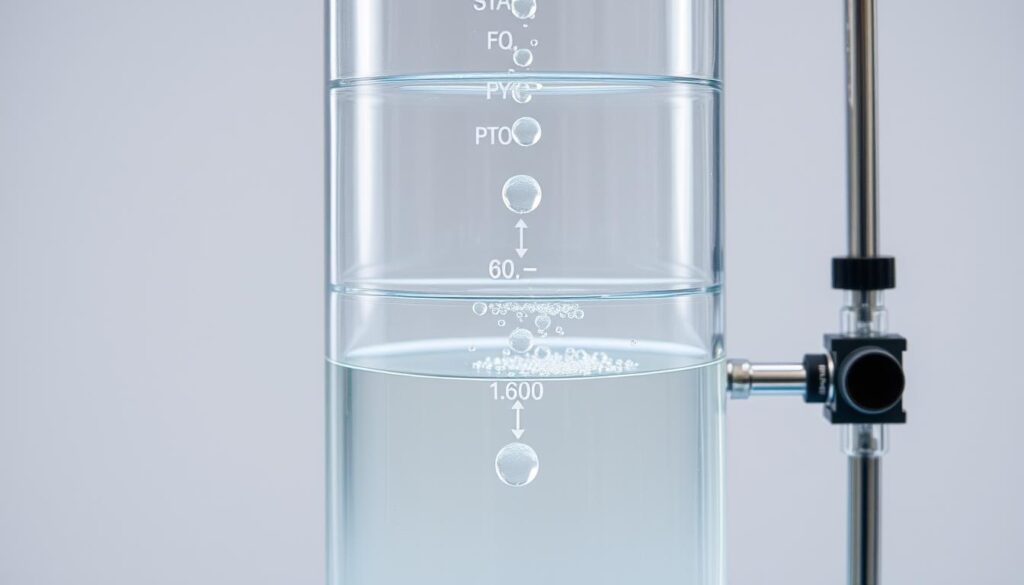
These roles turn chaotic observations into organized data. The data sheets are where magic meets methodology. They create a structured framework that makes any research team proud.
This approach is like how professional labs operate. Proper documentation is key, separating anecdotal evidence from verifiable science. The structured approach to data collection ensures every observation is part of a larger scientific narrative.
Each team member brings unique perspectives to the investigation. The Temperature Czar might spot thermal patterns others miss. The Timekeeper could find rate variations that reveal hidden energy transfer principles. The Data Recorder ensures nothing gets lost in translation.
This division of labor is about teaching collaborative science. Real research rarely happens alone. By mirroring professional team structures, we prepare students for actual scientific environments.
The data sheets unite these specialized roles. They transform subjective observations into objective data. This meticulous approach turns classroom science into authentic research methodology.
Extension Labs: add a simple turbine wheel; compare coolants
Now, we move from just watching to making it work for us. The difference between understanding combustion and actually building an engine is huge. This is where our simple demo turns into something that could power a tiny civilization of ants.
Adding a Simple Turbine Wheel
Let’s turn our passive watching into active work extraction. By adding a simple turbine wheel to your steam to water flow, you’re not just watching physics. You’re harnessing it. This shows energy conversion in its purest form: thermal energy becoming mechanical work.
Think of it like the difference between watching a river flow and actually building a waterwheel to grind grain. The turbine shows how civilization got moving – from steam engines to power plants. Your tiny spinner becomes a microcosm of industrial progress.
Comparing Coolants – The Material Science Angle
Why stick with water when the periodic table offers so many options? This is where we channel our inner engineer and ask: does ethanol work better? What about mineral oil? This isn’t just academic – it’s how real systems get optimized.
Different coolants affect the steam to water conversion efficiency dramatically. Some transfer heat better. Some have different boiling points. Some are just more fun to work with (though we don’t recommend trying liquid nitrogen without professional supervision).
| Coolant Type | Boiling Point (°F) | Heat Capacity (J/g°C) | Efficiency Rating |
|---|---|---|---|
| Water | 212 | 4.18 | Excellent |
| Ethanol | 173 | 2.44 | Good |
| Mineral Oil | 650+ | 1.67 | Fair |
| Salt Water (10%) | 216 | 3.85 | Very Good |
The table shows why water is the cooling system champion – that magical 4.18 J/g°C heat capacity is nature’s perfect thermal sponge. But seeing how other substances perform gives you insight into specialized applications where water might not be ideal.
This coolant comparison isn’t just academic – it’s the same process engineers use to optimize everything from your car’s radiator to nuclear plant cooling systems. You’re not just doing a lab; you’re thinking like an engineer solving real-world problems.
The transformation from steam to water becomes more than a phase change – it’s a lesson in energy efficiency, material science, and practical engineering. Your simple demonstration just became a miniature power plant design lab.
Assessment: claim-evidence-reasoning write-up
Science labs often feel like cooking shows where you just follow recipes. But we’re changing that. The claim-evidence-reasoning framework turns students into real scientists.
Imagine it like a courtroom drama. You make a claim, show your evidence, and explain your reasoning. This is how science really works, not just in textbooks.
Your task is to prove that latent heat transfer happened in our distillation experiment. It’s not just about seeing steam. You need to show real energy transformation.
Begin with your claim. Was the latent heat exchange efficient? Did temperature differences cause the phase changes as expected? Be clear and bold – science likes it that way.
Next, gather your evidence. This isn’t about dumping data. It’s about picking your best observations:
- Temperature readings at key points
- Condensation rates over time
- Visuals of bubble formation
- Mass balance between vapor and condensate
The magic happens in your reasoning. Connect your evidence to your claim like a detective. If condensation happened faster at lower temperatures, explain why this shows latent heat principles.
Ask yourself: did the energy transfer match what we expected? Were there surprises? Unexpected results can reveal more about latent heat in open systems.
This method is like how research papers are structured. It’s also how scientific consensus is built. It prepares you for everything from publishing to making business decisions.
Focus on quality, not quantity. A few sharp evidence points with solid reasoning are better than many vague observations. Your goal is to be deeply analytical about latent heat phenomena.
This approach is useful beyond science labs. Next time someone makes a big claim, you’ll ask for evidence and reasoning. This builds critical thinkers, one latent heat experiment at a time.
Cleanup & Storage
Cleanup is more than just tidying up. It’s like the final act of a great show, where we make sure our tools are ready for the next adventure. It’s like keeping your equipment in top shape for future discoveries.
The clear tubing needs extra care. Wind it up carefully to avoid kinks. Storing it right keeps it clear for your next experiment. Always dry it completely to stop any unwanted growth.
Don’t forget to descale your kettle. Mineral buildup can mess up your results quickly. And make sure to dry your ice bath containers well. This keeps your equipment in good condition, just like in professional labs.
