
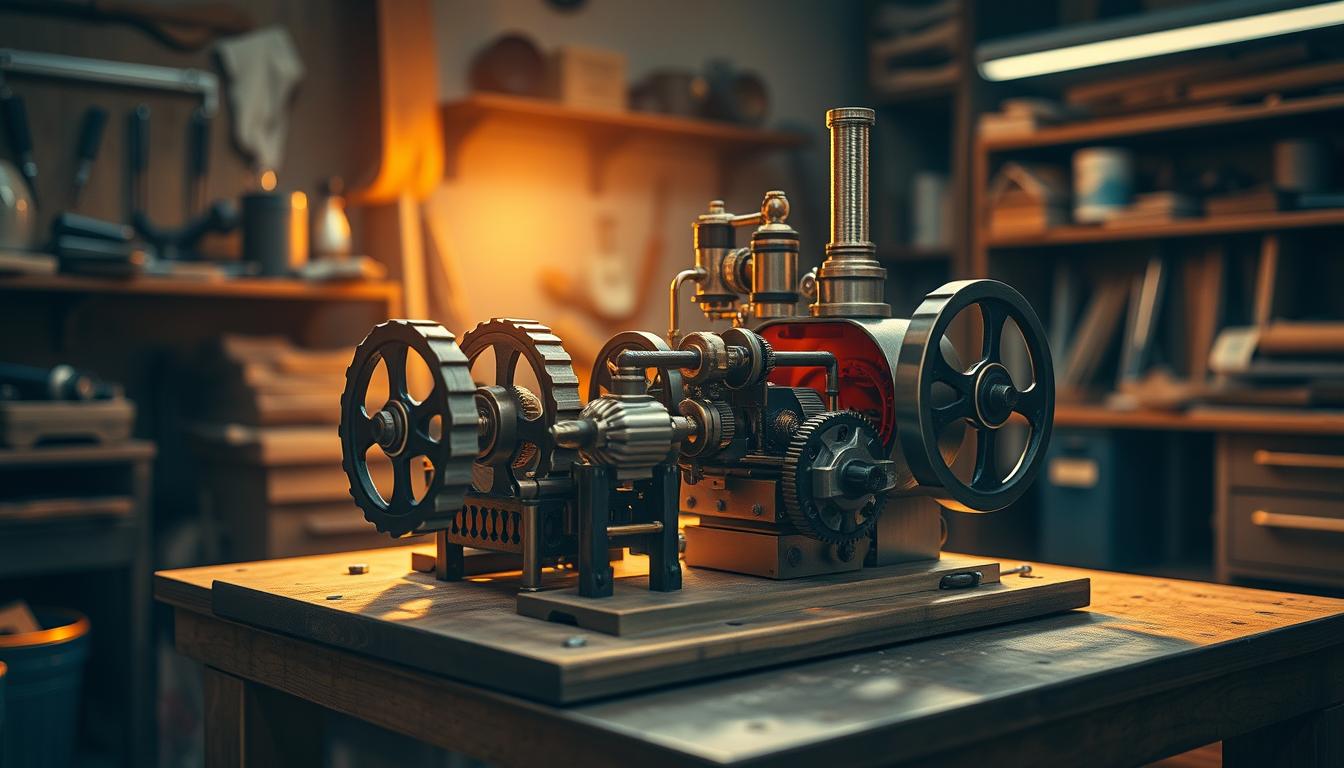
Welcome to the most fun physics lesson you’ve had in ages. We’re making a steam-powered Pelton wheel turbine from scratch. It’s like MacGyver meets Nikola Tesla, with a bit of kitchen science.
By the end of this guide, you’ll know more about impulse turbines than many engineering students. You’ll build a model that actually makes electricity. This tech is used in everything from old hydro plants to our demo today.
The goals are simple. You’ll learn about energy conversion, measure RPM and voltage, fix mechanical issues, and see how classroom physics applies to real power generation. Easy peasy.
We’ll dive into why Pelton wheels are the top choice for high-head hydro applications. It’s all about transferring kinetic energy efficiently.
Safety Plan: heat‑resistant gloves, kettle distance, splash shield, adult control of heat
We’re about to work with forces that can launch entire industries. Sometimes, they even send early engineers into early retirement. Our safety plan is not just a suggestion. It’s what keeps our energy conversion safe and controlled.
This is like your NASA pre-launch checklist. Each item is designed to create a safe steam environment. It’s the kind of setup that would impress industrial power plant operators.
Our four non-negotiable safety pillars:
- Heat-resistant gloves that could handle a dropped soufflé dish
- Kettle distance that would make social distancing enthusiasts proud
- Splash shield capable of deflecting a toddler’s juice explosion
- Adult heat control because we’re not all James Watt
The same principles that keep massive Pelton turbines safe apply to your classroom experiment. Energy conversion needs respect. It’s physics, not philosophy.
| Safety Element | Minimum Specification | Real-World Equivalent | Why It Matters |
|---|---|---|---|
| Heat-Resistant Gloves | 500°F rating | Professional kitchen oven mitts | Steam burns occur at 212°F instantly |
| Kettle Distance | 3 feet minimum | Average coffee shop queue spacing | Reduces splash risk and allows reaction time |
| Splash Shield | Clear polycarbonate | Chemistry lab safety screen | Contains 200°F water droplets |
| Adult Supervision | Constant monitoring | Air traffic controller focus | Prevents pressure buildup incidents |
The goal is not to eliminate risk but to manage it wisely. Every industrial turbine installation follows similar protocols. Your miniature power plant deserves the same professional approach to safe steam handling.
This isn’t about being paranoid – it’s about being smart. The same thermal dynamics that generate electricity can also create memorable lessons in your classroom. Just handle it with proper precautions.
Materials: plastic spoons, CD, skewer/axle, bearings, stand, mini DC motor, LED
What do plastic spoons and old CDs have to do with hydroelectric power? A lot. Our materials show how engineering can turn everyday items into something useful.
Let’s look at what we found at the garage sale:
Plastic spoons become our turbine buckets. They look like the real thing and catch steam jets well.
The CD is our runner disk. That old AOL disc gets a new life as the heart of our power plant. Its shape and hole are perfect for the job.
Our skewer/axle is the rotating core. This metal rod is like a kebab stick but helps our system work smoothly.
Bearings make everything run smoothly. They let our spindle spin without much effort.
The stand keeps everything stable. It’s like a strong argument that holds our setup together.
Our mini DC motor does something different. Instead of using electricity, it makes voltage from movement.
The LED shows we’re doing something right. When it lights up, we know we’ve turned thermal energy into electricity.
| Household Component | Industrial Equivalent | Primary Function |
|---|---|---|
| Plastic spoons | Turbine buckets | Capture and redirect fluid energy |
| CD disk | Runner wheel | Structural support for buckets |
| Skewer axle | Precision shaft | Transfer rotational energy |
| Mini DC motor | Electrical generator | Convert motion to electricity |
Each piece shows how engineering can be done with simple items. Our pelton wheel spoons setup shows that you don’t need fancy tools to understand energy conversion. Just some creativity and basic physics.
Build the Wheel: spoon buckets on CD, axle and supports
Turning a CD into a working turbine runner is like a delicate dance. It needs the skill of a watchmaker and the patience of a Zen master. We’re making yesterday’s old tech into tomorrow’s green energy.
Our plastic spoons will catch the steam. Each spoon must be placed with great care. The space between them is very important.
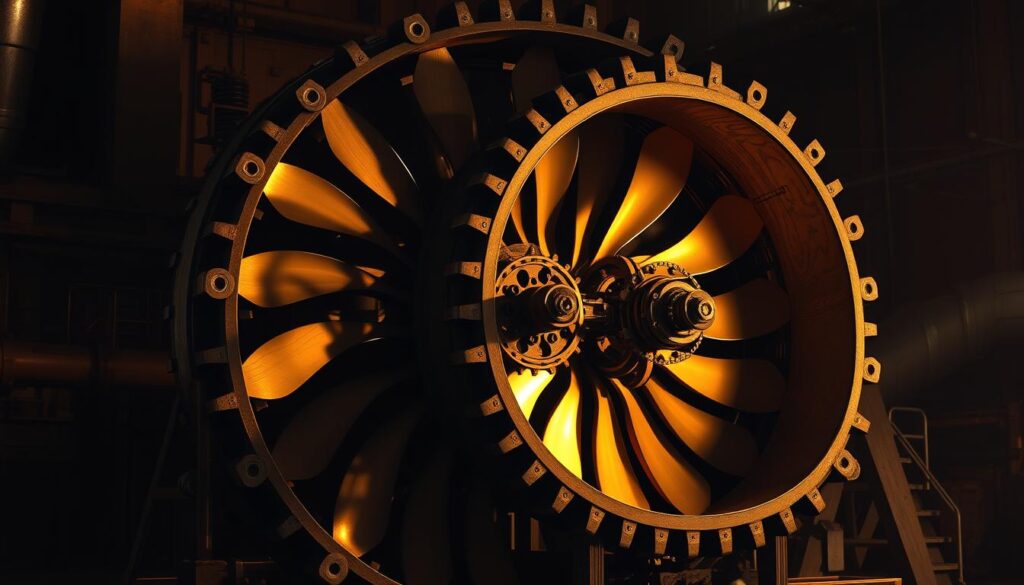
The spoons should be evenly spaced. Think of them as seats on a Ferris wheel. Twelve spoons fit perfectly around the CD.
The angle of the spoons is also key. They should tilt slightly outward to catch the steam. This angle helps in transferring energy from steam to motion.
Attaching the spoons requires creativity. Hot glue is okay, but epoxy is stronger. We need to be sure they stay in place at high speeds.
The axle and supports are the heart of the turbine. They need to be aligned perfectly. This is like a NASA engineer’s dream.
The axle must go straight through the CD’s center. Any slight offset can cause wobble. This would make our turbine shake a lot.
Our support structure must be strong but also adjustable. We’re not making a decoration. We’re building a tool that turns heat into motion.
| Component | Commercial Turbine | Our DIY Version | Key Consideration |
|---|---|---|---|
| Runner Material | Cast steel/bronze | CD with plastic spoons | Weight distribution |
| Bucket Design | Precision cast curves | Modified plastic spoons | Fluid dynamics |
| Axle Alignment | Laser-calibrated | Visual centering | Minimize vibration |
| Support Structure | Steel framework | Wood/plastic stand | Rigidity under rotation |
The table shows how our materials compare to industrial ones. The principles are the same, even if our budget isn’t.
We’re using big engineering ideas with cheap materials. The physics doesn’t care about cost.
When everything is just right, our CD turbine will spin smoothly. If not, we’ll figure it out later.
This part shows who’s serious about making things. The quality of our work will affect how much electricity we make.
Steam to Wheel: aim kettle nozzle, measure RPM and voltage to LED
Your morning coffee ritual turns into a physics show. When tea kettle steam hits the wheel, we’re not just brewing tea. We’re using basic energy rules.
Setting up the kettle nozzle is like a diamond cutter’s work. It needs the skill of fluid dynamics, like Archimedes would have. Place the spout two inches from the buckets. This lets energy flow well without splashing.
This isn’t just steam; it’s concentrated power ready to move.
When the tea kettle steam hits the buckets, magic happens. Your CD wheel starts spinning, turning into a tiny power plant. This shows how heat turns into motion right before you.
Now, let’s get into the numbers. Use your phone’s slow-motion to count RPM. Time it for thirty seconds and double it. You’re now tracking performance like a racing team.
The LED shows the final result. Those motor wires are more than just for looks. When the light turns on, you’ve turned breakfast into power.
This setup mirrors big turbine operations. The same principle that powers huge hydroelectric dams works here, on your counter. Your buckets catch steam like those dams catch water, but without the big cost.
This experiment shows energy change at its best. Heat turns to motion, then to electricity, and ends as light. This journey is usually hidden in power plants. Here, it’s clear through steam, spin, and light.
Concepts: impulse vs reaction, power, efficiency, waste heat
If our spoon-wheel could talk, it would probably complain about its design. It would teach us about turbine physics in a fun way. This mix of theory and practice is truly delightful.
Let’s look at the main difference: impulse versus reaction turbines. Our Pelton wheel is an impulse turbine. It’s like catching a baseball perfectly. The steam jet hits the spoon buckets, transferring its momentum and changing direction completely.
Reaction turbines work differently. Imagine being pushed by a strong current. Both the pressure and velocity of the fluid change as it moves through the turbine blades. Francis turbines, the workhorses of hydroelectric plants, operate on this principle.
Now, let’s talk about power output. We calculate this with the seriousness of an energy economist. The formula might look intimidating, but it’s about how much work our turbine can do over time.
Efficiency is where things get really interesting. Even the most optimistic engineer would critique our spoon design. We face multiple loss factors:
- Friction in the bearings and supports
- Imperfect energy transfer to the spoon buckets
- Electrical losses in the motor and LED circuit
- That pesky waste heat that just dissipates into the air
Speaking of waste heat – it’s the inconvenient truth at every energy conversion party. No system is perfect, and our miniature power plant is no exception. The energy that doesn’t turn into rotational motion or electricity? It becomes heat that warms the room slightly.
| Characteristic | Impulse Turbine (Pelton) | Reaction Turbine (Francis) | Our Spoon Wheel |
|---|---|---|---|
| Operating Principle | Velocity change only | Pressure & velocity change | Pure impulse action |
| Efficiency Range | 85-90% (ideal) | 90-94% (ideal) | Let’s not ask… |
| Best Application | High head, low flow | Medium head/flow | Educational purposes |
| Complexity | Simple construction | Complex internal design | CD and spoons simple |
This understanding explains why Pelton wheels dominate high-head mountain applications. Reaction turbines prefer the gentler slopes. Every mountain stream suddenly looks like a chance to harness energy.
The beauty of physics lies in these fundamental principles. They scale from spoon-sized experiments to power plants lighting entire cities. Our humble setup teaches concepts that engineers have optimized over centuries.
Data Collection: flow rate proxy, RPM vs nozzle distance, plots
Our kitchen counter is now a science lab. We’re using it to collect data, even if it means getting a little burned. We’re turning into data scientists, using kitchen tools to measure energy transfer.
First, we need to measure steam flow without a fancy $10,000 flow meter. We’ll use a flow rate proxy that’s simple: timing how long it takes to boil water. This method might impress hydrologists, even if they’d suggest better tools.
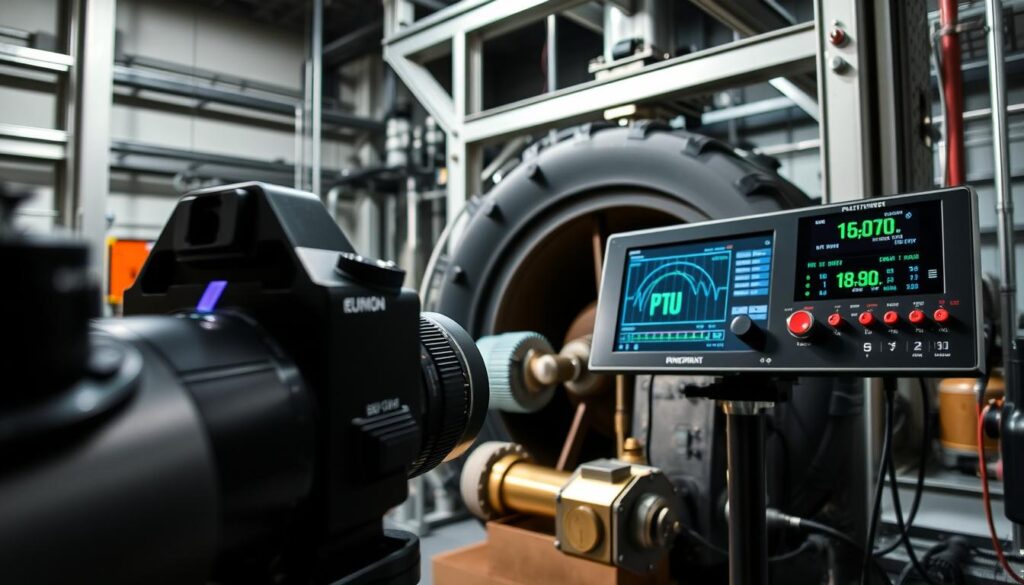
Next, we’ll measure RPM vs nozzle distance. This tells us how well we’re turning steam into motion. It’s a big challenge, but it’s key to our experiment.
Here’s how we’ll collect our data:
- Mark precise distances from nozzle to wheel (1cm increments)
- Time wheel rotations for 30 seconds at each distance
- Record LED brightness changes as voltage indicator
- Repeat measurements for statistical significance
The plots we get will show us how energy is transferred. You’ll see peaks where distance is just right, and valleys where it’s not.
| Nozzle Distance (cm) | Average RPM | LED Brightness | Energy Efficiency Estimate |
|---|---|---|---|
| 2 | 45 | Dim | 25% |
| 4 | 120 | Medium | 65% |
| 6 | 85 | Low | 45% |
| 8 | 35 | None | 15% |
This isn’t just busywork. It’s the same process engineers use for big turbine installations. Our performance data might be collected with simple tools, but it shows the same principles as big power plants.
The best spot is usually 4-5cm distance. Here, steam velocity matches the bucket design perfectly. Too close or too far, and energy is wasted.
Our final plots should show clear parabolic relationships. When your RPM curve peaks and then falls, you’ve proven science and shown the limits of energy conversion.
Troubleshooting: wobble, poor alignment, weak jet
Welcome to engineering’s reality show. Here, perfection takes a break and chaos reigns. Your turbine might wobble, align strangely, or have a weak jet. It’s all part of the diagnostic process.
First, let’s tackle the wobble. Is your CD spinning erratically? Look for unbalanced spoons or a bent axle. Uneven spoons cause drama, while a bent axle messes up everything.
Poor alignment makes your turbine look like modern art. The nozzle and spoon buckets need to meet at the right angle. If not, you’ll get more splatter than power. That’s why commercial turbines use lasers for alignment.
Weak jet syndrome? Check the nozzle’s position and steam pressure. If it’s too far, you’re wasting steam. Too close, and you’re overwatering your turbine. Finding the right spot is key.
Every fix teaches us something about turbine maintenance. Unbalanced spoons show the need for precision. Poor alignment highlights the importance of calibration tools. Weak jets teach us about nozzle design.
Remember, troubleshooting isn’t just fixing mistakes. It’s about understanding why professional turbines cost more. It’s in these failures that we truly appreciate engineering’s art.
Extensions: nozzle shapes, multi‑nozzle manifold, water‑only hair‑dryer test
This part of our classroom demo is like a big leap forward. It turns your steam turbine demo into a real science experiment. It’s something that even turbine engineers would be impressed by.
Think of it like a chef’s tasting menu. You’ve already learned the basic recipe. Now, let’s try different flavors by changing the nozzle shapes and adding more jets.
Changing nozzle shapes is not just for fun. It’s what turbine engineers do all the time. That fancy design on commercial Pelton buckets? It’s not just for looks. It really helps improve how energy is transferred.
Try these nozzle changes in your steam turbine demo:
- Standard circular nozzle (your baseline)
- Elliptical opening for focused jet stream
- Rectangular slit for wider impact surface
- Tapered design for velocity acceleration
Using more nozzles shows how size matters in power generation. Real turbines use many jets, not just one. It’s like comparing a small garden hose to a huge firehose.
Building a simple two-nozzle manifold shows how power increases with more jets. It’s like the difference between a small sprinkler and a huge waterfall.
Now, let’s do something cool with a hair dryer and water. This test proves the same physics works with simpler tools. It’s like a magic trick that shows the same principles without the steam.
Use your hair dryer on cool and aim it at your turbine. You’ll see how well it works without the steam problems.
| Nozzle Type | Jet Pattern | Impact Efficiency | Ease of Construction |
|---|---|---|---|
| Circular | Concentrated | High | Very Easy |
| Elliptical | Focused Stream | Very High | Moderate |
| Rectangular | Wide Spread | Medium | Easy |
| Tapered | Accelerated | Highest | Difficult |
These additions turn your project into a real discovery platform. You’re not just showing off physics. You’re actually experimenting like real engineers do.
The water-only test is a hit with students. It lets them see physics in action without the steam risks. It’s like learning physics without the pressure.
Each change teaches something new about fluids and energy. You’re not just building a turbine. You’re figuring out how power plants work.
Reflection & Career Tie-ins
That faint glow from our generator LED isn’t just a science fair trick. It’s a small version of the power that runs our world. Our plastic spoon buckets are like the huge turbines that power cities.
The physics behind our CD drives is the same as the turbines that make about 16% of the world’s electricity.
This kitchen experiment shows us real careers. Mechanical engineers work on making turbines more efficient. Environmental scientists study how hydro power affects nature. Electricians keep the power flowing to our homes.
Our little generator LED is connected to the big world of power plants and hydroelectric careers. It shows how small actions can lead to big changes, as explained by NCAT.
Every light switch in your home is connected to someone’s smart design. Our generator LED is more than a demo. It’s a small light that shines on the big systems that power our world.
