
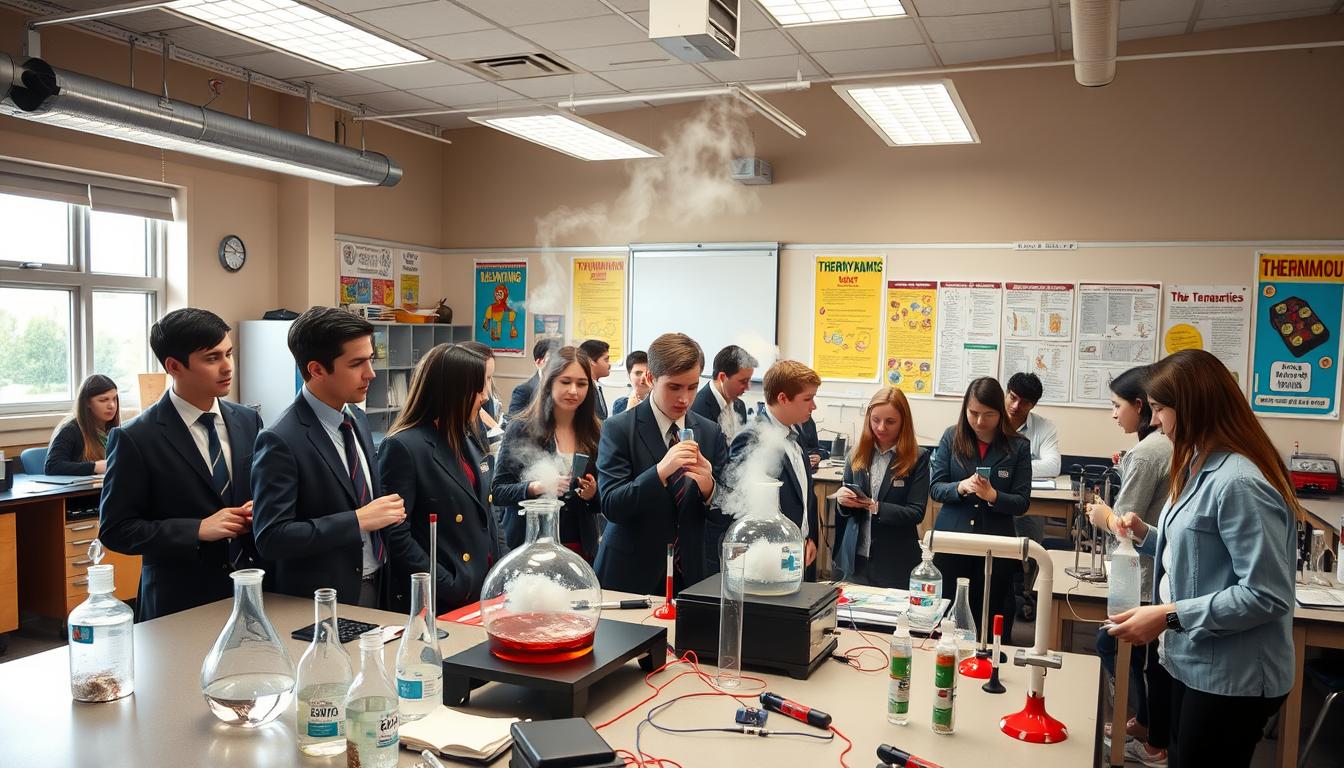
Why does ice melt? How does a steam engine work? These questions lead to the study of thermodynamics. It’s all about energy, heat, and how they change.
For students, learning about thermal energy is key in STEM. It helps them understand the difference between heat and temperature. They see how energy changes, like water turning to steam.
Learning by doing is the best way. Our middle school science labs focus on hands-on discovery. Students will measure energy transfer in real systems.
These experiments make complex ideas real. They let young scientists explore core concepts and learning objectives through observation. This makes hard ideas easy to remember.
Lab 1: Phase Change and Latent Heat with Steam
This simple experiment makes latent heat real for students. It’s a key phase change lab that shows the energy shift when water turns to steam.
Latent heat is the energy used or released when something changes state, like boiling or freezing. This energy change happens without a temperature change. Water at 100°C (212°F) absorbs a lot of energy to turn into steam, but its temperature stays the same.
The experiment is easy and safe for the classroom. You’ll need a beaker, a hot plate, a thermometer, a cold plate or ice water, and safety goggles. The goal is to boil water and watch the steam condense.
As water boils, students see a lot of steam. Holding the cold plate above the beaker makes the steam turn into a cloud of tiny water droplets. This looks like how clouds form.
When collecting data, students notice the temperature stays at 100°C while boiling. This shows the energy is going into the latent heat of vaporization, not raising the temperature. This is a key moment in the lab.
The table below shows the energy changes during boiling and condensation:
| Process | Energy Flow | Observable Effect | Latent Heat Type |
|---|---|---|---|
| Boiling (Liquid to Gas) | Energy is absorbed from the hot plate. | Vigorous bubbling and steam production; temperature stays constant. | Latent Heat of Vaporization |
| Condensation (Gas to Liquid) | Energy is released to the cold surface. | Formation of a visible water cloud or droplets. | Latent Heat of Condensation |
This lab connects the visual cloud to the data table. It shows that the energy released during condensation is the same as the energy absorbed during boiling. For more on latent heat, check out this OpenStax resource.
By the end of this lab, students understand phase changes better. They see that changes in state involve big energy exchanges, not just temperature changes. This prepares them for the next labs on pressure and heat transfer.
Lab 2: Pressure vs. Temperature (Using Sensors)
This experiment changes the game from just watching to actually investigating. Students gather real-time data to create graphs of the pressure temperature relationship. It’s a key moment where science moves from ideas to actual facts.
Students go from just observing phase changes to actually measuring them. They use digital temperature probes and pressure sensors. Even a simple manometer can help show pressure changes.
The lab shows how molecular motion affects force. When temperature goes up, molecules move faster and hit each other harder. This turns a theory into real numbers.
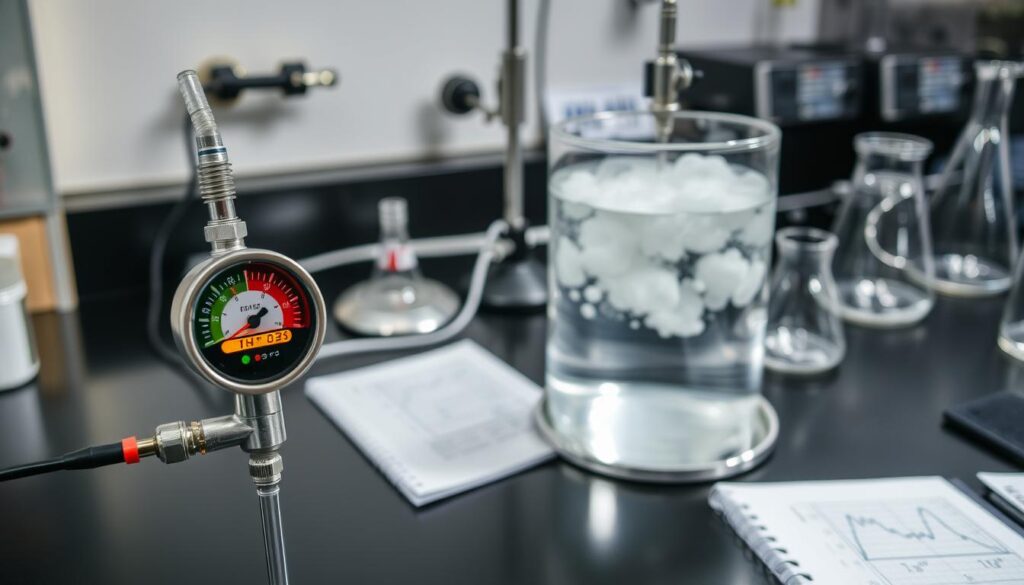
The setup is a sealed flask or strong container filled with water. A heating plate warms it. Sensors track the temperature and pressure inside.
As water heats and turns to vapor, pressure goes up. The space for gas molecules gets smaller, but they move faster. This makes a clear push against the container walls.
The real learning comes when analyzing the data. Students plot temperature against pressure. The graph should show a clear, upward line.
This visual proof is very powerful. It shows the direct relationship described in gas laws. Seeing the data trend makes the abstract concept concrete.
Key skills developed in this lab include:
- Operating digital data collection tools.
- Recording precise measurements over time.
- Creating and interpreting scatter plots.
- Identifying direct relationships between variables.
This activity builds critical thinking for future labs. It teaches students to trust data over assumption. They learn the workflow of modern scientific inquiry.
Mastering this pressure vs. temperature investigation prepares students for more complex thermodynamics. It gives them a solid foundation for understanding engines, weather systems, and industrial processes.
Lab 3: Condensation and Heat Exchangers
This hands-on activity turns students into thermal engineers. They design a system to manage heat transfer through condensation. It builds on the principles from previous labs, applying thermodynamics to engineering.
Students will design, build, and test a simple heat exchanger. They use coiled copper tubing in water. Hot water flows through the tube, while cooler water surrounds it.
The goal is to transfer thermal energy efficiently. The process involves conduction and condensation inside the coil. By observing temperature changes, students get clear data on the system’s performance.
Teachers can use the “Colourful currents” experiment to show fluid movement. This illustrates the convection currents that are key to a heat exchanger’s operation. Understanding this flow is essential for improving design.
This engineering skill is vital. The device students create works like a car radiator or a geothermal heating loop. In a radiator, coolant transfers engine heat to the air. In a geothermal system, fluid exchanges heat with the ground.
The challenge is to optimize the system. Students must think like engineers. They explore how different variables affect the rate of heat transfer and efficiency.
They ask questions like: Should the coil be longer? Would a different material work better? Is faster flow more effective?
This problem-solving mindset is a major outcome. Students learn that design choices have measurable effects. This iterative process is invaluable for STEM professionals.
The table below outlines key design variables students can test. It guides their experimental approach and analysis.
| Design Variable | Example Options | Impact on Heat Transfer Rate | Effect on Efficiency |
|---|---|---|---|
| Tube Material | Copper, Plastic, Steel | Copper (high conductivity) transfers heat fastest. | Higher conductivity typically increases efficiency. |
| Coil Length / Surface Area | Short coil (1 ft), Long coil (3 ft) | Longer coil provides more surface area for exchange, increasing rate. | Increased surface area usually improves efficiency. |
| Water Flow Rate | Slow drip, Steady stream | Faster flow can increase rate but may reduce contact time. | An optimal flow rate exists; too fast or too slow lowers efficiency. |
| Temperature Difference (ΔT) | Small ΔT, Large ΔT | Larger initial temperature difference drives a faster transfer rate. | Larger ΔT can improve efficiency but may lead to greater heat loss. |
By analyzing data from different configurations, students understand the trade-offs engineers face. They see that maximizing one factor might compromise another. The lab report focuses on justifying their final design based on evidence.
This experiment shows that heat transfer is not just a science topic. It is a critical engineering parameter. Mastering these fundamentals prepares students for advanced studies and creative problem-solving in the real world.
Lab 4: Steam Jet Thrust Demonstration
A simple balsa wood boat powered by steam shows heat transfer in action. This lab turns thermodynamic theory into motion. It shows Newton’s Third Law: every action has an equal reaction.
Students build or watch a model where steam pushes the boat. The steam is made by a controlled heat source.
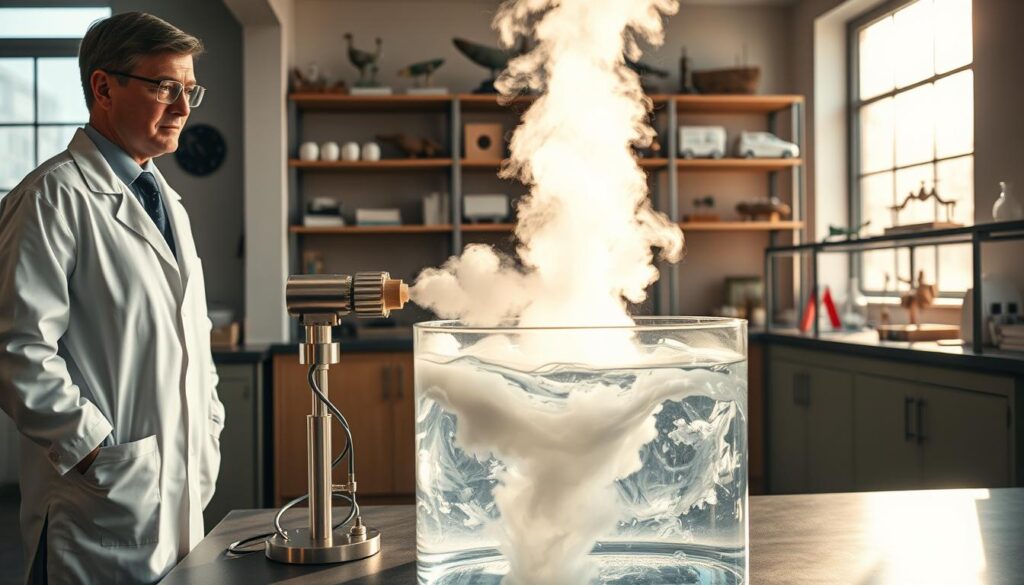
The setup includes a balsa wood hull, a copper coil, and a cork nozzle. Heat makes the water boil and turn to steam. This steam expands and pushes the boat forward.
This shows the “Why Does Water Rise?” experiment’s principle. Thermal energy turns into the boat’s motion. It’s a clear example of energy conversion in heat transfer studies.
This demo links to big engineering feats. It powered the Industrial Revolution’s steam engines. Today, it’s key in rocket technology, helping them leave Earth’s atmosphere.
Safety is the top priority for this demo. Follow strict safety rules:
- Use only approved, low-voltage heat sources or alcohol burners under direct supervision.
- Wear safety goggles and heat-resistant gloves at all times.
- Ensure the demonstration area is clear of flammable materials.
- Point the steam nozzle away from people and objects.
- Allow all components to cool completely before handling.
Students learn how heat transfer can do work. They measure the boat’s distance, linking heat to motion. This makes thermodynamic principles memorable.
The steam jet thrust lab is more than fun. It’s a piece of engineering history. Students understand how heat transfer shapes technology, from old locomotives to space exploration.
Data Analysis Skills (graphs, error, uncertainty)
Graphs, error discussion, and uncertainty are more than just schoolwork. They are professional tools students can use right now. This part focuses on the analytical skills needed for scientific inquiry. In top middle school science labs, the goal is to turn measurements into real understanding.
Creating clear visualizations is key. Teach students to plot their data, like pressure versus temperature, on a scatter plot. This change from a table to a graph reveals trends. Students can then draw a line of best fit and explain the relationship—is it linear? Does pressure go up with temperature?
Next, students should calculate simple averages from repeated trials. They should compare their results to expected values or between different setups. This introduces quantitative reasoning. Was the latent heat of vaporization measured close to the known value? These simple steps help ground conclusions in evidence.
Discussing error and uncertainty shows true scientific thinking. View this as identifying realistic limits in any measurement. What were possible sources of error? Heat loss to the environment is a common issue in thermal labs. The timing of a temperature reading can also introduce variability. Recognizing these factors makes conclusions more credible and rigorous.
These skills are essential professional practice. Identifying trends in data is vital for market analysts. Presenting findings clearly is key for engineers. Understanding measurement uncertainty is critical for quality control technicians. By mastering data analysis in middle school science labs, students gain a valuable toolkit for future success.
Safety and PPE Review Each Lab
Before starting any experiment, safety is the top priority in middle school science labs. We make safety a key part of every activity. This approach helps students learn the importance of safety in science.
Each experiment has its own risks. Students and teachers must wear specific Personal Protective Equipment (PPE) to stay safe:
- Safety Goggles: Always wear them to protect eyes from steam and splashes.
- Heat-Resistant Gloves: Needed for handling hot equipment.
- Lab Aprons: Protect clothes and skin from spills.
It’s important to know and control the risks in each lab. In these middle school science labs, the main dangers are steam burns and hot surfaces. Reviewing each lab helps students understand the reasons behind the rules.
In the Phase Change and Latent Heat lab, the biggest risk is scalding from steam. To stay safe, use tongs, point steam vents away, and always have an adult nearby. This caution is common in many educational settings.
The Pressure vs. Temperature lab deals with sensors and sealed systems. The key is to never go over the recommended pressure and check all connectors before use. Students should also learn to check for leaks.
In the Condensation and Heat Exchanger labs, surfaces get very hot and wet. Always assume equipment is hot until it’s confirmed cool. Use designated cooling areas and never put hot items on the lab bench.
The Steam Jet Thrust demo involves force. It’s important to keep a clear safety zone and secure the apparatus well. An adult must always supervise this demo.
By listing PPE and controls for each activity, we focus on safety more than ever. This approach makes safety an active part of science. It teaches students to take care of their workspace and themselves.
This strict focus on safety does more than prevent accidents. It teaches students to be careful and respectful in their scientific work. In your classroom lab, making safety the first step prepares students for a lifetime of safe exploration.
Differentiation for Grades 6–9
Effective differentiation turns a basic steam lab into a unique learning journey for each student from sixth to ninth grade. Middle school classrooms have a wide range of skills. Some students are new to scientific measurement, while others are ready for complex analysis. A one-size-fits-all approach to thermodynamics can leave some learners behind and fail to challenge others.
The solution is to use intentional scaffolding and strategic extensions in the latent heat activities.
The lab series itself offers a natural gradient for differentiation. It ranges from the visually intuitive “Bottle Crush” experiment to the more involved “Fabric Insulation” test. This complexity allows teachers to match the activity to a student’s readiness level. It creates a pathway where every learner can start from a point of success and build upward.
A successful strategy uses a two-pronged approach: Scaffolding for Support and Extensions for Challenge. The goal is to keep the core concepts consistent while adjusting the depth of inquiry and the independence required.
For younger students or those needing more support, focus on qualitative understanding and structured guidance.
- Simplify Data Collection: In Lab 1 (Phase Change), have struggling groups focus on observing and describing the cloud formation and water droplets. Use teacher-directed prompts to collect just one or two key temperature measurements.
- Provide Data Templates: Offer pre-formatted tables or partially completed graphs for sensor-based labs. This lets students concentrate on interpreting the trend between pressure and temperature, not on setting up the chart.
- Use Collaborative Roles: Assign specific, manageable tasks within a group, such as “Materials Manager,” “Temperature Reader,” or “Safety Monitor.” This ensures full participation without overwhelming any individual.
For advanced students ready to go deeper, extensions should push them toward applied math and real-world engineering.
- Calculate the Heat of Vaporization: Challenge students to use their mass and temperature data from Lab 1 to calculate the approximate latent heat of water. This connects hands-on observation to a fundamental thermodynamic constant.
- Research Heat Exchanger Designs: After building a simple condenser in Lab 3, have students investigate different industrial designs (shell-and-tube, plate). Ask them to propose a design improvement for their own model.
- Analyze System Efficiency: In the Steam Jet Thrust lab, task students with calculating the efficiency of their apparatus or investigating how nozzle shape affects thrust. This introduces concepts of optimization and engineering design.
This tiered approach ensures all students are appropriately challenged. It embodies an inclusive teaching philosophy where the goal is not just to complete a lab, but to develop every student’s scientific reasoning. By adapting these latent heat activities, you make core thermodynamics concepts accessible and engaging for the entire diverse classroom.
Real-World Applications (Kitchens, Power Plants, Sterilization)
From making your morning coffee to powering cities, heat transfer is everywhere. It’s not just in labs but also in our homes, industries, and healthcare.
In the kitchen, a pressure cooker is a great example. Water heats up and turns to steam, creating high pressure. This makes food cook faster. Your fridge works the opposite way. It takes thermal energy out, using a refrigerant that changes state.
Understanding heat transfer helps make your home more energy-efficient. Better insulation and car sunshades are just a few examples. These choices can save you money and make your home more comfortable.
Power plants also use heat transfer on a huge scale. The condenser in a steam plant is a big heat exchanger. It cools steam back into water, releasing a lot of heat. This is key for efficiency.
In hospitals, steam is vital. Autoclaves use high-pressure steam for sterilizing. The thermal energy and latent heat ensure instruments and dressings are germ-free. This is a direct use of steam principles from the lab.
Here are some key areas where thermodynamics makes a direct impact:
- Food & Cooking: Pressure cookers, refrigerators, and ovens all manage phase changes and heat transfer.
- Energy Production: Power plant condensers and combined-cycle systems maximize efficiency through controlled condensation.
- Healthcare: Autoclaves use saturated steam for guaranteed sterilization of medical equipment.
- Home Efficiency: Insulation materials and window technologies are designed to slow down unwanted heat transfer.
- Consumer Products: From fabric insulation in jackets to reflective car sunshades, these items are tested for their thermal properties.
Seeing these connections shows how abstract concepts become real. Students learn that thermodynamics is not just theory. It’s the foundation for technology that shapes our lives and powers our world.
Assessment Pack: Pre/Post Test, Lab Reports, Rubrics
To really see how hands-on thermodynamics labs work, teachers have a full set of assessment tools. This pack helps move from doing to measuring. It gives teachers a fair and easy way to check student progress.
A pre-test shows what students know before the labs. It covers topics like heat transfer and states of matter. The post-test, given after the labs, shows how much they’ve learned. This helps teachers adjust their teaching.
The heart of scientific assessment is the lab report. A special template helps students write it. They need a clear hypothesis, a detailed method, organized data, and a solid conclusion. It’s like real science writing.
For a phase change lab, the report lets students share what they saw about melting or condensation. It turns their hands-on work into something they can write about.
Grading is easier with sample rubrics. These rubrics check both the report and the lab work. They focus on specific things that can be seen. This makes grading fair and clear for students.
Key rubric areas often include:
- Procedural Accuracy: Did the student do the steps right, including safety and the experiment?
- Data Presentation: Are the tables and graphs clear, labeled, and correct?
- Conclusion Validity: Does the conclusion make sense based on the data and the hypothesis?
This method helps teachers a lot. It turns watching students work into real, measurable learning. Every phase change lab is a chance to see how well students have learned.
Digital Simulations to Reinforce Concepts
Free, reputable online simulations let students explore gas laws and phase changes safely. They are great for today’s classrooms. These tools make complex ideas fun and interactive.
Digital labs have big advantages. Students can change pressure and temperature easily. They see how molecules move right away. This visual and kinetic feedback helps all kinds of learners.
Simulations are great for getting ready for lab. They make students feel more confident. After lab, they help make tricky ideas clearer. They also offer makeup work for students who miss class.
Here is a comparison of top free platforms suited for middle school thermodynamics:
| Simulation Platform | Key Concepts Covered | Best For |
|---|---|---|
| PhET Interactive Simulations (University of Colorado Boulder) | Gas Properties, States of Matter, Energy Forms | Exploring the pressure temperature relationship and kinetic theory. |
| ChemCollective Virtual Labs | Heating Curves, Calorimetry | Visualizing phase changes and energy transfer. |
| NASA Glenn Research Center Simulations | Brayton Cycle (Gas Turbines), Heat Exchangers | Connecting lab work to real-world engineering systems. |
| The Physics Classroom Interactive | Thermal Energy, Particle Motion | Building foundational particle models before lab work. |
For a more structured virtual lab thermodynamics experience, some platforms offer full guided experiments. These can mirror your physical lab sequence.
Strategic use is key. Try this simple plan:
- Day 1: Use a gas law simulation as a hook to introduce a new unit.
- Day 3: Run the hands-on lab with sensors and steam.
- Day 5: Revisit the simulation for post-lab analysis and extension questions.
This approach ensures concepts stick. It connects digital exploration to tangible results. Students learn that models, both physical and virtual, help explain real-world systems.
Aligning these activities with your learning objectives and standards is straightforward. Most simulation sites provide direct curriculum links. This integration supports a cohesive and standards-aligned unit plan.
Standards Mapping and Pacing Guide
A successful unit on thermodynamics for middle school needs a clear plan. This section provides a practical teaching framework that connects laboratory activities and classroom discussions directly to learning standards.
The hands-on activities support key Next Generation Science Standards (NGSS). Labs on phase change and particle motion align with MS-PS1-4 (thermal energy concepts). The steam jet and heat exchanger labs connect with MS-ETS1-2, encouraging students to ask questions, design solutions, and analyze results through experimentation.
A suggested pacing guide helps educators organize lessons effectively. A sample three-week schedule begins with foundational thermodynamics concepts and a phase change lab. During the second week, students explore pressure–temperature relationships and condensation processes. The final week focuses on thrust demonstrations, data analysis, and performance assessments. Throughout the unit, students also gain insight into how thermodynamic principles apply beyond the classroom. Discussions can highlight real-world applications such as power generation systems and industrial manufacturing equipment, helping learners understand how heat transfer and energy efficiency play critical roles in modern engineering environments.
