
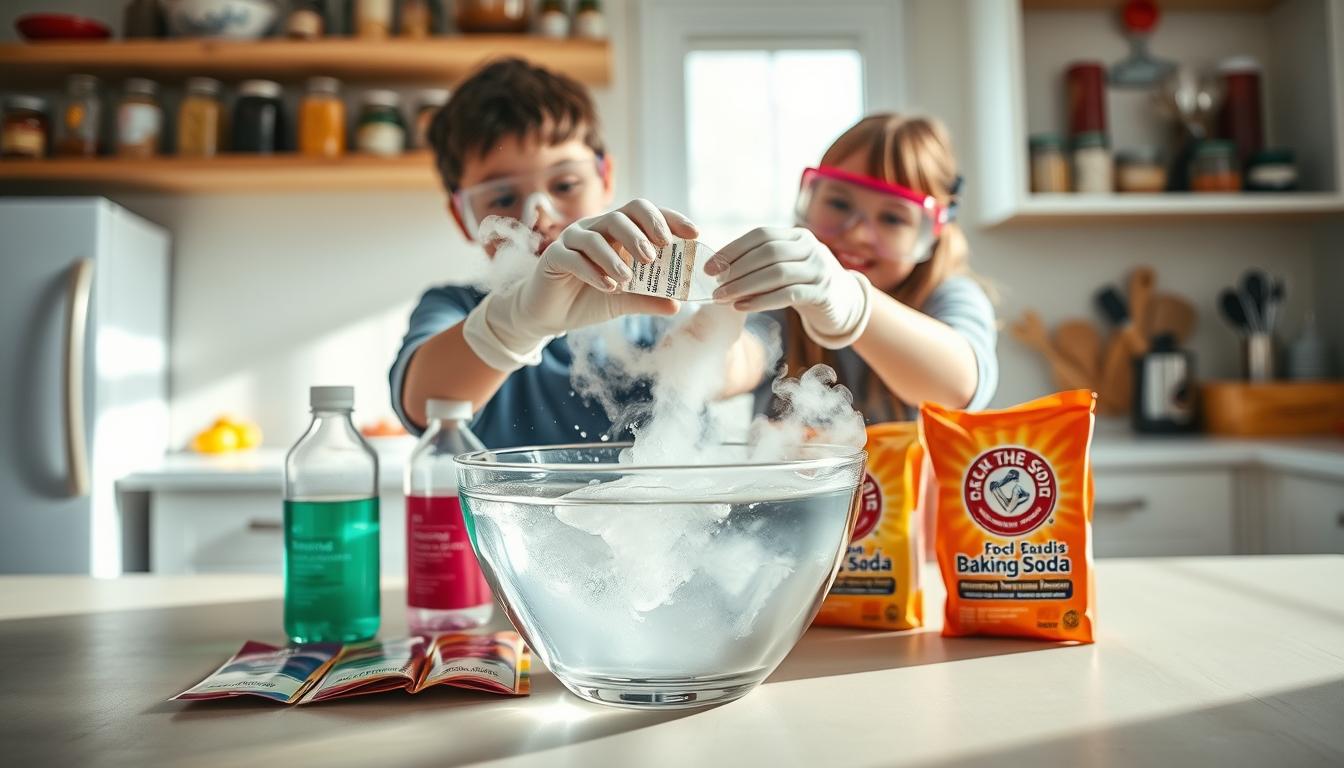
A tight budget shouldn’t stop you from learning. The best discoveries often come from using what you already have in creative ways.
This guide goes beyond simple kids’ activities. It teaches you to be resourceful and think outside the box. You’ll learn important science and engineering concepts using everyday items.
These skills help you solve problems at work and work well with others. Learning to find smart solutions when resources are limited is key in business.
We offer actionable, high-value projects you can start right away. The first step in any project is making sure it’s safe. A safe space is essential for learning and experimenting.
Safety and Adult Supervision Notes
The key to fun science at home isn’t fancy tools—it’s safety first. A good low-cost STEM project is safe and fun. This makes sure learning is the main focus.
Having an adult around is a must. They help, guide, and keep things safe. This is important for using heat, sharp tools, and keeping the area safe.
Being ready for safety helps avoid problems. Set clear rules to make a safe place for creativity.
- Designate a Workspace: Pick a clear, stable spot away from danger. This helps avoid accidents and keeps focus.
- Handle Heat with Care: Be very careful with hot water and kettles. Always think they are hot. Use potholders and keep hair and clothes tied back.
- Master Tool Safety: Use tools like scissors right. Show how to handle them, store them safely, and walk when carrying them.
- Prepare for Cleanup: Have towels and a bin for spills. Quick cleanup keeps the area safe and clean.
These rules help, not hinder. They let you guide hands-on learning. By setting clear rules, kids can explore without worry.
Turn your kitchen or table into a fun lab. For more ideas, check out our budget-friendly STEM activities. The most important thing is a ready and careful adult.
Materials on a Budget (Thrift/Household)
You don’t need fancy lab kits to learn about steam power. Your home has everything you need. This guide shows you how to find kitchen science steam materials for free or cheap.
It’s like a mission to find useful items. Look in the recycling bin, your kitchen, and thrift stores. Seeing these places as a source of learning can turn everyday items into powerful tools.
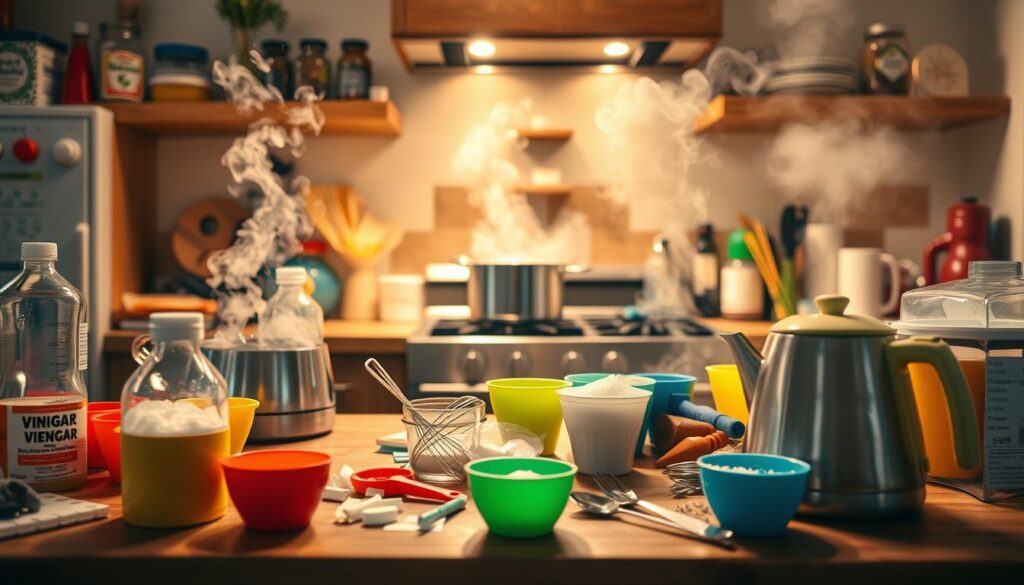
Here’s a list of the best items to find. This table is your guide to gathering materials easily.
| Category | Item | Primary Source | Common Experiment Use |
|---|---|---|---|
| Recyclables | Aluminum Foil | Kitchen Drawer | Crafting lightweight turbine blades and boat hulls. |
| Recyclables | Plastic Bottles (various sizes) | Recycling Bin | Constructing boat bodies and condensation chambers. |
| Recyclables | Cardboard Tubes (paper towel, toilet paper) | Recycling Bin | Creating structural supports and jet nozzles. |
| Kitchen Pantry | Baking Soda | Pantry/Cabinet | Reacting with vinegar to produce gas for propulsion. |
| Kitchen Pantry | White Vinegar | Pantry/Cabinet | The acidic component for chemical reactions with baking soda. |
| Kitchen Pantry | Paper Cups & Plates | Party Supplies/Pantry | Building lightweight bases and water wheels. |
| Thrift Store Finds | Metal Tea Kettle or Pot | Thrift Store/Donation | A safe, dedicated steam generator for multiple experiments. |
| Thrift Store Finds | Shallow Baking Pans (metal) | Thrift Store/Kitchen | Containers for water baths and testing areas. |
| Tools & Extras | Plastic Straws | Kitchen/Party Supplies | Directing steam jets and acting as connectors. |
| Tools & Extras | Rubber Bands | Office/Junk Drawer | Securing components together quickly. |
| Tools & Extras | Scissors & Tape | Desk/Craft Box | Essential for cutting and assembling materials. |
Now that you have your materials, it’s time to organize. Treat your collection like a STEAM Innovation Kit. Store everything in a labeled box. This makes starting experiments quick and easy.
Here are some tips for organizing your kit like a pro:
- Wash and Dry: Clean all recycled containers well to avoid mold and residue.
- Sort by Type: Keep reaction agents (baking soda, vinegar) and construction materials (foil, bottles) separate.
- Label Everything: Use masking tape and a marker to label bottles if you mix solutions.
- Think Multi-Use: A plastic bottle can be a boat today and a condensation collector tomorrow. Encourage creative reuse.
This way of thinking is like how successful businesses work. They use what they already have to find new solutions. Your home is full of possibilities. By learning to find and use materials, you can explore and innovate in many ways.
Experiment 1: Tea-Kettle Turbine with Foil Spinner
This foil turbine experiment shows how science can be fun with everyday items. You’ll turn steam’s heat into moving parts. This makes energy conversion real and easy to see.
A turbine uses energy from moving fluids. Big steam turbines in power plants spin to make electricity. Your small version shows the same idea in a safe way.
Before starting, get these simple things:
- A standard stovetop tea kettle with a spout
- Aluminum foil (a standard household roll)
- A straight pin or sewing needle
- A wooden pencil with an eraser
- Adult supervision and oven mitts
Here’s how to make your turbine. Do it on a flat, safe surface away from the stove.
- Create the Turbine Blade: Cut a 4-inch square from the aluminum foil. Fold it in half twice to make a smaller, thicker square. Shape it into a simple, flat propeller with four short, blunt arms.
- Make the Axle: Push the straight pin through the center of your foil blade. Leave about a quarter-inch of the pin sticking out on one side. This is your turbine’s axle.
- Build the Stand: Stick the sharp end of the pin into the pencil’s eraser. The pencil acts as a stable stand, holding your blade assembly upright. Make sure the blade can spin freely without touching the pencil.
- Generate Steam: With an adult’s help, fill the kettle with water and place it on the stove. Heat it until a steady jet of steam shoots from the spout.
- Power the Turbine: Carefully hold your foil turbine assembly so the blade is directly in the path of the steam jet. Do not place your hand near the hot steam. Watch as the blade begins to spin, sometimes very rapidly.
The steam jet pushes against the angled surfaces of the foil blade. This force, called kinetic energy, turns into rotational motion. You’ve built a basic heat engine.
The table below shows how each household item in your foil turbine works like a real power plant part. This shows the same engineering ideas everywhere.
| Component | Household Item Used | Function | Real-World Equivalent |
|---|---|---|---|
| Heat Source | Stovetop Kettle | Boils water to create high-pressure steam | Power Plant Boiler |
| Turbine Blades | Folded Aluminum Foil | Catches steam flow to create spin | Steel Alloy Turbine Rotors |
| Axle & Bearings | Straight Pin & Pencil Eraser | Provides a low-friction pivot point for rotation | Precision Machined Shaft & Bearings |
| Energy Output | Spinning Motion | Demonstrates mechanical energy conversion | Electrical Generator Rotation |
This experiment is connected to big industries. Gas, coal, nuclear, and some solar plants use steam turbines for electricity. Knowing this basic process helps us understand our energy grid.
The real value is in seeing it work. Watching the blade spin makes the physics of steam power unforgettable. This skill is key for explaining technical ideas in any field.
Experiment 2: Steam-Powered Pop-Pop Boat
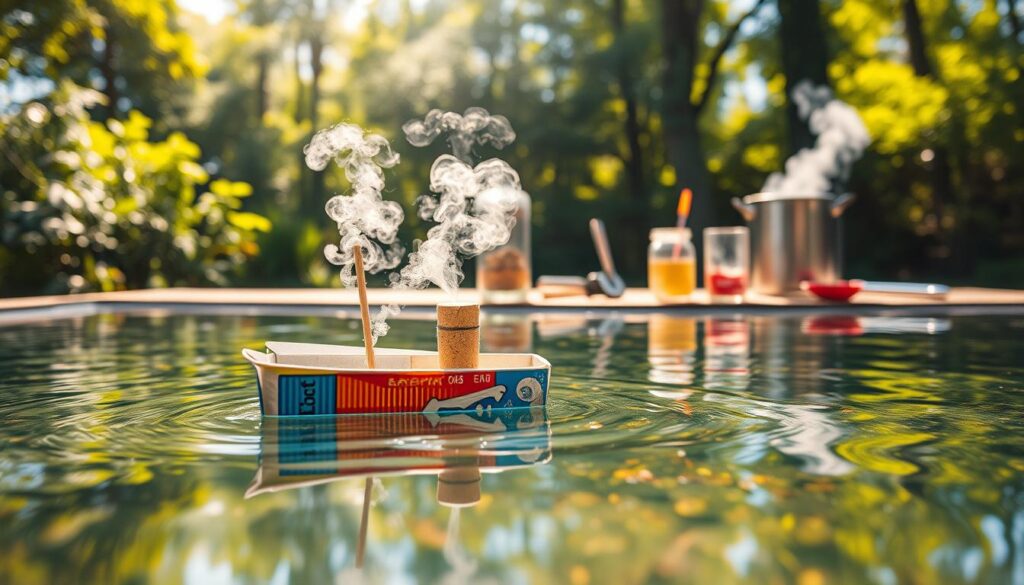
This section shows you how to make a pop-pop boat. It’s a classic physics demonstration that turns simple items into a working engine. You’ll see pulsating combustion and propulsion up close.
The materials list is easy on your wallet. You probably have everything at home or can find it at a thrift store.
- A small, shallow plastic container (like a butter tub lid)
- A short piece of soft copper tubing (from a hardware store)
- A small candle or tea light
- Water
- Modeling clay or waterproof sealant
- Shape the copper tube into a tight “U” shape or a simple coil. The open ends should point backward.
- Carefully poke two holes in the back of your plastic container. The holes should fit the copper tube snugly.
- Insert the ends of the tube through the holes. Seal around the holes with clay or sealant to make it watertight.
- Place your candle in the center of the container, under the middle of the copper coil.
- Fill the tube with water. You can do this by submerging one end in water and sucking gently on the other.
- Light the candle and gently place your boat in a tub of water.
The physics behind it is remarkably clever. The candle heats the water in the tube, creating steam. This steam expands, pushing water out of the tube’s back ends. This action creates a pulse of thrust, moving the boat forward.
Then, the steam quickly condenses, creating a partial vacuum. This vacuum sucks water back into the tube. The cycle repeats, causing the characteristic “pop-pop” sound and a jerky, forward motion.
| Pop-Pop Boat Component | Primary Role | Household Alternative |
|---|---|---|
| Copper Tubing | Heat exchanger & pulse chamber | Aluminum tube from a drink can (requires care) |
| Plastic Container | Boat hull & buoyancy | Aluminum foil tray, foam plate |
| Candle | Heat source for steam generation | Tea light, small alcohol burner |
| Water | Working fluid for expansion/contraction | N/A |
| Modeling Clay | Waterproof sealant | Hot glue, silicone caulk |
This iterative cycle of expansion and contraction is a powerful metaphor. It shows how consistent, small efforts can lead to steady progress. The pop-pop boat moves through many small actions, not one big burst.
Once your boat is cruising, observe its speed and sound. Try adjusting the tube shape or candle position. For a deeper dive into the engineering, check out this detailed classroom STEM activity for building a pop-pop boat. It’s fascinating to watch a simple setup demonstrate such complex energy conversion.
Experiment 3: Condensation Drip Power (Micro-Water Wheel)
Condensation isn’t just moisture; it’s a source of energy. You can harness it with a cup and foil. This experiment shows the power in water cycle changes. You’ll build a system that captures steam and drives a tiny turbine with gravity.
The science is simple yet powerful. Boiling water in a kettle releases steam, which is water vapor. When this vapor hits a cooler surface, like a metal spoon or a cup, it turns back into liquid water. This change releases energy. By channeling the drips onto a wheel, you turn that energy into motion, or kinetic energy.
You’re creating a micro-scale model of hydroelectric power. Instead of a big dam, you have a simple drip. Instead of a huge turbine, you have a foil spinner. The idea of using falling water to do work is the same.
Materials You Will Need
- A small paper or plastic cup
- Aluminum foil
- A straight plastic straw
- A straight pin or sewing needle
- Scissors
- A tea kettle or pot for boiling water
- Create the Wheel: Cut a circle from aluminum foil, about 3 inches in diameter. Gently fold the edges to create a shallow cup shape. Carefully poke the pin through the exact center and then push the pin into one end of the straw. This is your micro-water wheel rotor.
- Build the Drip Channel: Take your cup and use scissors to cut a small V-shaped notch in the rim. This notch will guide condensed water to a single drip point.
- Set Up the System: Balance the straw (with the wheel attached) across the top of the cup, so the wheel hangs just below the V-notch. Position your cup close to, but not touching, the spout of a boiling kettle. The steam should hit the cold cup and condense.
As steam condenses on the cup’s surface, water will collect and flow toward the V-notch. It will form a steady drip directly onto the curved blades of your foil wheel. The weight and momentum of the drops will cause the micro-water wheel to turn. Observe the speed and consistency of the spin.
This demonstration is a powerful metaphor for business momentum. Just as individual water droplets seem insignificant but can collectively drive a wheel, small, consistent forces in your workflow—like daily customer feedback or incremental data analysis—build into significant forward motion over time. Harnessing these “drips” of insight is key to sustainable growth.
| Physics Concept | Experiment Component | Business Analog |
|---|---|---|
| Phase Change (Condensation) | Steam turning to water on the cup | Raw data being processed into usable information |
| Gravitational Potencial Energy | Water dripping from the cup’s notch | Resources or insights being directed toward a goal |
| Kinetic Energy | The spinning foil wheel | Measurable action and results (e.g., campaign performance) |
| System Efficiency | Alignment of drip onto wheel blades | Optimizing processes to minimize waste and maximize output |
The condensation drip power experiment makes the invisible visible. It shows that energy is all around us, even in the gentle fall of a water droplet. By building this simple device, you gain a hands-on understanding of renewable energy principles and a memorable lesson in leveraging small, steady efforts for big results.
Experiment 4: Paper Steam Jet (Nozzle)
The Paper Steam Jet experiment turns a piece of paper into a working nozzle. It focuses steam energy into a strong thrust. This experiment shows how simple physics can be amazing.
This experiment is a great example of Newton’s Third Law. The steam rushing out of the nozzle pushes back, creating a force. The nozzle doesn’t make more steam; it focuses the energy, making it more powerful.
- Stiff paper or cardstock (index card works well)
- Scissors
- Clear tape
- Electric kettle (with adult supervision)
- A small, lightweight pinwheel or paper wheel on a stick
Always have an adult handle the kettle and boiling water. Keep hands and face away from the steam jet.
Roll your paper into a tight cone shape, with a small opening at the tip. Secure it with tape. Make sure the inside is smooth and tapered. Place the wide end of your paper nozzle over the spout of a boiling kettle. Make sure it fits well to direct all the steam.
As the steam exits the tiny tip, it forms a fast, narrow jet. Hold your paper wheel several inches in front of this jet. You should see it start to spin steadily. This shows the steam turning thermal energy into motion through design.
The jet’s efficiency depends on the nozzle’s design. A well-designed channel reduces turbulence and increases speed. This principle is key in engineering and shows how focused energy can be powerful.
| Design Factor | Effect on Steam Jet | Why It Matters | Analogous Business Principle |
|---|---|---|---|
| Smooth Interior | Reduces friction and turbulence | More steam energy converts to thrust, not heat loss. | Streamlined workflows remove obstacles, directing effort toward goals. |
| Tapered Shape | Increases steam velocity | Focuses diffuse energy into a powerful, directed force. | Clear, focused messaging is more impactful than broad, unfocused communication. |
| Secure Seal | Prevents steam leakage | All available energy is channeled through the nozzle. | Ensuring team alignment and resource allocation prevents wasted effort. |
| Small Aperture Size | Creates higher pressure jet | Too large, and force disperses; too small, and it blocks. Optimal size is key. | Targeting the right market niche with the right resources maximizes impact. |
This simple kitchen science steam experiment teaches a big lesson. Power isn’t just about energy; it’s about using it well. Building an efficient nozzle shows the importance of optimization. This logic applies to business strategies and marketing campaigns too. Focused energy, whether steam or effort, leads to the best results.
Data Sheets and Observation Logs
Understanding how things work is more than just building them. It’s about collecting data in a smart way. This is the heart of low-cost STEM. The real magic happens when you record what happens next.
This process is like the STEM design cycle: Plan, Test, Reflect, and Redesign. You start by planning what you think will happen. Then, you test it and collect data. After that, you think about what you found out. And lastly, you use that knowledge to make it better.
Making a simple data sheet is easy and free. You can use a notebook or a template. Just focus on recording important details during each test.
Your log should have both numbers and notes. Numbers like “time to boil” are important. So are notes about anything unexpected, like a wobbly turbine.
Here’s a basic table to track these elements:
| Data Point | Example from Experiments | Why It Matters |
|---|---|---|
| Independent Variable | Amount of water in kettle | This is what you change on purpose to test its effect. |
| Dependent Variable | Speed of foil spinner | This is what you measure to see the result of your change. |
| Observations | “Steam condensed on cooler surface” | Qualitative notes often lead to the biggest discoveries. |
| Reflection | “The boat moved faster when the tube was bent lower.” | This is where analysis and learning are documented. |
This method is used by professionals too. Engineers track important indicators. Teams review their work to learn. Your log is like these tools.
Seeing documentation as key is important. Real science doesn’t need expensive tools. It needs curious and disciplined thinking. This turns simple activities into low-cost STEM projects.
The “A” in STEAM stands for creativity. The “Science” part is about careful analysis. By measuring, logging, and reflecting, you turn fun experiments into real learning and innovation.
Troubleshooting and Cleanup
A successful project isn’t just about building; it’s about solving problems and finishing well. This phase is like professional work, where fixing issues and ensuring a complete handoff show true skill. Think of this section as your guide for building resilience and thoroughness.
Adopting a troubleshooting mindset is your first step. When a foil spinner won’t turn or a pop-pop boat sits, don’t see it as a failure. View it as a puzzle. Most issues come from a few simple causes. Systematic checking saves time and teaches valuable problem-solving skills.
Use the table below to diagnose and fix frequent hiccups across our four budget-friendly experiments. It breaks down the problem, the likely cause, and a clear solution.
| Problem | Likely Cause | Solution |
|---|---|---|
| Tea-Kettle Turbine: Spinner doesn’t rotate. | Steam jet is misaligned; foil blades are too heavy or unbalanced. | Reposition the kettle spout to hit blade edges directly. Use lighter foil and ensure all blades are identical. |
| Pop-Pop Boat: No forward motion. | Air leaks in the copper tube coil; water level in the candle tin is incorrect. | Submerge the coil and look for bubbles to seal leaks with putty. Adjust water to just cover the coil’s bottom curve. |
| Condensation Wheel: Drips are too weak to turn wheel. | Not enough temperature difference; collecting surface is too small. | Use hotter water and a colder ice pack. Increase the foil collection funnel’s size and angle. |
| Paper Steam Jet: Little to no thrust. | Paper nozzle seal is loose; steam source pressure is too low. | Tightly tape all seams. Ensure the kettle is on high heat with the spout cap secured for maximum pressure. |
| General Issue: Water leaks everywhere. | Loose connections or overfilled containers. | Check all tape seals and joints. Never fill any container more than halfway with water. |
Once your device is running, focus on responsible cleanup. This is your project closure, ensuring you leave no operational “mess.” It teaches accountability and completes the learning cycle.
Follow these steps for a safe and efficient cleanup:
- Let Everything Cool: Never handle hot kettles, metal, or wax until they are completely cool to the touch.
- Disassemble and Dry: Take apart your devices. Dry all components, including paper and foil, to prevent mold.
- Sort Materials for Reuse: Separate undamaged foil, tape, and containers. Store them for your next innovation.
- Dispose Responsibly: Extinguish candles fully. Drain used water down the sink. Recycle any cardboard or paper that can’t be reused.
- Wipe Down Surfaces: Clean your work area of any water, wax drips, or soot marks.
This process of systematic troubleshooting followed by diligent cleanup does more than just fix a project. It builds a habit of mind essential for any professional: the ability to confront challenges, find solutions, and deliver a finished product with integrity.
Cross-Curricular Art: Decorate/Brand Your Device
Turning your steam-powered project into something unique is exciting. This is where the “A” in STEAM shines. Art is not just an add-on; it’s essential to the innovation journey.
After building a working device, it’s time to give it a personal touch. Use bright paints on your tea-kettle turbine. Create a figurehead for your pop-pop boat from modeling clay. Even name your project and design a logo.
Decorating your device does more than make it look good. It makes you feel more connected to it. When you put your creativity into it, you care more about how it works. This is key to design thinking.
Your decorated device is like a branded product. The steam engine is the core technology. The design, name, and style are like the user experience and brand identity. A great product needs both to succeed.
Think about how different artistic choices send different messages. The table below shows how your creative actions relate to professional concepts.
| Your Creative Action | Professional Design Principle | Outcome |
|---|---|---|
| Painting your device a bright color | Visual Branding & Recognition | Makes the device stand out and be memorable. |
| Giving your device a name (e.g., “The Steam Searcher”) | Product Naming & Narrative | Creates an emotional connection and story. |
| Designing a simple logo on the side | Logo & Trademark Development | Establishes identity and ownership visually. |
| Using recycled materials for decoration | Sustainable Design Ethos | Communicates values like environmental care. |
Combining art and science makes your device more engaging. A well-designed device explains its purpose better than a plain one. Aesthetic appeal grabs attention and sparks conversations, making your project a hit.
So, get your markers, paints, or craft supplies ready. See your creation as a canvas. The goal is to blend form and function perfectly. This teaches that good engineering considers how people interact with technology.
Your branded steam device is more than a science fair entry. It’s a lesson in holistic creation, where creativity drives innovation and design makes function meaningful.
Environmental Tie-Ins: Efficiency and Conservation
The real strength of low-cost STEM is not just saving money. It’s about doing more with less, which is key for our planet. Our steam experiments kick off the “STEM Goes Green” theme. They turn fun building into a lesson on saving the environment.
Each experiment shows how energy changes. Heat turns into motion. But there’s more. Steam escapes, and heat radiates from your spinner. This shows energy loss in action. Real-world machines face the same issue, and our models make it clear.
This leads to the idea of efficiency. Why did one boat go farther? Why did a tighter nozzle make a stronger jet? Efficient design means less waste and more output. It’s all about saving resources.
The “do more with less” idea is important for the environment and business. Using less saves money and waste. Our project uses items from thrift stores and homes. This choice teaches us about sustainability and finding value in discarded items.
Let’s look at the efficiency lessons from our projects. The table below shows energy losses and how to improve.
| Experiment Name | Primary Energy Loss Observed | Efficiency Design Tip |
|---|---|---|
| Tea-Kettle Turbine | Heat dissipating into the air, steam not hitting blades directly. | Create a focused shroud or funnel to direct all steam onto the foil blades. |
| Pop-Pop Boat | Heat loss through the metal can, incomplete water-to-steam conversion. | Insulate the boiler with aluminum foil to retain more heat inside the system. |
| Condensation Drip Wheel | Water droplets missing the wheel cups, kinetic energy lost to friction. | Use a wider drip tray and lubricate the pin axle with a drop of cooking oil. |
| Paper Steam Jet | Steam leaking around the edges of the paper nozzle seal. | Use high-temperature clay or tape for a perfect seal, ensuring all pressure drives the jet. |
This hands-on learning builds critical thinking. It shows that every design choice affects the environment. A better design uses less energy and does more with the same input. This is the heart of green engineering.
These low-cost STEM projects teach us that innovation is about smart use of resources. It’s not about having the most. This forward-thinking is what we aim to teach through our educational goals. We want to build not just devices, but a conservation-minded future.
Assessment Checklists and Exit Tickets
Learning with steam experiments isn’t complete without checking understanding. Simple assessment tools help transform a fun activity into a structured and documented learning experience.
Use a checklist to evaluate key outcomes. Always begin by confirming classroom safety. Make sure everyone handled hot water and steam properly, reinforcing the importance of safety procedures — a principle that also applies in professional engineering environments and real-world heavy machinery solutions, where strict safety standards are essential.
Exit tickets encourage quick reflection and critical thinking. Ask questions such as, “How can you improve your pop-pop boat design?” or “How does water move through the water wheel?” These prompts help determine whether students understand the core scientific concepts.
