
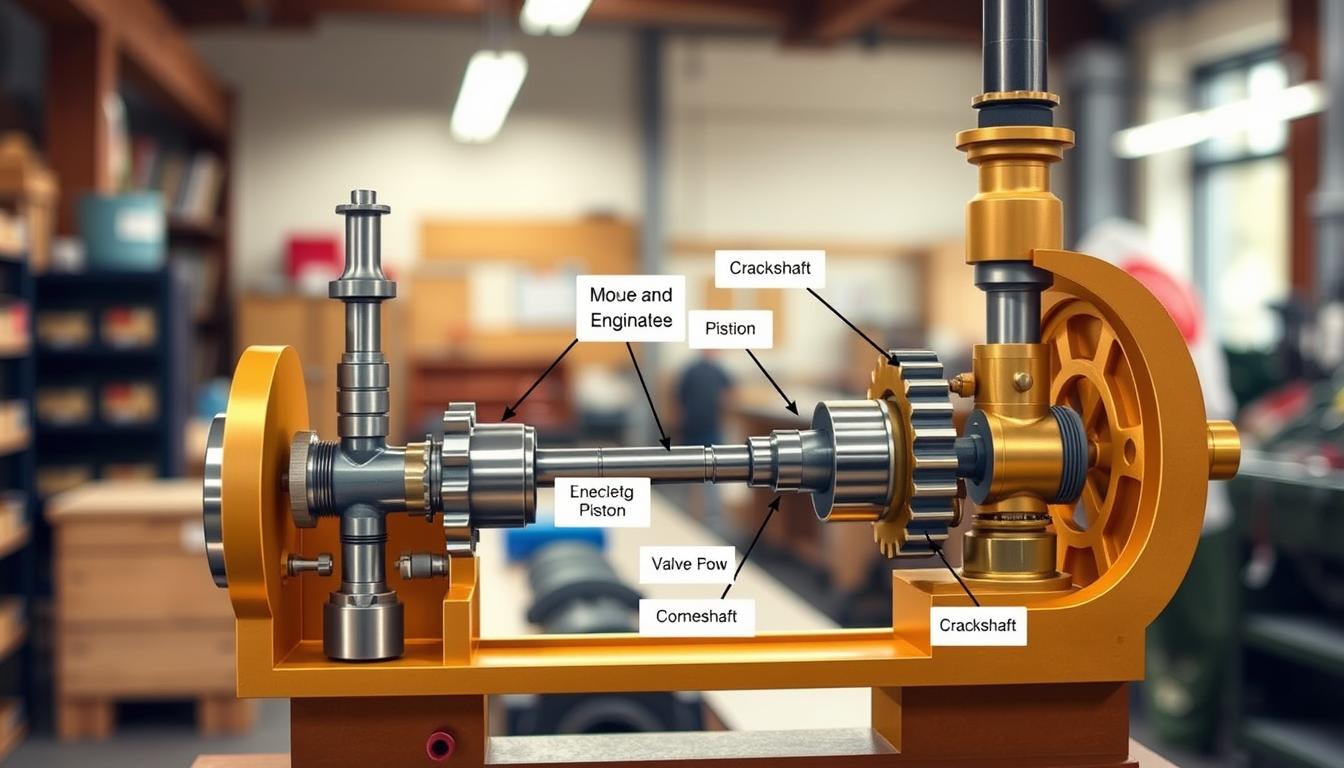
Forget the industrial fog. Every great machine, from the titanic locomotives that won the West to the desk-side models that captivate us today, has a heart and a brain. The boiler is the heart, pumping out raw, thermal ambition. But the valve gear? That’s the cunning neural network making the decisions.
This isn’t just about brass and steam. It’s about playing traffic cop for a force that wants to explode in every direction. I’m here to demystify that controlled chaos.
Why does this seemingly simple act of opening and closing a port matter so profoundly? It’s the difference between a useless, hissing statue and a living, breathing engine. The timing is everything.
Thankfully, diving into this symphony of mechanics has never been easier. Resources like the free digital guide, Making Simple Model Steam Engines, offer a perfect, student-friendly launchpad. It strips away the intimidation and delivers the depth.
Consider this your first-class ticket. You’re moving from bewildered observer to the informed conductor of your own miniature power.
Slide vs. Piston vs. Oscillating Valves (visuals)
Meet the three mechanical bouncers guarding the steam engine’s exclusive port door. Each has a distinct style for managing the guest list of hot gas. Their design isn’t just engineering. It’s personality.
Let’s break down the lineup. You have the straightforward shuttler, the cylindrical maestro, and the minimalist rocker. Your engine’s character and era are written in their chosen dance.
First, the slide valve. This is the old-school workhorse. Picture a flat plate sliding back and forth over a port window. It’s blunt. It’s effective. It’s been around for ages.
The mechanism is beautifully simple. Steam enters, pushes the piston, and the sliding block moves to uncover the exhaust. Then it reverses. It’s a shuttle diplomacy of pressure.
Pros? It’s cheap to make and forgiving to set up. Cons? It’s inefficient at high speeds. All that sliding friction wastes energy. It’s the reliable pickup truck of valves.
Next, the piston valve. This is the sophisticated operator. Instead of a sliding block, think of a cylindrical spool moving inside a sealed chamber. It seals pressure from both ends.
This design is the star of high-performance engines. That Stirlingkit RW-BL1K with its “double-acting pistons”? It almost definitely uses a system like this. The precision-engineered brass and stainless steel parts are built for this ballet.
The piston valve reduces steam leakage dramatically. It handles higher pressure and RPM with grace. The trade-off? Complexity and cost. It’s the sports car option.
Lastly, the oscillating port. Here, we have a true minimalist. The entire cylinder itself rocks back and forth on a pivot. The port lines up directly with the steam inlet and exhaust.
No separate valve gear at all. The cylinder is the valve. It’s elegantly simple. You’ll see this in many small, beginner-friendly model engines.
Its pros are a parts count so low it’s almost zen. Cons? It’s limited in size and power. The rocking motion creates uneven wear. It’s the clever studio apartment of steam engineering.
| Valve Type | Mechanism | Best For | Key Advantage | Big Limitation |
|---|---|---|---|---|
| Slide Valve | Flat plate shuttles over ports | Historical models, low-speed engines | Simplicity & robustness | High friction & leakage |
| Piston Valve | Cylindrical spool seals in a chamber | High-performance, double-acting engines | Efficiency at high pressure | Complexity and cost |
| Oscillating Port | Whole cylinder rocks to align ports | Simple, compact model engines | Minimal parts, easy build | Limited power & scale |
So, what does your engine’s valve choice tell you? The slide valve whispers “19th century practicality.” The piston valve announces “mid-20th century ambition.” The oscillating port shrugs and says “elegant function over form.”
Each is a solution to the same problem. Control the steam. Release the power. Their differences are a history lesson in metal. Choose your bouncer wisely.
Timing Concepts: Lead, Lap, Cut-Off (Plain Language)
Timing is key in live steam, not just for comedians or race car drivers. It’s all about lead, lap, and cut-off. It’s not about formulas, but understanding the rhythm of the machine.
Get it wrong, and your engine sounds like it’s running a marathon with a straw. Get it right, and you get smooth, expansive power. Let’s explore this secret handshake.
Lead: The Polite Head Start
Lead is about being early. Imagine the piston is almost at the end of its stroke, ready to reverse. The inlet valve opens before the piston finishes.
This gives steam a moment to rush into the cylinder. It builds pressure for an immediate push when the piston starts its return. No lead means a weak start. It’s like a confident handshake versus a limp fish.
Lap: The Delicate Overlap
Lap is tricky to visualize. It’s when the valve is in a middle position, covering both the inlet and exhaust ports.
This overlap acts as a buffer. It prevents high-pressure steam from blowing out the exhaust. Instead, it creates a seal for full expansion. It’s like a traffic cop managing steam flow.
Cut-off isn’t about when the valve opens. It’s about when it closes the inlet port.
The valve shuts the steam supply early in the piston’s stroke. The trapped steam expands, pushing the piston further. This expansion does more work without using more fuel. It’s like getting something for nothing.
To see how these concepts work together, check out this breakdown:
| Concept | What It Is | Why It Matters |
|---|---|---|
| Lead | The inlet valve opens before the piston reaches the end of its stroke. | Builds pressure for an instant, powerful reversal of piston motion. Eliminates “dead” spots. |
| Lap | The valve momentarily covers both inlet and exhaust ports. | Seals the cylinder, prevents steam waste, and allows for full expansion of the steam charge. |
| Cut-Off | The inlet valve closes partway through the piston’s power stroke. | Lets trapped steam expand to do more work, dramatically boosting engine efficiency and economy. |
These elements are the core of valve timing. Adjusting them changes an engine’s character. For more on this, explore valve gear basics.
So, the next time you hear a steam engine chuffing smoothly, you’ll know. It’s not magic. It’s just perfect timing.
Hands-On Demo: Cardboard Port Model and Crank Motion
The moment valve gear clicks isn’t when you read about it; it’s when you slide a homemade valve past a port you just cut out. Let’s make that happen. We’re trading complex equations for scissors, cardboard, and a pin. This isn’t arts and crafts—it’s engineering stripped to its bare, beautiful essentials.
Why does this work? Your brain grasps spatial relationships and cause-and-effect far better with a physical object you control. Think of it as building a mind-machine interface. You’ll see the direct, mechanical truth behind timing concepts that diagrams often obscure.
Gather a few simple items. This table breaks down what you need and why.
| Material | Purpose | Pro Tip |
|---|---|---|
| Stiff Cardboard | Forms the engine ‘cylinder’ and valve slider. | A cereal box is perfect. It’s sturdy yet easy to cut. |
| Paper Fastener (Brad) | Acts as the crankshaft and piston pin. | The metal pin provides a smooth pivot point. |
| Scissors & Ruler | For cutting precise shapes and a straight port. | Measure twice, cut once. Accuracy matters. |
| Marker | To label parts and indicate piston position. | Use different colors for the valve and crank. |
First, cut a rectangular piece of cardboard. This is your cylinder block. Cut a small, horizontal slot in the center—this is your steam port. Next, cut a separate, thinner strip of cardboard. This is your valve slider. It should be wide enough to cover the port completely when centered.
Now, create the crank. Take a smaller cardboard piece, poke your paper fastener through one end, and attach it loosely to your main ‘block’ near the port. This fastened point is your crankshaft. The free end of the small piece is your piston connection.
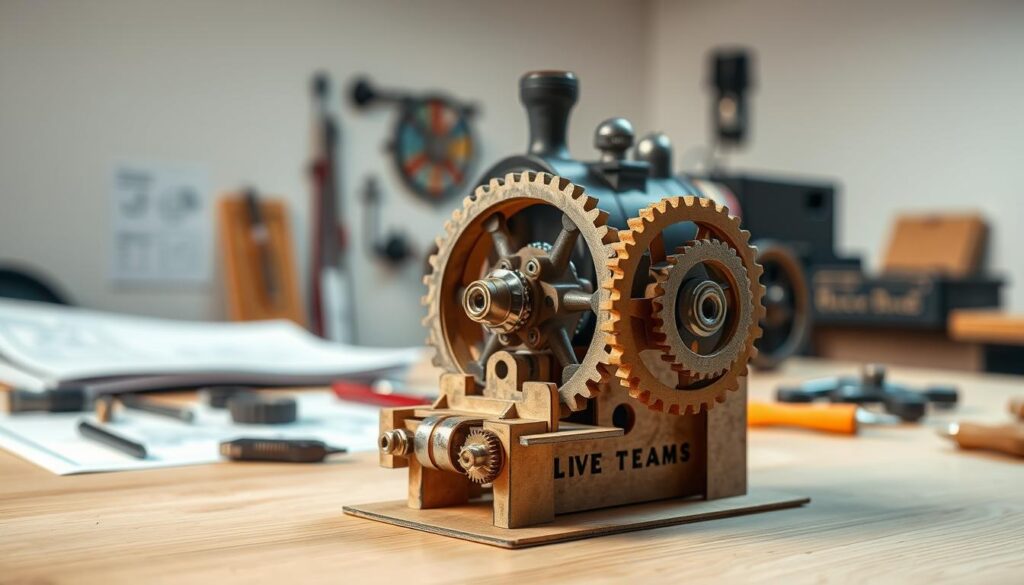
Here’s the magic. Hold the block steady with one hand. With the other, slowly rotate the crank. Watch the valve slider, which you’ll connect to the crank with a drawn-on linkage. As the crank turns, the slider moves left and right. See how it uncovers the port at just the right moment in the crank’s cycle? That’s lead and lap in action, not as theory, but as observable fact.
This crude model embodies the same philosophy as kits like the Stirlingkit RW-BL1K. That product promises “Build Your Own Mini Steam Engine – No Experience Needed” with step-by-step instructions. Our cardboard demo is the pure, distilled version of that promise. It turns an abstract principle into a tangible, turnable reality.
Manipulate the linkage. Speed up the crank. Observe the relationship. The valve’s motion is no longer a mystery; it’s a direct, physical consequence of the crank’s position. That’s your “Aha!” moment. You’ve just built the core logic of a steam engine on your kitchen table.
How Timing Affects Power and Smoothness
Ever wonder why some model engines chug with brute force while others purr like a contented cat? The secret lies in the valve gear’s timing. It’s the difference between a heavyweight boxer and a ballet dancer. Both are powerful, but their delivery is worlds apart.
Adjust the timing for maximum lead and lap, and you get raw, high-torque power. This is the “starting a train” setting. The engine delivers a mighty shove to overcome inertia. It’s not subtle, but it gets the job done. On the other hand, refine the timing for a later cut-off and less lead. You’ll get silky-smooth, high-speed rotation. This is perfect for a generator or a model steam boat that needs to run without a hiccup.
This performance debate brings us to a classic engineering fork in the road: single vs. double-acting. A single-acting engine is a one-clap-per-cycle affair. Steam pushes the piston one way, and momentum or a flywheel brings it back. It’s simple, but it has a distinct, lumpy rhythm.
A double-acting engine, on the other hand, is a continuous round of applause. Steam alternates, pushing on both sides of the piston. This creates power on every stroke. The valve gear’s job becomes exponentially more complex, orchestrating this perfect steam ballet. But the payoff is immense.
Take the data from the RW-BL1K model. It boasts double-acting pistons and a power output of 0.015hp at 3000rpm. That compact, high-speed power is directly orchestrated by its precise valve timing. The smoothness comes from the constant, balanced push on both sides of the piston.
So, single vs. double-acting isn’t just a technicality. It’s the core choice between simplicity and sophistication. A single-acting engine can be a fantastic teacher. A double-acting engine, when its timing is tuned right, is what separates a curious toy from a true mechanical marvel. It’s where raw power becomes elegant, usable power.
Mini-Experiment: Adjusting Port Opening
Think of the steam port as something you can change, not just a fixed part. What happens when we make it bigger or smaller? This is your chance to become an engineer. Get ready to play with shapes.
First, let’s try making the port wider. Imagine a small hallway versus a big room. More steam can rush in at once. This makes the piston move faster and stronger.
But, fluid dynamics is complex. A wider port lets steam in quickly but also out fast during the exhaust. This can waste pressure. It’s like leaving all doors open at a party—good for guests, bad for keeping the heat in.
Then, let’s try making the port narrower. Steam enters more slowly, like a controlled flow. This can build up pressure and make the engine more efficient. But, if it’s too narrow, the piston might not get enough steam. It’s like trying to drink a thick milkshake through a straw.
The key is finding the right balance. A wider port gives quick power but might not last long. A narrower one lasts longer but starts slower. This is the challenge of designing a steam engine.
Now, let’s think about shape. What if the port was taller or had rounded edges? Each change affects how steam moves into the cylinder. This changes how well it fills the space before pushing.
This isn’t just theory. This iterative design process is how steam engines became powerful. Engineers didn’t have magic formulas. They had curiosity and a “what if?” attitude.
So, use your cardboard model or just think about it. Predict what will happen. More power means earlier cut-off. Faster exhaust might mean less compression. There’s no one right answer, just better solutions for different needs. That’s the spirit of tinkering. That’s how you really understand the machine.
Common Student Mistakes and Easy Fixes
Dead spots, backward runs, and silent huffs are not failures. They’re your start in the world of steam tinkering. Welcome. Every engineer, from the Victorian era to today, has been through this. The good news? The fixes are usually simple.
Let’s list the common mistakes. I’ll share the simple solutions for each.
Misaligned Valves: This is a common issue. The engine might not move or run backwards. Usually, it’s because a valve is out of sync with the piston. The fix? Stop, take a breath, and check your timing again. A tiny adjustment in valve alignment can make a big difference.
Incorrect Lap: If your engine has weak spots or seems to struggle, check the lap. This is the valve’s overlap on the port. Too much or too little lap messes up the steam’s timing. Adjusting it carefully is key to smooth power. Remember, lead, lap, and cut-off are your guides here.
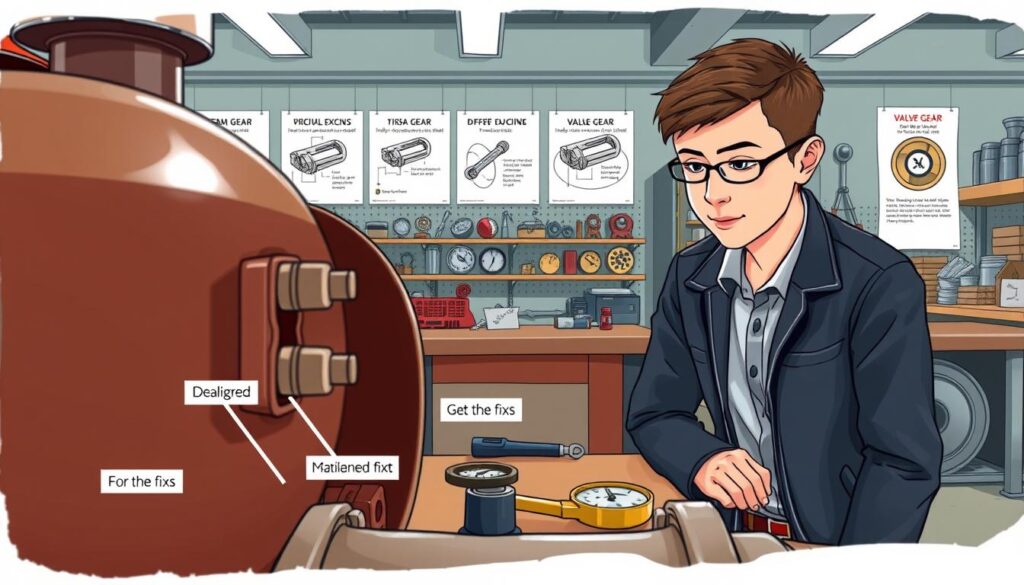
Binding Linkages: The motion should be smooth, not stiff. If it’s jerky, you have binding in the valve gear. This causes friction and lowers efficiency. The fix is to align carefully and lubricate. Think of it like the valve care guide for a trumpet—precision parts need to move freely.
The Ever-Popular “Forgot to Lubricate”: Steam engines are metal on metal, moving at high temperatures. Forgetting to lubricate is like forgetting to charge your phone. It will stop. A drop of proper steam oil on moving parts is essential. It prevents wear, reduces heat, and keeps everything running smoothly.
This is why good kit makers stress safety valves and clear instructions. A quality-checked kit, vetted by experienced engineers, is designed to avoid these issues. The instructions are not just suggestions; they’re the wisdom of centuries, distilled to help you avoid frustration.
So, when your project acts up, don’t panic. It’s not you. It’s just steam being a diva. Diagnose calmly, apply the simple fix, and join the ranks of those who’ve figured it out. That’s the real rite of passage.
Compare & Contrast Organizer (Worksheet)
Memorization is for trivia night. Understanding valve gear needs a system. That’s where our compare-and-contrast organizer comes in. Your brain can only hold so many facts about slide valves and lap before it gets messy.
This section is your intellectual scaffolding. We’re moving from passive reading to active analysis. It’s like having a perfect digital library—a resource for studying and exploring.
The table below is your worksheet. You can sketch it in your notebook or imagine it as a clean PDF download. Filling it out is the process. It’s how you build a cognitive map.
| Valve Type | Mechanism | Advantages | Disadvantages | Typical Uses |
|---|---|---|---|---|
| Slide Valve | A block slides over ports. | Simple and cheap to make. Easy to understand conceptually. | Prone to wear and steam leakage. Not great for high pressure. | Early locomotives, basic model engines, educational demos. |
| Piston Valve | A cylindrical piston moves in a bore, uncovering ports. | More efficient sealing. Handles higher pressure smoothly. | More complex machining. Internal parts can be trickier to access. | Modern steam locomotives, high-performance live steam models. |
| Oscillating Valve | The valve itself rocks or oscillates to open/close ports. | Compact design. Direct action with few parts. | Limited port size and steam flow. Can be finicky to time perfectly. | Small oscillating cylinder engines, some marine models. |
See how the contrasts jump out? The slide valve’s simplicity is both a blessing and a curse. The piston valve trades complexity for performance. This isn’t busywork; it’s transforming raw data into structured knowledge.
By filling this out, you’re not just listing features. You’re asking *why* each type exists. You’re connecting mechanism to application. This worksheet turns you from a student who memorizes to a practitioner who understands.
Keep this organizer. It’s more valuable than pages of notes. It’s your personalized field guide to valve gear, built by you, for you. Now that’s a resource worth exploring.
Real-World Links: Locomotives and Models
Ever wondered how a simple slide valve became the heart of a steam locomotive? This journey from a model to a massive machine shows how mechanical designs evolve.
The slide valve we’ve worked with didn’t stay simple. Railway engineers needed more power and smoother operation. They created the Walschaerts system, a complex system of levers and rods. It made our simple slide valve into a precise tool for huge engines.
The same principles that powered the Flying Scotsman are in model kits today. This isn’t just nostalgia; it’s a living legacy.
The uniflow basics concept is another efficiency hack. In traditional engines, steam moves back and forth. In uniflow, it moves in one direction, saving energy. This idea is key for stationary engines and worth exploring further.
The “Build and Run Your First Steam-Powered Boat with RW-BL1K” kit is more than a toy. It’s a STEM learning project that lets you build and run a piece of history.
The Stirlingkit boat engine is a direct descendant of ocean liner engines. When it runs, you see the same principles that powered the seas. The scale may change, but the fundamental truth of steam remains the same.
Next time you see a steam locomotive documentary or visit a maritime museum, look closely. You’ll see the same logic in motion. You’ve already held its essence in your hands.
Assessment: Diagram Labeling + Short Answer
Think of this as a way to check your knowledge, not a test. It’s a chance to make sure you understand everything. It’s like tightening all the mental screws.
You have two tasks. First, identify parts in a diagram. Then, answer a few questions. It’s not about passing or failing. It’s about making sure you get it.
Part 1: The Diagram
Here’s a valve gear diagram. Your job is to find and label four important parts.
Look for the port, valve, eccentric, and linkage. If you find them, you’ve got a good grasp. If not, that’s okay. It just means you need to look again.
Part 2: The Short Answers
Now, answer two questions in your own words. There are no tricky questions. Just honest answers.
1. Why does using a later cut-off make steam engines more efficient?
2. What’s the main difference between a slide valve and a piston valve?
Stuck? That’s okay. Use the table below for help. It shows what each task is really about.
| Assessment Task | What It’s Really Asking | Big Picture Concept |
|---|---|---|
| Label the Diagram | Can you visually identify the core hardware of the valve gear system? | Spatial understanding of mechanical anatomy. |
| Explain Cut-off Efficiency | Do you grasp how timing changes the use of expansive steam? | Energy conservation and thermodynamic thrift. |
| Compare Valve Types | Can you distinguish the sealing and motion method of two common designs? | Form follows function in mechanical design. |
How did you do? If you did well, congratulations. You’ve got a solid understanding. If not, that’s okay. You know what you need to work on.
This wasn’t a test. It was a way to check your understanding. And you did it yourself.
Teacher Notes: Materials, safety, pacing
Hey, teachers and workshop leaders. This is your guide to making valve gear theory real and exciting. You’ll need a mix of simple ideas and precise tools with heavy machinery solutions.
Start with basic stuff like cardboard, pins, and curiosity. For a more complete setup, the Stirlingkit RW-BL1K live steam model is great. It comes with everything you need in a small package.
Safety is key. Always have an adult watching over things. Even small models can be dangerous, with pressures up to 3 kg/cm². Handle fuel, like ethanol, carefully.
Don’t rush through the lessons. Spread them out over several sessions. Begin with simple models and move to adjusting the live steam engine. This way, students learn by doing, not just listening.
