
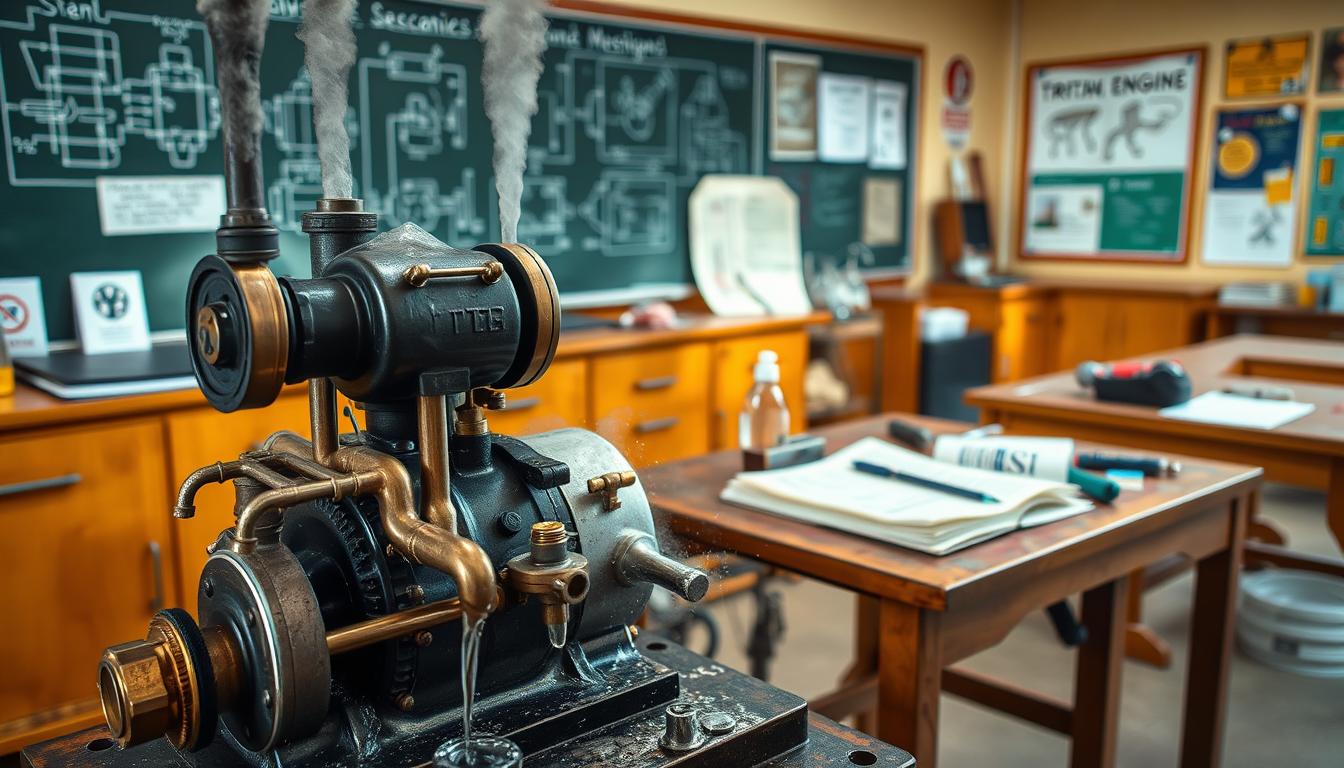
Ever feel like your classroom power plant has developed a personality disorder? One day it’s a model of thermodynamic efficiency. The next, it’s surging like a nervous racehorse, priming like a bad coffee maker, and sporting mysterious leaks that would make a plumber blush.
You’re not just an educator. You’re the foreman of a miniature industrial revolution. This role blends shop-class grit with the sleepless nights of a real plant technician. This guide is your new shift supervisor.
We’re moving beyond textbook theory into the brass-tacks reality of hands-on diagnostics. Think of it as part detective novel, part shop-class confessional. Our approach is inspired by the war stories from real forum trenches and structured with the rigorous, experiential mindset of advanced power engineering labs.
We’ll map frustrating symptoms—from the embarrassing hiss of a seal failure to the subtle tyranny of misalignment—back to their root causes. It’s about more than a quick fix. It’s about learning to truly tune your mechanical marvel, understanding the critical role of proper packing, and restoring reliable power.
Symptom-to-Cause Map (low power, stalls, noise)
When your engine surges and primes like a boiling kettle, it’s time to find the cause. You’re like a mechanical therapist, listening to the machine. Your task is to understand what it’s saying.
Low power is a common issue. It feels like the engine has lost its energy. Even when you crank the pressure, the output is weak. This often points to poor steam quality.
Is the steam dry and energetic, or is it wet steam that’s better for a sauna? Wet steam has water droplets that don’t expand well. This weakens the piston’s power. A forum tech who couldn’t heat his school without high pressure was likely dealing with this.
A stall is more dramatic. It’s when the system suddenly stops working. This isn’t just a minor problem. It’s a sign that something is seriously wrong.
Stalls often mean something physical is binding. This could be a misaligned rod, a waterlogged piston, or a stuck valve. The Low Water Cut-Off (LWCO) shutdown mentioned in a forum post is a specific type of stall. It’s a safety feature warning of another issue.
Noise is the engine’s way of expressing itself. Wheezes, shudders, and gurgling are all clues. These sounds show that steam and water are fighting in the pipes. It’s inefficient and destructive, indicating a system imbalance.
Courses like Lambton College’s OES-3124 teach us how to tackle this. They cover operation, classification, and troubleshooting. We’re using this knowledge to find the root cause of the problem.
Use the map below to start diagnosing. It connects symptoms with possible causes and first steps to take.
| Symptom | What It Feels/Sounds Like | Most Likely Causes | First Thing to Check |
|---|---|---|---|
| Low Power | Weak response, needs high pressure to work, feeble output. | Poor steam quality (wet steam), insufficient steam supply, leaking valves. | Boiler water level and steam trap function; check for condensate in lines. |
| Stall | Sudden, complete stop. Often with a shudder or click. | Mechanical binding, LWCO activation, fuel/steam interruption. | Visual inspection for seized parts; verify water level in boiler. |
| Noise (Surging/Priming) | Gurgling, knocking, or violent surging rhythms in the system. | Water carryover into steam lines, unstable boiler pressure, air in system. | Boiler water chemistry and level; inspect for rapid firing cycles. |
This table is just the beginning. It’s the first question, not the final answer. That wheeze? It’s about friction. That stall? It’s about alignment. Your job is to follow the clues from the symptom to the fixable fault. Stop guessing. Start diagnosing.
Tools for Diagnosis: Soapy Water, Tach, Feeler Gauges
Fixing a steam engine isn’t about fancy tools. It’s about using simple, honest ones. Forget expensive lab gear. Our tools are like MacGyver’s, but they work just as well.
The soapy water spray bottle is your leak detector. It’s more reliable than any promise. A fine mist shows even the smallest leaks as bubbles.
The optical tachometer checks the engine’s speed. It shows if the flywheel is moving fast but weak, or slow and hard. This tool measures RPMs, giving you the engine’s pulse.
Feeler gauges measure tiny gaps. They check if piston and cylinder fit right, or if valves work smoothly. A small gap can cause big problems.
Your finger is the first tool for diagnosis. It checks if parts are hot. Too much heat means metal is rubbing against metal.
| Tool | Primary Use | What It Tells You | Pro Tip |
|---|---|---|---|
| Soapy Water Spray | Leak Detection | Location and severity of steam/air leaks at fittings and gaskets. | Use a very diluted solution; it makes bubbles more persistent and easier to spot. |
| Optical Tachometer | Speed Measurement | Actual running RPM vs. expected; indicates load, friction, or steam issues. | Take multiple readings at different throttle settings to see the full performance curve. |
| Feeler Gauges | Precision Gap Measurement | Clearance in piston rings, valve travel, and critical alignment points. | Always clean the gauges and the surfaces before measuring; oil or grit falsifies the reading. |
| Finger Test | Temperature Sensing | Operational temperature of bearings and cylinders, indicating lubrication state. | If you can’t hold your finger on it for more than a second, it’s too hot. Investigate immediately. |
This isn’t a complex arsenal. It’s a mindset. Each tool gives you important information. Mastering them helps you find problems and fix them.
Leak Hunting: Fittings, Gaskets, Valve Face
Every hiss of escaping steam is a clue pointing to a failure in one of three key areas: fittings, gaskets, or valve faces. Think of it less as a maintenance chore and more as a detective story. The villain is wasted energy, and the victim is your engine’s performance. That forum horror story about losing hundreds of gallons daily? It’s not an outlier. It’s the inevitable endgame of a leak you decided to ignore.
Your hunt begins with a simple map of the usual suspects. Each has a distinct modus operandi.
| Suspect | Tell-Tale Sign | Common Cause | Primary Fix |
|---|---|---|---|
| Fittings | Audible hiss or jet of steam at joints | Loose threads, contamination from pipe-cutting oils | Proper tightening, cleaning, and thread sealant |
| Gaskets | Dampness or seepage between flanges | Material fatigue, improper installation, over-torquing | Correct material selection and installation technique |
| Valve Face | Leakage when valve is closed, poor shut-off | Grit, scoring, or wear on the -machined sealing surface | Lapping, polishing, or replacement of the valve seat |
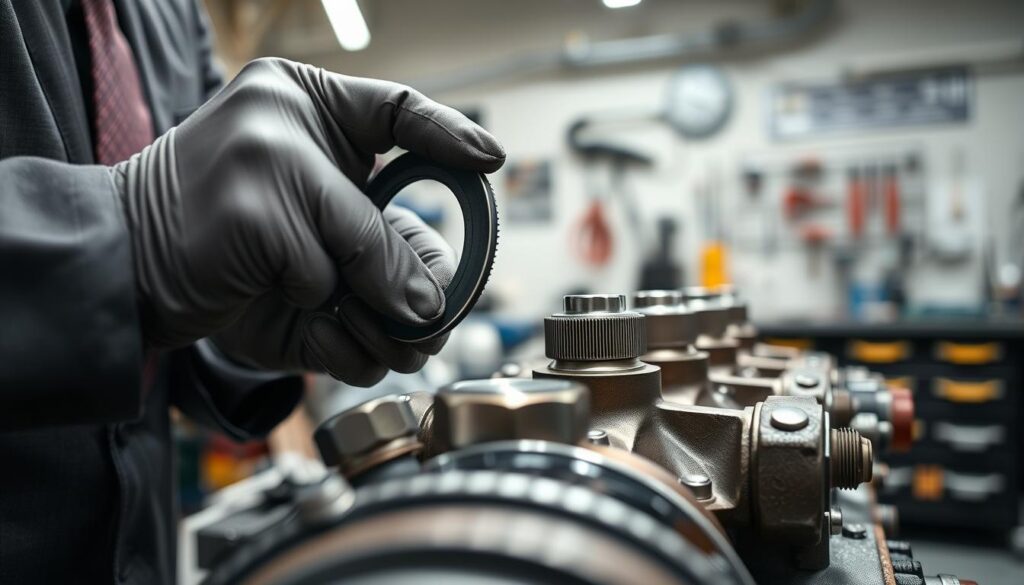
Let’s start with the loudmouth: loose fittings. A threaded connection that wasn’t torqued properly is an invitation for steam to escape. But the more insidious foe is contamination. That thin, harmless-looking oil you used when cutting a pipe? It can linger inside threads, preventing a proper seal and slowly contaminating your entire steam loop. Cleanliness isn’t just for show; it’s your first line of defense.
Next, the silent protestor: the failed gasket. This is where the integrity of the gasket seal truly matters. A gasket isn’t just a piece of material; it’s a engineered barrier. As covered in courses like Lambton College’s OES-4504, mastering the art of the gasket seal involves correct selection for temperature and pressure, along with flawless installation. Over-tightening the bolts can crush and distort it as badly as under-tightening. The goal is uniform compression for a perfect gasket seal.
Lastly, the -machined perfectionist: the valve face. This is the meeting point of the valve and its seat, ground to a mirror finish. A single grain of grit caught here is like a pebble in a watch mechanism. It creates a microscopic highway for steam. The fix often involves careful lapping—a process of gently mating the surfaces with an abrasive compound—to restore that flawless, leak-proof interface.
The professional methodology, straight from the technician’s playbook, is a three-step mantra: isolate, inspect, implement. First, isolate the suspect component from the live system. Then, inspect it with a critical eye—look for cracks, warping, or contamination. Lastly, implement the correct repair with the right tools and materials. It’s a process that treats the symptom and cures the disease.
Friction Fixes: Alignment, Surface Finish, Lubrication
Alignment is more than just straight lines. It’s about making sure parts work together smoothly. Friction is like a tax on every engine turn. We aim to find ways to reduce it.
Misalignment can cause parts to fight each other. Imagine a bent crankshaft or a wobbly flywheel. They lead to wasted power and quick overheating.
Proper shaft alignment is key. Programs like Lambton College’s OES-4504 teach this skill. You learn to use tools for precise alignment, ensuring parts move in harmony.
Surface finish is also important. A smooth piston rod is essential. Rough surfaces increase drag and wear.
A polished surface reduces drag and helps seals work better. It prevents hot spots. This isn’t just for looks; it’s about efficiency.
Lubrication is vital for smooth operation. It turns a screeching halt into a smooth glide. The right oil or grease is chosen for the job.
These fixes work together for better performance. A well-aligned, smooth, and lubricated bearing runs cooler and longer. Let’s look at how to fix these issues.
| Friction Fix | Core Principle | Practical Tool/Method | Expected Outcome |
|---|---|---|---|
| Alignment | Eliminate parasitic forces from angular or parallel offset. | Dial indicator, straight edge, laser alignment system. | Reduced vibration, even wear, and maximum power transfer. |
| Surface Finish | Minimize microscopic irregularities that increase drag. | Emery cloth, honing stone, micrometer for measurement. | Smoother operation, reduced heat generation, longer seal life. |
| Lubrication | Introduce a sacrificial film to separate moving surfaces. | Correct oil/grease type, oil can, grease gun, and schedule. | Drastically lower friction, corrosion protection, and noise reduction. |
Mastering these fixes turns theory into practical skill. You start to feel solutions instead of hearing problems. A well-tuned engine hums with efficiency.
Friction management is ongoing. Check alignment after big changes. Monitor wear and never overlook lubrication. Your engine’s smooth operation depends on it.
Steam Quality: Dry vs. Wet and Simple Improvements
Steam quality is real and makes a big difference. It’s like the fuel for your engine. Dry steam makes it run smoothly, while wet steam makes it slow and hard to move.
Wet steam is steam that carries water droplets. This water is a problem because it doesn’t help the engine work. It can even damage it.
When you have priming and carry-over, it’s a sign of trouble. Water gets into the steam lines and causes problems. This can lead to loud noises and make your engine feel weak.
Most problems come from two main issues. First, the water level in the boiler is too high. Second, the pressure is too low. Both make the steam wet and weak.
But, fixing steam quality can make a big difference. Here are some easy ways to improve it:
- Master the Water Level: Keep the water level just right. Check your boiler’s manual for the best spot.
- Run at Design Pressure: Make sure the boiler is working at its best pressure. This helps the steam come out dry and strong.
- Audit Your Steam Separator: This part is important. Make sure it’s clean and working well. It helps get rid of extra water.
- Insulate Steam Lines: Keep the steam lines warm. This stops water from forming and makes the steam better.
When you get these things right, your engine will run better. It will be stronger and last longer. It’s like upgrading to a better engine.
Performance Tuning: Flywheel Mass, Port Timing, Back-Pressure
Forget being a mechanic; you’re now the conductor of a thermodynamic orchestra. The instruments? Flywheel mass, port timing, and back-pressure. Tuning them is the art of moving from mere function to elegant, harmonic efficiency. It’s the practical application of principles you’d wrestle with in a lab like Lambton College’s Process Simulator, but on a beautifully tangible scale.
This is where you stop fixing and start composing. Your goal isn’t just a running engine, but a responsive, powerful, and smooth one. Let’s break down the trio.
Flywheel Mass: The Inertial Bank
Think of the flywheel as the engine’s kinetic savings account. Its mass stores rotational energy, smoothing out the power pulses from each piston stroke. Get its flywheel balance wrong, and you don’t just have a wobbly anchor. You introduce vibrations that shake fittings loose and waste energy. Proper balance is foundational stability. It’s the core mechanical principle of balancing forces, made real. Is it a smooth, inertial bank, or a source of chaotic tremors? The answer dictates everything that follows.
Port Timing: The Steam Choreography
If the flywheel provides the rhythm, port timing is the choreography. This is the precise dance of opening and closing the ports that admit steam and exhaust spent vapor. A few degrees of adjustment in this timing can transform a wheezer into a sprinter. Open the admission port too late, and you miss the piston’s sweet spot. Close the exhaust port too early, and you trap pressure that fights the next cycle. Getting this right is a dialogue with the engine’s own rhythm.
Back-Pressure: The Silent Partner
Often-ignored, the resistance in the exhaust line—back-pressure—is your secret tuning knob. A little back-pressure can improve torque by giving the piston something to push against during its power stroke. Too much, and you choke the engine, forcing it to work exhaustively just to breathe. It’s a Goldilocks scenario. Finding that “just right” amount requires listening to the exhaust note and watching the governor’s response.
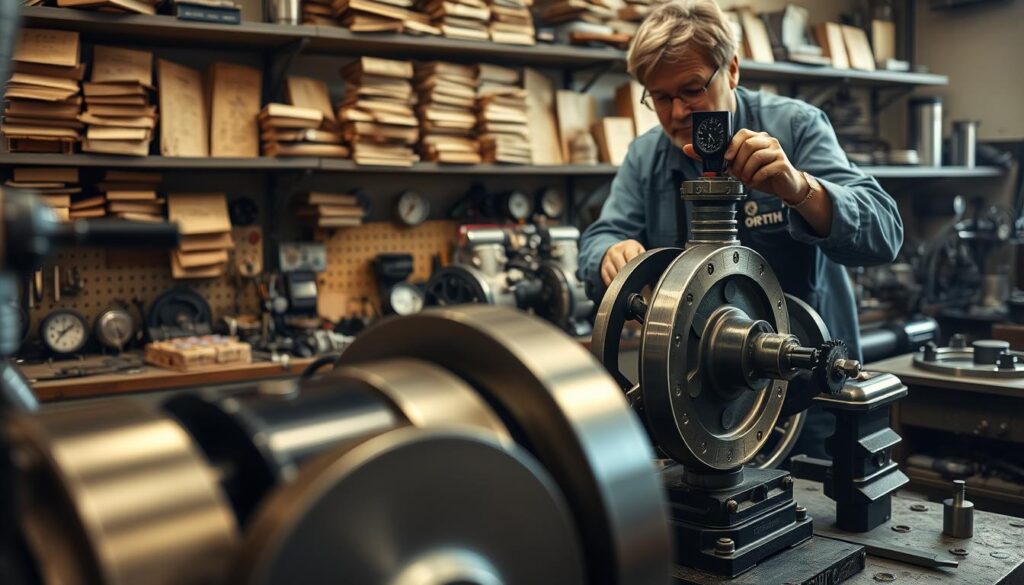
Tuning these elements is a hands-on lesson in thermodynamics and control theory. You start-up, operate, troubleshoot, and adjust—just like in a process control lab, but with immediate, visceral feedback. It’s OES-2123 principles felt in your fingertips.
| Tuning Parameter | Primary Role | Symptom of Poor Tuning | Tuning Action |
|---|---|---|---|
| Flywheel Mass & Balance | Provides inertial smoothness, stores rotational energy | Excessive vibration, uneven running, “juddering” at low speed | Check and correct flywheel balance; ensure proper mounting and alignment |
| Port Timing | Orchestrates steam admission and exhaust timing | Low power, hesitant starts, sharp exhaust “cough” | Adjust valve gear linkage; verify timing marks are precise |
| Back-Pressure | Modulates exhaust resistance for torque control | Engine labors or stalls under load; exhaust note is muted or strained | Adjust exhaust valve or orifice; ensure exhaust path is clear but not too free |
Mastering this trio stops the engine from being a simple machine. It becomes a responsive partner. You move from pushing parts to conducting physics.
Rebuild Basics: Replacing Gaskets and Packings
It’s time for your live-steam engine’s spa day. We’ll replace the worn-out gaskets and tired packings. This is a chance to keep your engine running smoothly.
This isn’t a sign of a big problem. It’s like a tune-up for your engine. It shows you’re serious about keeping it in top shape. This skill is key, taught in places like Lambton College’s OES-4504 Mechanical Practices course.
First, we tackle the gaskets. A gasket is a static seal between two metal parts. It stops leaks where there’s no movement. Choosing the right material is important. Today, we use asbestos-free composites for their heat resistance and safety.
Installing gaskets needs finesse, not force.
- Cleanliness is divine: Make sure both surfaces are clean. Any dirt can cause leaks.
- No pinching: The gasket must fit perfectly. Any folds or creases will fail.
- The torque tango: Tighten bolts evenly. Over-tightening can damage the gasket. It’s all about precision.
Next, we focus on the packing. This is the dynamic seal that keeps a moving part sealed. Replacing it requires a careful balance of tension.
Too tight, and it causes friction. This can wear down the engine. Too loose, and steam leaks out. Finding the right tension is key.
Choosing the right material for rod packing is also important. It must handle heat, pressure, and constant motion.
| Material Type | Best For | Considerations |
|---|---|---|
| Graphite-Impregnated | High-temperature applications, excellent self-lubrication | Can be messy; requires careful installation to avoid breakage |
| PTFE (Teflon) Based | General classroom use, lower temperatures, chemical resistance | Softer, easier to install; may not last as long under high heat |
| Braided Carbon | High-performance models, where minimal friction is key | Premium cost; offers superb durability and heat tolerance |
The process is detailed. Remove the old packing, clean the gland, and add new rings. Make sure the joints are staggered. Tighten the gland nut just enough to stop leaks. Start the engine and check for leaks. A small leak that disappears as it warms up is okay; a steady leak is not.
Learning to replace gaskets and packings is a big step. It shows you’re serious about your engine. It’s not just fixing it; it’s making it better.
Maintenance Log Cards and Intervals
Reliability is built with ink, not just memories. Your brain is great at stories but not numbers. A log entry about a “high-pitched squeal” is useful, not a forgotten memory.
This isn’t just about following rules. It’s about giving your engine a voice. A maintenance log turns you from a fixer to a planner. It’s like what Lambton College teaches their co-op students.
What should your log include? Start with the basics. Doing water tests every few days is a good start.
Your log should track three main things:
- Run Hours: This is like the engine’s mileage. It helps set your maintenance schedule.
- Action & Date: Record when you do maintenance. No more guessing when you last lubricated.
- Observed Irregularities: This is the most important part. Note any unusual sounds or vibrations. It helps you fix problems before they get worse.
Keeping a detailed log makes you a pro. It matches the learning goals of programs like this one. The process is as important as the result.
So, what maintenance intervals should you follow? You don’t need to log every second. Break it down into levels.
| Interval | Checkpoint | Log Entry Example |
|---|---|---|
| Each Use (Post-Run) | Visual inspection, note any immediate issues. | “2024-10-26: Run 2.5 hrs. Minor condensate drip from gland nut. Temp normal.” |
| Weekly / 10 Run Hours | Lubrication points, general tightness, steam quality. | “2024-11-02: Lubricated main bearings. Boiler water pH tested at 7.1.” |
| Monthly / 50 Run Hours | Comprehensive check: alignment, gaskets, valve faces. | “2024-11-30: Adjusted valve timing. Flywheel balance checked. All log card data reviewed for trends.” |
See the difference? You’re not just fixing things. You’re managing an asset. The log card is like the engine’s health record, and you’re the doctor.
Begin with something simple. A notecard or a spreadsheet. The method doesn’t matter. What’s important is the habit. Make logging the last step of every session.
This habit creates a detailed study of your engine. That data is invaluable. It helps prevent failures and turns maintenance into a science. This way, you keep the steam rising and lessons flowing year after year.
Safety Gates Before Restart
Restarting your classroom steam engine is like launching a space shuttle. Every system must be ready before starting. The work is done, but the real victory is not yet.
In industrial training, like Lambton College’s OHS-2012 course, safety is key. We use the plant-floor approach, where a restart is a series of safety gates, not just one action.
This ritual is a careful, almost meditative, check before starting. Has the area been cleared of all rags, spare parts, and tools? Are all tools accounted for? This is basic tool accountability, important in serious shops.
Next, check the lubrication system. Is the oiler full? Are all sight glasses showing the right levels? A dry bearing at startup can cause expensive damage.
Then, check the guards. Are all safety covers and flywheel enclosures in place? This isn’t just rules; it’s the difference between a safe demo and an accident.
Lastly, do a visual inspection. Walk around the engine. Look for loose fittings, misaligned linkages, or anything odd. This is where experience helps.
Courses like OES-4504 teach energy isolation and formal procedures. For us, it means a simple rule: check, then double-check. The table below shows how to do this.
| Safety Gate | Critical Check | Why It Matters |
|---|---|---|
| Area Securement | Work zone clear of debris and tools | Prevents slips, trips, and launched objects during operation. |
| System Readiness | Lubrication reservoirs full and flowing | Avoids immediate dry-start wear and seizure. |
| Physical Guards | All safety shields and covers installed | Contains moving parts; meets basic lab safety standards. |
| Final Visual | 360-degree walk-around for anomalies | Catches the obvious thing everyone missed in close focus. |
| Communication | Clear “all clear” signal to any observers | Ensures everyone is aware and at a safe distance. |
This checklist isn’t just rules. It’s a mindset shift from builder to operator. It forces a pause and a review of the entire system. It’s the ritual that prevents the first chuff from turning into a lesson in regret.
Make this your restart procedure. It should be a non-negotiable ceremony. The engine doesn’t care about your confidence. It only responds to your thoroughness.
Assessment Rubric + Reflection Prompts
So the engine runs. Is that success? In a classroom, the real victory is measured by the quality of the run and the depth of the learning. We need a simple assessment rubric.
Think in four categories. Safety Protocol is non-negotiable. Operational Smoothness checks for vibration and rhythm. Power Output vs. Specification compares your work to the engine’s original design. Absence of Leaks is the final seal of approval. This structured approach mirrors formal frameworks for evaluating transdisciplinary STEAM learning, like the LUPDA model, which uses rubrics to measure complex, integrated skills.
The repair becomes a documented learning outcome with reflection prompts. What was the most unexpected fault you found? What diagnostic shortcut did you discover? If you had to teach this repair, what’s the one tip you’d give? This self-reflection, much like the “Job Search & Success” courses at Lambton College, inspires genuine insight. It transforms a greasy afternoon into a lesson that sticks. That final step would make any educator—or Sage—nod in approval.
