
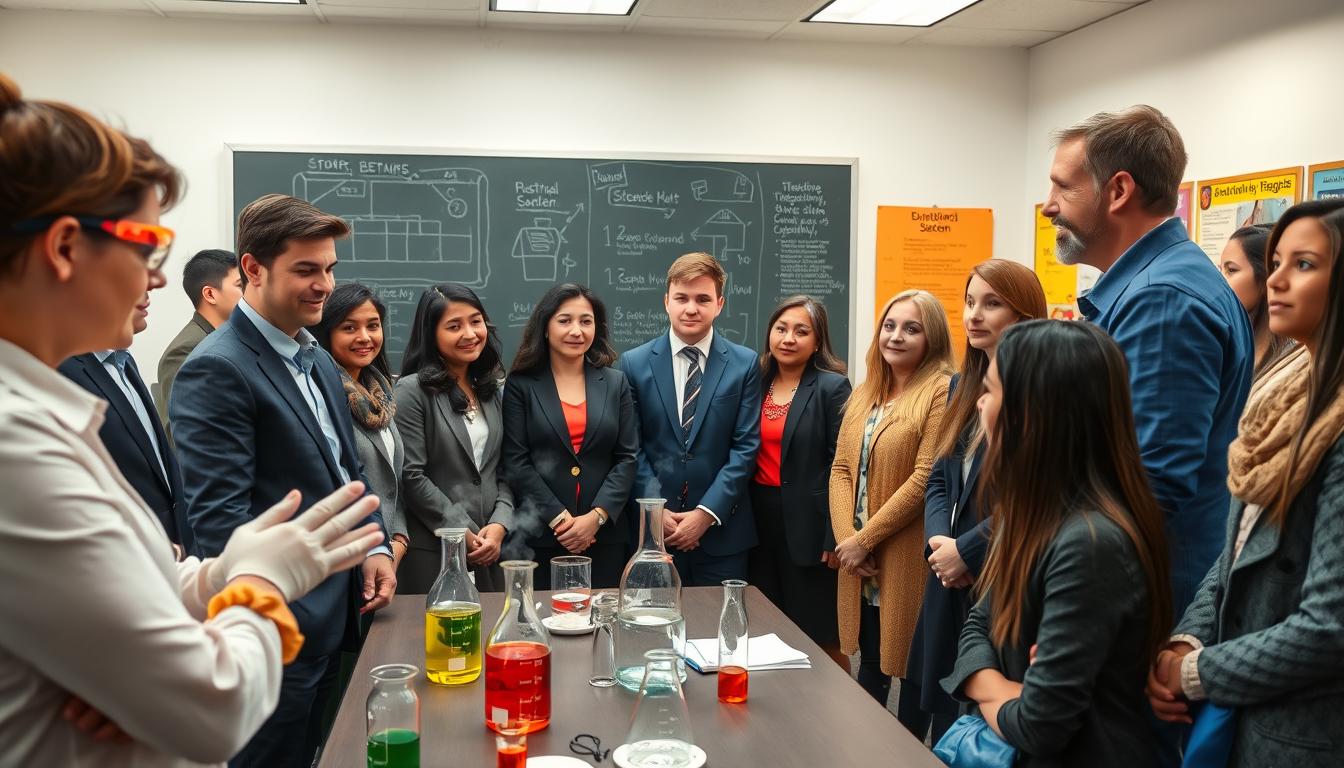
Let’s be honest. The most memorable classroom moments often walk a fine line between brilliant instruction and controlled chaos. A great steam demonstration isn’t just a physics lesson. It’s a live exercise in pressure management and hazard analysis.
Think of this not as a safety lecture, but as the director’s commentary for your blockbuster science demo. Our special effect is learning. The only thing we’re blowing up is curiosity.
We’re here to engineer wonder without the collateral damage. That means proactive planning—assessing risks long before the kettle whistles. It’s about universal design, ensuring every student can engage safely. It’s understanding the core principles, like the fire triangle, so safety becomes part of the STEM activity itself.
From the PPE that makes you look the part to the quiet art of not melting the demonstration table, we’ll cover it. This is about mastering the variables, so the only thing steaming is your apparatus, not your principal’s temper.
Hazard Map: Hot, Pressurized, Flame, Water, Slips
Before you light the burner, you must do a risk assessment. It’s not about being paranoid. It’s about mapping out all possible dangers before starting.
Your classroom becomes a physics playground with invisible dangers. The Heat Zone goes beyond the burner’s blue tip. It includes the metal, steam, and the path of that vapor. A student leaning in risks entering a thermal danger zone.
The Pressurized area is also a concern. It’s not just about a kettle whistling. It’s about trapped energy, like a coiled spring. A sealed container with a blocked vent can become a dangerous rocket engine.
The Flame is a clear danger. But superheated steam from a blocked vent is a bigger threat. This steam, along with fuel and heat, creates a dangerous situation.
We often overlook Water as a hazard. A spill isn’t just messy. It creates a slippery surface, turning a stable table into a slide.
Slips are a result of water spills. A wet floor changes the friction for everyone. It’s like a physics problem you didn’t assign.
To navigate this map, analyze each zone carefully. Look for where accidents could happen. Where does heat go? Where could pressure build? What path does spilled water take?
Ventilation is essential. It clears the air and prevents flammable vapors. It also removes steam that could harm skin. Good ventilation is your silent safety partner.
Creating a hazard map also guides your PPE choices. Knowing the heat zone helps decide who needs gloves. Understanding the spray radius of steam dictates who needs goggles. Your map helps choose your safety gear.
This checklist turns a chaotic experiment into a controlled system. Your hazard map is your guide. Without it, you’re not teaching science. You’re just hoping physics doesn’t notice you.
PPE and Supervision Ratios
Personal Protective Equipment is not a fashion statement. It’s your last defense when all else fails. In a steam demo, PPE is like armor. But, it’s not perfect, and knowing its limits is key to safety.
Your safety goggles should not fog up when a beaker gets warm. PPE that hinders you is worse than useless. Gloves that are too thick and lab coats that snag are bad examples. For a steam demo, you need heat-resistant gloves, a lab coat or apron, and ventilation is essential. You’re not just dealing with steam; you’re managing vapor build-up. Good lab ventilation or a fume hood is a must, removing unseen hazards.
But gear is just the beginning. Supervision is where strategy and ratio matter most. A 1:30 ratio is dangerous; it’s more like crowd control than supervision. For a steam demo, you need a 1:5 or 1:1 ratio for safety. Supervision means having an adult who can see everything and act fast.
This is where PPE and supervision work together. The right gear gives you a critical second. That second is what lets a supervisor react. It’s the difference between a close call and a report. The best PPE is a sharp, present, and proactive adult, whose most important tool is their attention.
Pressure Relief and the “Never Block the Vent” Rule
Physics doesn’t accept late work. Pressure isn’t a suggestion; it’s a law. In a classroom demo, there’s one rule you can’t ignore: Never Block the Vent.
A steam engine or a tea kettle’s whistle isn’t just a sound. It’s a non-negotiable pressure relief system. Blocking the vent is not safe. It’s like building a bomb.
- You contain energy (heat turns water to steam).
- You prevent its only escape (block the vent or valve).
- You create a pressure vessel with no release.
The outcome is not a question of “if” but “when” and “how violently” it will fail. This is the “Fire Triangle” principle applied to pressure: contain a volatile energy source without a release, and you’ve engineered a problem with shrapnel.
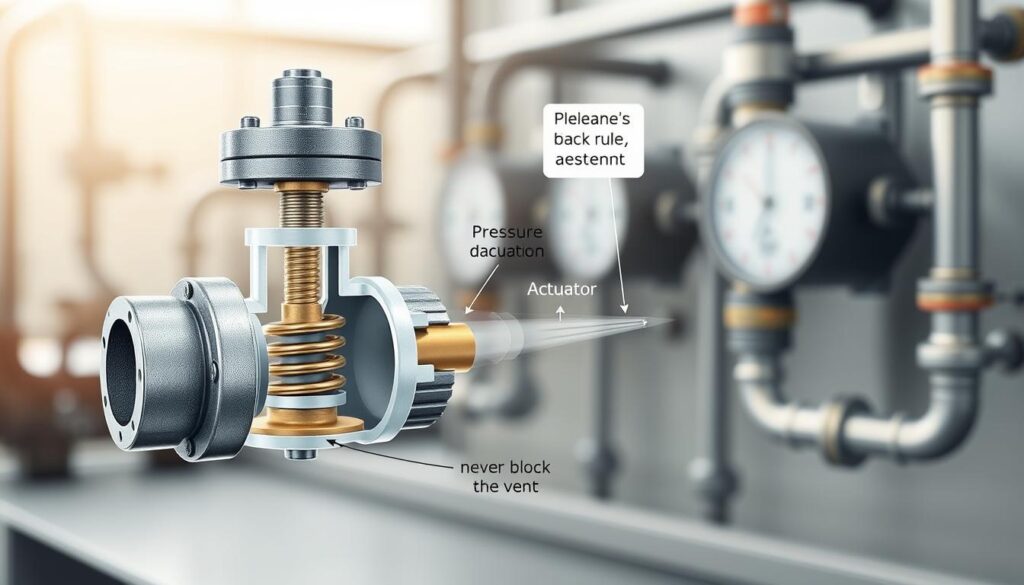
Your pressure gauge and safety valves are key. They are not suggestions; they are the system’s only way to communicate its stress levels. The gentle, controlled hiss of a pressure relief valve doing its job is the sound of safety. The alternative is a catastrophic, shrapnel-filled release of all that pent-up energy.
Think about a Putt-Putt boat or a simple vacuum apparatus. They work on pressure differentials and the need for a safe, directed release of that pressure to create motion. Block the only exit, and the system fails, or worse, fails spectacularly. Every steam engine, from a classroom model to a locomotive, is a carefully managed conversation with pressure. The safety valve is the system’s voice. Muffle it, and you’re not a scientist running a demo; you’re the character in the first act of an action movie who just bypassed the safety protocols. Don’t be that character.
Respect the vent. It’s not an accessory; it’s the only thing standing between a fascinating lesson in thermodynamics and a first-hand, and first-responder, physics lesson.
Fuel Choices: Alcohol, Solid Fuel, Electric Plates (Pros/Cons)
Choosing a fuel for your steam demo is serious. It’s like picking a surgeon. The wrong choice can ruin your evening and even your safety plan. Each fuel source has its own unique traits and risks.
Let’s look at the three main options. They all need fuel, heat, and oxygen to work. But how they heat up can make a big difference in your classroom.
The Alcohol Burner: The Invisible Artist. This burner is common in labs. It has a small flame that’s hard to see. But, it’s a big risk because it’s hard to see the danger.
Alcohol burners are easy to control. You can change the flame size. They heat up fast and stay steady. But, they can be tricky. A little wind or movement can make the flame jump around.
Solid Fuel Tablets: The Predictable Workhorse. These tablets are like reliable trucks. They burn steadily and you know how long they’ll last. They’re easy to use and leave little mess.
But, they can be stubborn once lit. You can’t change how hot they get. They’re good for setting a timer, but be careful not to touch them.
Electric Hot Plates: The Silent Sous Chef. Electric plates are modern and precise. They keep a steady temperature. They also don’t have an open flame, which is safer.
But, they’re not as simple as they seem. They get very hot, just like a flame. They can be a tripping hazard and need to be plugged in. They’re convenient but powerful.
| Fuel Type | The Good (Pros) | The Not-So-Good (Cons) | Best For |
|---|---|---|---|
| Alcohol Burner | Clean burn, adjustable flame, fast heating, traditional lab equipment | Invisible flame in bright light, sensitive to drafts, requires liquid fuel storage | Precision demonstrations where flame control is needed |
| Solid Fuel Tablet | Predictable burn time, self-contained, no setup required, consistent output | Cannot adjust intensity once lit, single-use, specific burn duration | Timed experiments with fixed heat periods, outdoor or drafty environments |
| Electric Hot Plate | Precise temperature control, no open flame, consistent heat, easy to monitor | Requires power outlet, cord hazard, deceptively hot surfaces, slower initial heat | Long-duration demos, indoor controlled environments, younger student groups |
The right choice depends on your classroom. Consider how much supervision you can give. Think about your students’ experience and your classroom’s setup.
Remember, all these options can create hot surfaces. The debate is not just about convenience. It’s about safety. Choose wisely to avoid accidents.
Safe Fill Levels and Purging Air Pockets
Your steam boiler is like a French press. The water level is key to a good brew or a disaster. Too little water, and you’re not making steam. Too much, and you’re wasting time and energy.
The ideal water level is between one-third and half full. This is based on science, not just a rule. It ensures efficient steam production without overheating.
Air pockets in steam systems are like unwanted guests. They can cause pressure spikes and damage. This is why purging is so important.
Purging is like an exorcism for your steam system. It removes gases that disrupt steam production. Vent the system briefly after filling to let air out.
Think of air pockets like the invisible forces in physics class. They can cause problems in steam systems. A good risk assessment anticipates these issues.
Scuba divers worry about nitrogen bubbles, and steam systems worry about air bubbles. Both can cause big problems if not handled right.
A thorough risk assessment looks for hidden air pockets and checks the system’s readiness. It’s about understanding steam’s power and respecting its needs.
Checking the water level and purging the system is the first step in safety. Do it right, and your demo will be a success. Do it wrong, and you’ll have to deal with emergencies.
Emergency Plan: Burns, Steam, Fire Blanket, Extinguisher
A true risk assessment doesn’t just spot hazards; it prepares for action. Your emergency plan is like a script for a play. Everyone must know their role, word for word, move for move.
Students with special needs need a personal plan. It’s not just paperwork; it’s a lifeline. It helps them find their way out and turns panic into action.
Let’s practice for emergencies. A burn from steam? Cool water for 10-15 minutes. No ice or butter, just steady water. The safety shower is for chemical spills, a full-body reset.
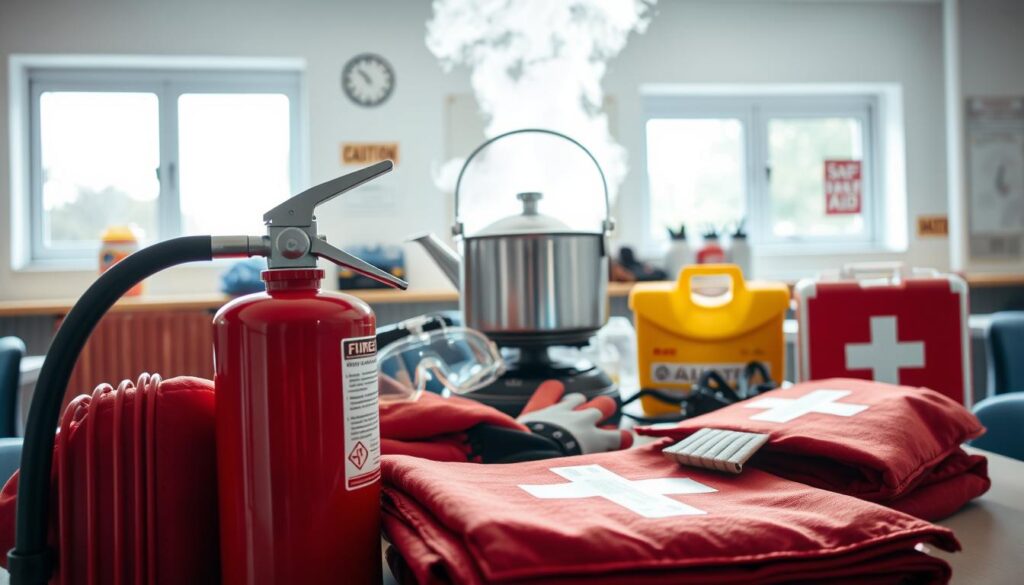
Fire brings out the fire blanket, a red square of action. It is not a superhero cape. You smother flames, not swat at them. The fire extinguisher is for last resort. Pull the pin, Aim low, Squeeze, Sweep.
This preparedness turns chaos into action. It’s the difference between a stampede and a calm exit. For more on emergency planning, check out this resource.
Your emergency plan is like muscle memory. It helps you act, not panic. Drilling these actions makes them second nature. This final layer of your risk assessment ensures safety.
Pre-Run Checklist & Post-Run Cooldown
What pilots call a ‘walk-around’ and astronauts call ‘go/no-go’ protocols, we in the classroom call the pre-run checklist—the last line of defense against preventable mishaps. This isn’t about stifling excitement with bureaucracy. It’s about channeling that energy into a structured risk assessment that everyone can see and follow.
Think of it as the educational equivalent of a pilot’s final inspection before taxiing to the runway. That moment of quiet focus where intuition gives way to systematic verification. Source 2 nailed it with the “pre-flight” analogy—every high-stakes activity deserves this ceremonial pause.
Your checklist shouldn’t be a vague mental note. It needs to be tactile, visible, and participatory. Here’s what separates a professional demonstration from a hopeful experiment:
- Fuel Source Interrogation: Is the alcohol burner stable on a non-flammable surface? Are solid fuel tablets secured in their holder? If using an electric plate, is the cord safely routed away from foot traffic?
- Ventilation Verification: Can steam escape freely? Is the exhaust path clear of obstructions and curious faces? Remember the “Never Block the Vent” rule from earlier—this is where you enforce it.
- Spectator Positioning: Are all students outside the designated splash-and-burn zone? Have you physically marked this boundary so there’s no ambiguity?
- PPE Accountability: Goggles aren’t just distributed—they’re actually on faces, with straps snug. Heat-resistant gloves are within reach of the operator.
This ritual, as Source 1 stresses, creates inclusive safety. It transforms observers into participants in their own protection. Each checkmark is a shared agreement that we’re prioritizing safety over spectacle.
Now, let’s talk about the encore no one thinks about until it’s too late: the cooldown. This isn’t passive waiting. It’s an active, deliberate shutdown procedure.
The moment the educational climax passes—the steam whistle blows, the piston moves—the real discipline begins. First, fuel elimination. Snuff out flames, disconnect power, remove solid fuel remnants. Then, pressure management. Allow the system to vent completely. Listen for that hiss to fade from shriek to whisper to silence.
Here’s where Source 3’s emphasis on procedure matters most. Equipment like a Chemical Heat Pack needs specific reset steps. Rushing this phase invites trouble because latent heat lingers long after visible signs fade. The metal stays hot. The adrenaline in your students’ pulses. Both need time to dissipate.
A proper cooldown protocol looks like this:
- Fuel Cut-off: Secure the energy source immediately after demonstration goals are met.
- Pressure Bleed: Allow full venting without manipulation of the apparatus.
- Touch Test (from a distance): Use the back of your hand near—not on—the equipment to gauge residual heat.
- Verbal Announcement: “System is cooling, do not approach” maintains the safety perimeter.
- Final Equipment Reset: Only when completely cool do you disassemble, clean, and store.
This structured approach to both startup and shutdown embodies complete risk assessment. It bookends the excitement with professionalism. The checklist ensures you launch safely. The cooldown ensures you land gracefully. Missing either is like applauding the takeoff but ignoring the landing—a fundamentally incomplete performance.
The most sophisticated safety culture isn’t just about reacting to emergencies. It’s about designing procedures that make emergencies less likely. Your pre-run checklist and post-run cooldown are the twin pillars of that design. They transform chaotic enthusiasm into managed wonder, which is, after all, the very essence of great science education.
Parent Permission & Lab Safety Contracts
Think a permission slip is just a formality? It’s the start of our safety journey. It turns a secret experiment into a community-approved learning experience.
The legal side is fascinating. It’s like the ADA and IDEA rules for steam engines. Clear risk talk makes learning safe for all. The slip connects school and home.
That paper is the first page of the safety guide sent home. It’s a deal between teacher, student, and guardian. It says, “We acknowledge the inherent, managed risks of awesome.” It’s not about avoiding blame—it’s about setting the safe play area.
A good safety contract does more than a simple waiver:
- Forces the conversation at home: A signed form means parents have looked at the risks. Students talk about them at dinner. This changes everything.
- Establishes shared understanding: Everyone knows it’s not magic—it’s real physics with real risks.
- Creates accountability layers: Students know their parents are aware; parents know you’re professional; you know everyone’s on the same page.
Students feel differently when they know their parents approve. They’re not just following rules—they’re upholding a family agreement. This makes them more careful with the equipment.
Your risk assessment starts with the permission slip. What risks do you highlight? How do you explain how you’ll keep everyone safe? The tone matters too—it should be clear and reassuring.
I’ve seen two bad approaches: a long legal document no one reads, and a one-line checkbox that tells nothing. The best is a single page that clearly states:
- What we’re doing (steam engine demonstration)
- The primary hazards (heat, pressure, open flame)
- Our safety protocols (PPE, supervision ratios, emergency procedures)
- What’s expected of the student (following instructions, reporting concerns)
- How parents can ask questions (your contact information)
This isn’t just about covering your back. It’s the agreement that makes hands-on learning possible. When done right, the permission slip builds trust and lets you explore safely.
This document is your first risk assessment talk. It makes you explain dangers clearly. It justifies your safety steps. And it shows you worked with the whole community on safety.
Quick Quiz: Spot the 5 Safety Errors (With Answers)
Forget the student. This final exam is for you. The demo is about to start. You’re the inspector. What’s wrong with this picture?
The student’s safety goggles are perched on their forehead. A Bunsen burner hose snakes across the floor. A heavy textbook is propped against the steam engine’s safety vent. A student’s bulging backpack blocks the main aisle. A beaker of clear liquid, marked only with a question mark, sits near the demo table. The student is ready. The setup is not.
This isn’t a trick. It’s a final test of your risk assessment skills. Your risk assessment here isn’t a formality; it’s the main event. Let’s spot the five critical errors.
Error 1: The Goggles. Goggles on the forehead are a fashion statement, not PPE. The rule is simple: eyes are priceless. This isn’t a style choice; it’s the first line of defense against a splash or a spark. A rule becomes a reflex.
Error 2: The Tripwire. The loose hose is a physics lesson waiting to happen. It’s not just a tripping hazard for the clumsy. It’s a snare that can yank equipment, topple burners, and turn a minor fumble into a major incident. A clean workspace is a safe workspace.
Error 3: The Blocked Vent. The book against the safety vent isn’t just clutter; it’s a pressure bomb. The “never block the vent” rule isn’t a suggestion. It’s the primary rule for a pressurized system. Blocking it is like locking the emergency exit.
Error 4: The Floor Hazard. The backpack in the aisle isn’t just clutter. It’s a trip-and-fall hazard during a demo involving heat and pressure. A clear, unobstructed path is non-negotiable for safe egress and movement.
Error 5: The Mystery Liquid. The unlabeled, or questionably labeled, beaker is a cardinal sin. It assumes memory over protocol. Is it water, or is it a volatile solvent? The rule is absolute: if it’s not labeled, it’s a hazard. Never assume.
Finding these errors isn’t about being a killjoy. It’s the final, practical application of your risk assessment skills. It’s the difference between knowing the rules and understanding the “why” behind them. This quiz isn’t a test you pass or fail once. It’s the state of mind you carry into every lab. See the hazards before they see you.
