
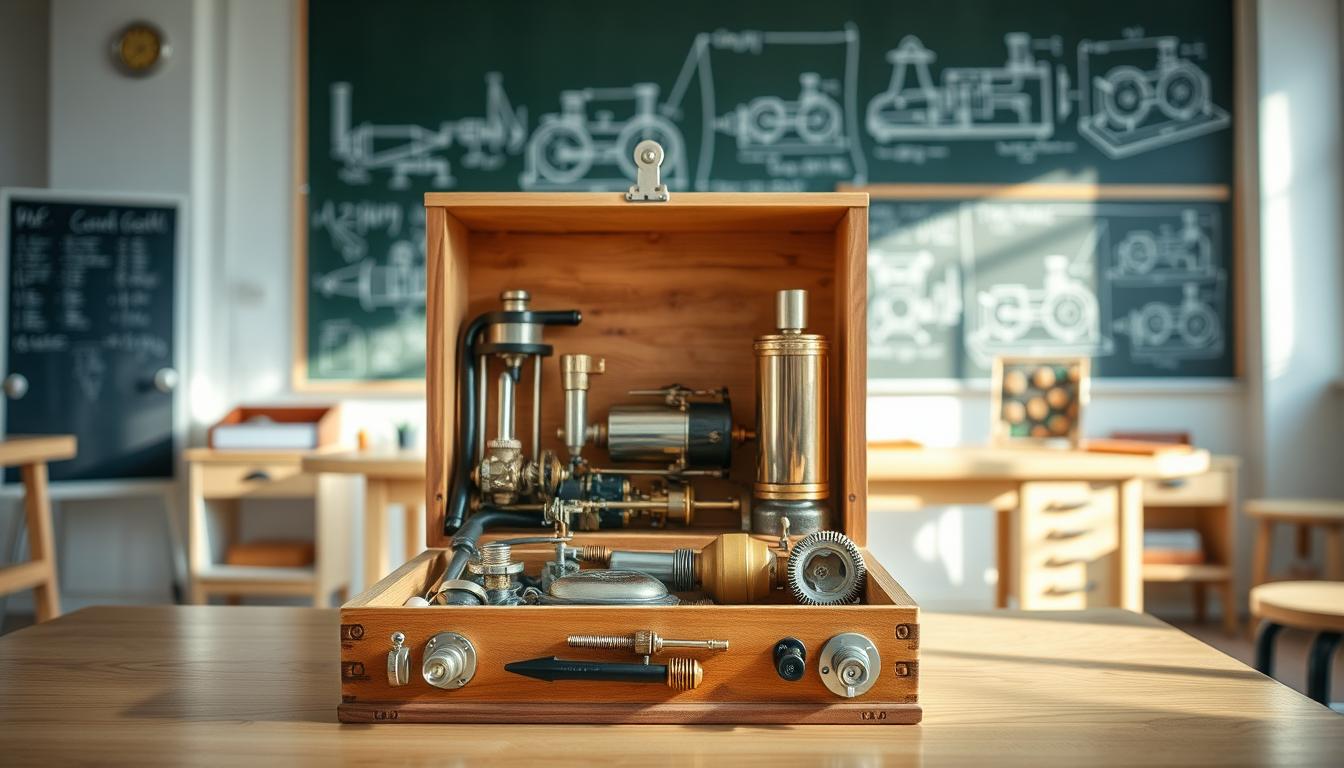
Let’s be honest. Your first brush with real power wasn’t in a history book. It was watching a tea kettle scream on the stove.
That primal whistle is pure, unconcentrated force. The oscillating cylinder is its more sophisticated, slightly nerdy cousin. Think of it as the gateway drug of mechanical engineering.
Remember the classic soda-can demo? Boil water inside, punch holes, and watch it spin like a dervish. It’s absurdly simple. Heat plus water equals frantic motion.
This live-steam project follows that same elegant logic. Its beauty lies in self-actuating valve gear and minimal moving parts. That’s what makes it the perfect beginner kit.
Forget complex machining for now. This is about grasping first principles. It’s a tactile lesson in thermodynamics you can hold in your hand.
Your personal revolution starts here. You’re moving from curious observer to hands-on operator.
Reading Parts Diagrams and Fit Tolerances
Before you start, your most important tool isn’t a wrench. It’s understanding the parts diagram. This diagram is like a key that unlocks the machine’s secrets.
It tells you how parts fit together. Some parts need to be close, while others can be apart. This is where you go from being curious to being precise.
Let’s break down the symbols. A dashed line means there’s something hidden. Dimensions with a ± sign are strict rules, not suggestions. Misreading these can lead to trouble.
The diagram’s heart is its language of fit. It’s not just numbers. It’s about how parts interact. You need to know if they should be close or far apart.
An interference fit (or press fit) needs force. The part fits tightly into the hole. It’s like a piston in a cylinder, a permanent bond.
A sliding fit or running fit has room to move. The part fits loosely, allowing for movement. This is like the relationship between a crankshaft and its bearings.
Your diagram uses symbols to show these fits. Getting them wrong can cause problems. Below is a table of common fits you’ll find.
| Fit Type | Pressure Required | Primary Purpose | Human Analogy |
|---|---|---|---|
| Interference (Press) Fit | High (Hammer/Arbor Press) | Permanent, rigid connection | Marriage |
| Transition (Location) Fit | Light (Hand Pressure) | Accurate alignment, minimal movement | Business Partners |
| Clearance (Running) Fit | None (Slides freely) | Smooth rotation or sliding motion | Acquaintances |
To avoid assembly problems, make a build checklist. This checklist turns the diagram into a plan. It’s your first step to organizing your work.
Here’s how to make one:
- Inventory First: Arrange all parts next to their diagram callouts. Check for any missing parts. This is your “muster roll.”
- Decode Relationships: Note the fit type for each part next to its mate. Write “press fit to base” or “running fit on shaft.”
- Sequence the Drama: The diagram suggests a sequence. List steps logically. You can’t install the piston after the cylinder is sealed.
- Flag the Delicate: Highlight parts with fine threads, thin walls, or gasket surfaces. They need extra care.
This build checklist helps avoid confusion. It’s the key to assembling with confidence. For complex projects, always check your kit instructions against detailed reference plans.
Learning this language is essential. You’re preparing the machine for its tasks. It’s the quiet work that leads to the machine’s success.
Assembly Steps with Quality Checks
Assemble the oscillating cylinder engine like a watchmaker. It’s not about brute force but a fine touch. This turns a kit into a moving work of art, where each piece fits perfectly.
Think of the DIY builders of old steam boats. They worked with soft copper and brass. Their stories are not just of success but also of the challenges they faced.
So, we say: assemble, then interrogate. Every step needs a quality check. It’s not just about fitting parts together. It’s about ensuring everything feels and sounds right.
Here’s how to make your engine’s heart beat:
- The Cylinder Pivot Pin: Check this joint with your finger. It must be smooth. Any roughness means friction and lost power.
- The Piston’s Journey: Put the piston in the cylinder smoothly. It should slide in without a sound. Any noise means it’s not right.
- Joint Integrity: Inspect every connection, like where steam lines meet. Make sure they’re clean and aligned before tightening. A good seal is key to a working system.
The oscillating cylinder design is simple yet powerful. The cylinder moves back and forth, acting as its own valve. Make this motion smooth, and you’ve mastered the engine’s core.
This process teaches you to feel and hear what’s right. It turns assembly into a craft, not just a task.
The result is clear. Do it right, and you’ll have a purring emblem of power. Rush it, and you’ll have a wheezing paperweight. The choice is yours.
Steam Source Setup and Pre-Run Inspection
The pre-run inspection is your last chance to find clues for a successful first steam-up. It’s the moment when a static sculpture comes to life. You’ll need to be as careful as a bomb disposal expert, but with a sense of humor.
Your steam source is the heart of the operation. Whether it’s a small electric boiler or a spirit burner, follow the soda can experiment rules. Keep flammable materials away and assume all surfaces will get hot. Remember the lessons from steam boats: have a fire extinguisher ready and treat adult supervision as essential. Ventilation is a must.
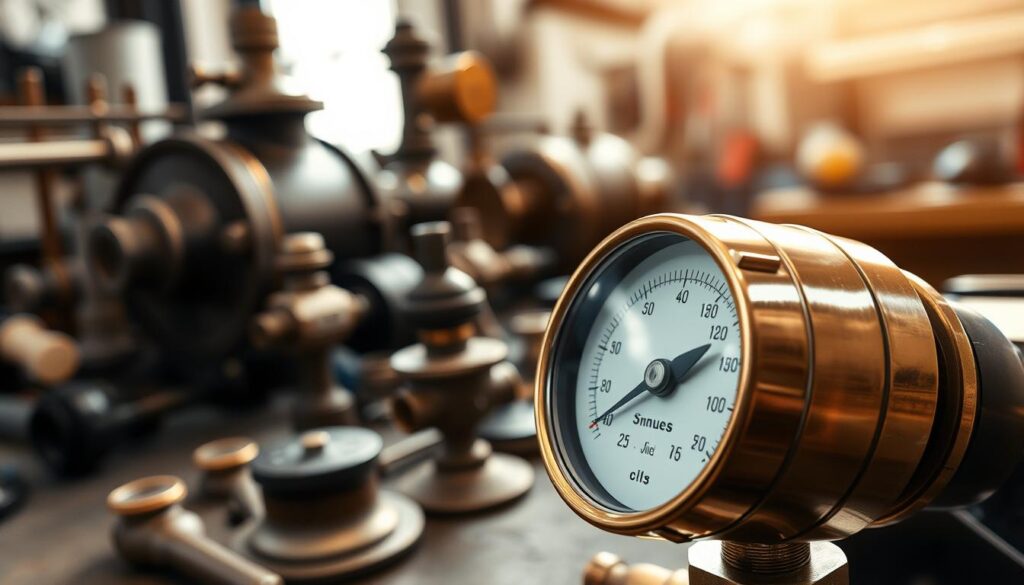
Before adding heat, the pre-run inspection is your final test. Check if all pipe connections are tight and if lubricants are applied correctly. Your pressure gauge is key here. It’s like the engine’s blood pressure monitor. You’ll watch it closely.
Every kit has a safe operating pressure. This is not just a guideline. It’s the limit you must not cross. First, check your system’s integrity at atmospheric pressure. Listen for hisses and feel for drafts. Only then do you add heat. Safety protocols are what let you be daring, not a cautionary tale.
To make this detective work easier, use a checklist. The table below outlines the key pre-run inspection points. For more knowledge, check out open-source steam engine designs.
| Component | Check Action | Pass/Fail Criteria | Notes |
|---|---|---|---|
| Steam Source Connections | Visually inspect and hand-tighten all fittings. | No visible gaps; fittings do not turn by hand. | Use a spanner for final snugging, but avoid over-torquing brass. |
| Lubrication Points | Apply 1-2 drops of steam oil to piston rod, linkages. | Thin, even film visible on moving parts. | Too much oil will smoke; too little will cause wear. |
| Pressure Gauge | Ensure needle rests at ‘0’ with no system pressure. | Needle is stable at zero mark. | If it doesn’t zero, the gauge may be faulty—do not proceed. |
| Safety Equipment | Confirm fire extinguisher, gloves, and goggles are present. | All items are within 10 feet and unobstructed. | This is non-negotiable. No shortcuts. |
| Ventilation | Open windows or use a fan to create air flow. | You can feel a clear draft across the work area. | Prevents steam condensation and disperses any fuel fumes. |
Once your checklist is complete, take a breath. You’ve turned parts into a system ready for inspection. The next step—adding heat—is a deliberate act of creation. Your pressure gauge is your confidant. Trust it, but verify everything else first.
First Steam-Up: Start, Observe, Record
The moment of truth arrives with a hiss, not a roar. This is your engine’s first journey, its Apollo 11 moment. You move from assembler to a mix of test pilot and naturalist. Your tool is your senses.
Crack the steam valve open a fraction. We’re talking millimeters. It’s not a throttle; it’s a conversation starter. Now, listen. Is the sound a sharp, spitting leak or a deep, promising rumble of building pressure? Your ears are your first diagnostic tool.
Watch the cylinder. Those first, tentative oscillations are telling. Are they jerky, like a engine waking up on the wrong side of the bed, or smooth and deliberate? Recall the humble soda can engine. It sits inert until a full head of steam is achieved, then erupts into a frantic dance. Your engine operates on the same principle, just with more dignity.
Your prime directive for this run is simple: witness, do not tweak. This isn’t a performance review. It’s a personality assessment. Is your creation a low-RPM philosopher, pondering each rotation, or a high-strung overachiever screaming for more pressure? Don’t judge. Just log.
To structure your observation, think in three channels: time, sound, and sight. Note the seconds from valve crack to first movement. Map the sound profile from hiss to hum. Watch for condensation patterns—where does the steam give up its ghost first?
This data forms your engine’s baseline personality. Every adjustment you make later will be measured against this first, pure performance. Start your log now. Be the Samuel Pepys of piston travel.
| Time Interval | Observation Point | What to Look/Listen For | Notes (Your Baseline) |
|---|---|---|---|
| 0-30 seconds | Valve Initial Opening | Initial hiss (leak vs. steam), immediate cylinder reaction. | Record sound description and any initial jerkiness. |
| 30 sec – 2 min | Pressure Build & First Motion | Deepening rumble, first consistent oscillations, condensation on cylinder. | Time to first motion. Characterize motion (smooth/erratic). |
| 2-5 min | Stable Running | RPM consistency, sound pitch stability, steam plume pattern. | Estimate steady-state RPM. Note dominant sound frequency. |
| Post-Shutdown | Cooldown | Residual rotation, condensation drainage points, hot spots. | Note where water collects. Identify components that stay warm longest. |
Fill in that table with ruthless objectivity. That string of numbers and adjectives is more valuable than gold. It’s the fingerprint of your machine. Everything that comes after—the tweaks, the tests, the graphs—is a dialogue with this first, honest confession of steam and motion.
Measuring Performance: RPM vs. Pressure vs. Load
The beauty of steam meets the world of data. We’ve admired the chuff and spin. But in engineering, beauty is nothing without numbers.
Your task is to measure the beast. The key metric is RPM measurement—revolutions per minute. Use a laser tachometer or a smartphone app. You’ll get a number. But RPM alone is just a show-off number.
Context is key. You need to link RPM with steam pressure and load. The pressure gauge shows the force behind each stroke. The load tests the engine’s strength.
Torque is the twisting force. It’s what lets an engine do real work. To test, press a pencil eraser against the spinning flywheel. It’s a tiny, frustrating job for the engine.
Watch the tachometer. Does RPM drop like a rock, or does it dip slightly and stay steady? This shows the engine’s character.
We’re creating a performance map. By testing at different pressures and loads, we see the engine’s limits. It’s like a boxer’s weight class and punch speed. More water means longer run time but slower heat-up—a trade-off.
Record your findings. Below is a sample data set from a small engine. Notice the relationships.
| Steam Pressure (psi) | Applied Load | Measured RPM | Observed Behavior |
|---|---|---|---|
| 10 | None (Free Spin) | 1,850 | Fast, smooth, but no useful work. |
| 10 | Light Braking (Eraser) | 1,200 | RPM stabilized after initial drop. Engine working. |
| 15 | Light Braking (Eraser) | 1,600 | Higher pressure overcame load, increased speed. |
| 15 | Moderate Braking (Finger) | 900 | Significant torque required, RPM fell but engine did not stall. |
This table is your engine’s resume. The performance envelope tells its story. You’re not just running an engine. You’re profiling it. You’re learning its limits, efficiencies, and how it handles a pencil-eraser boss. This is where the toy becomes a teacher.
Data Tables, Graphing, and CER Write-Up
Data without interpretation is like steam without an engine—lots of heat but no forward motion. The numbers in your notebook are raw. Our job is to turn them into something valuable.
First, organize your data in a clear table. This isn’t just busywork; it’s the foundation of your argument.
| Test Run | Pressure (PSI) | RPM (No Load) | RPM (Light Load) |
|---|---|---|---|
| 1 | 15 | 1250 | 850 |
| 2 | 20 | 1550 | 1050 |
| 3 | 25 | 1800 | 1200 |
See the pattern? With pressure constant, RPM drops as you add load. The table shows it, but a graph tells the story. Plot Pressure on the X-axis and RPM on the Y-axis, using different markers for “No Load” and “Light Load.”
The resulting lines won’t be parallel. The gap between them is your engine’s efficiency curve—a visual representation of the power lost to friction and work. It’s the engine’s character, revealed in ink or pixels.
Now, for the main event: the Claim-Evidence-Reasoning (CER) write-up. This is the formal proof that you moved from tinkering to thinking.
- Your Claim: “The oscillating engine’s RPM is inversely proportional to applied load at constant steam pressure.” In other words, more work means slower spins.
- Your Evidence: This is your data table and graph. Point directly to the descending RPM values in the “Light Load” column and the diverging lines on your plot. The numbers don’t lie.
- Your Reasoning: Here’s where you sound like a scholar. Explain that a fixed pressure delivers a fixed amount of energy per second. This energy budget is split between overcoming internal friction (spinning freely) and doing external work (lifting a load). More work leaves less energy for spinning, so RPM drops. It’s basic mechanical theory, applied.
This CER framework turns a fun activity into a defensible scientific conclusion. It answers the “so what?” You’re not just reporting that the engine slowed down; you’re proving you understand why. That’s the difference between a hobbyist’s log and a researcher’s notebook.
So, take pride in your graphs and write-up. This is where you demonstrate you understood the assignment—both literally and philosophically.
Care and Storage: Cleaning, Oil Points, Gaskets
Ignoring post-run care is like building a sandcastle at high tide. All your hard work is undone. The engine’s needs start when the steam stops. It needs a special care to avoid corrosion.
First, you must flush it thoroughly. Water in the cylinders and passages can cause rust. This can seize pistons and damage valves. Marine steam enthusiasts know this well, as they face the most corrosive environment.
Flush with clean, hot water if possible. Then, dry every surface carefully. This is like preserving a masterpiece.
This care ritual sets hobbyists apart from curators. Hobbyists just pack it away. Curators prepare it for the next century.
Now, let’s talk about lubrication. It’s not just a suggestion; it’s essential. The engine’s moving parts need a protective film. Replace it after use.
Focus on key points like the connecting rod and valve linkages. Don’t forget the piston skirt. A single drop of light machine oil at each oil point is enough.
Choose a light machine oil, not sticky grease. Grease can cause wear faster. The oil should cling but flow easily into small spaces.
Check the gaskets carefully. They are vital for keeping pressure in. Look for cracks or damage. A bad gasket can lead to leaks and power loss.
Proper storage is the last act of respect. Wipe the engine down, store it in a dry place, and cover it. This keeps it ready for demonstrations.
This care ensures your steam engine lasts long. It keeps the lesson of converting heat to motion alive. Treat it well, and it will teach for many years.
Common Faults and Fast Fixes
If your engine feels like a paperweight, you’re not alone. It’s just trying to tell you something. Think of this section as your guide to understanding those mysterious messages.
We aim to turn your frustration into a quick fix. Every sound or movement is a clue.
The Case of the Non-Oscillator
Your engine is full of power but does nothing. It’s a non-oscillator. Before you think it’s being stubborn, try a two-step check. Is it stuck mechanically or is there a pressure problem?
First, look for a binding mechanism. With the engine off, can you turn the flywheel easily by hand? If it’s hard, check if the piston rod is rubbing against the cylinder. Or if the connecting rod is at an odd angle. A small problem can get worse under pressure.
If it turns freely by hand, the issue might be with the pressure. Remember the soda can rocket idea. If the steam jet isn’t hitting the piston right, you won’t get movement. Check if the cylinder ports are aligned correctly. A small mistake can make your engine very expensive.
Is steam leaking from every joint? This is a common problem. It’s messy, wastes steam, and lowers pressure. The usual causes are a short list.
Loose fittings are the first thing to check. A quick turn with a wrench can fix it. Next, look at the gaskets. Are they worn, cracked, or squished? Even a perfect gasket won’t work if the surfaces it sits on aren’t flat.
The last, sneaky problem is a poorly seated cylinder. If it’s not perfectly aligned, steam will find an easy way out. This isn’t a design flaw. It’s just a step you missed.
Use the table below as your quick guide to fixing engine problems. It’s like a flowchart that turns frustration into success.
| Fault Symptom | Likely Cause | Fast Fix |
|---|---|---|
| Engine does not oscillate under steam | Mechanical binding in linkage or piston rod | Disconnect steam. Manually rotate flywheel to find the tight spot. Loosen mounting screws and re-align. |
| Engine does not oscillate, but spins freely by hand | Steam jet not tangential to piston; pressure issue | Check cylinder port alignment. Ensure steam inlet nozzle is directed correctly into the cylinder port. |
| Hissing steam from pipe fittings | Loose compression fittings or thread seals | Gently tighten with a wrench. Do not over-tighten. For threaded joints, apply fresh high-temperature thread sealant. |
| Steam leaking from cylinder base or gland | Worn, pinched, or missing gasket; worn piston O-ring | Replace the gasket or O-ring with a new one. Ensure sealing surfaces are clean, flat, and free of old material. |
| Weak performance, low RPM | General steam leaks or insufficient boiler pressure | Perform a systematic leak check (soapy water on joints). Verify steam source is delivering adequate, steady pressure. |
This isn’t a list of your mistakes. It’s a list of chances to learn. Every “hmm, that’s not right” moment is a chance to understand the physics better than any book can.
Embrace the challenge. In live-steam, troubleshooting is the main event. Your live-steam engine faults are your chance to learn fast, disguised as a drama.
Reflection: Efficiency vs. Simplicity
Efficiency is what we value today, but our oscillating cylinder engine is different. It leaks, has slow valves, and runs at low RPMs. Yet, it feels like a victory.
The reason is the energy conversion it shows. Fuel turns into heat, then into motion. Our model steam engine does the same. It’s simple and easy to understand.
History is full of prototypes that were more advanced but didn’t change the world. The Clermont by Robert Fulton was the first steamboat to make money in 1807. Our engine is like the Clermont for learning. It’s not about being efficient. It’s about being real and tangible.
The oscillating cylinder engine was used in small factories because it was easy to work with. It didn’t need perfect parts. It was about making technology accessible to everyone.
| Technology | Primary Driver | Key Historical Impact |
|---|---|---|
| High-Pressure Steam Turbine | Maximum Thermodynamic Efficiency | Powered the 20th century; enabled massive electric grids. |
| Oscillating Cylinder Engine | Mechanical Simplicity & Forgiving Design | Democratized steam power for small-scale industry and education. |
| Robert Fulton’s Clermont | Commercial Viability & Public Proof | Launched the steamboat era, transforming river transport. |
| Soda Can Engine (Model) | Conceptual Clarity & Direct Energy Conversion | Teaches fundamental physics with everyday materials. |
What have we learned? A simple, leaky engine can teach more than a perfect machine. It shows the real side of innovation. Progress is not just about getting better. It’s about finding something that works for now.
Teacher Facilitation Plan and Roles
Your solo journey with the live-steam engine was a personal revelation. Now, we scale it into a classroom symphony. The challenge is to guide 25 students through this process without any steam-related incidents. A clear facilitation plan is the secret.
Assign definitive roles. The Pressure Monitor watches the gauge like a hawk. The Data Recorder keeps the sacred log. The Safety Officer has the power to shut down the engine. These roles create ownership and share the workload.
Break the activity into manageable phases. Call it Diagram Day, where schematics are decoded. Assembly Day turns theory into reality. Inspection Day is for pre-flight checks. Test Day brings the payoff. This structure prevents chaos.
Your role as the teacher changes. You’re no longer the source of all answers. You become the curator of questions. Ask, “What’s the relationship here?” when the pressure gauge climbs. Your facilitation plan creates a self-guided discovery environment.
The goal is to turn individual curiosity into a collective “Aha!” moment. When the engine hums and data flows, the classroom buzzes with shared understanding. This resonance lasts long after the final whistle and the metal cools.
