
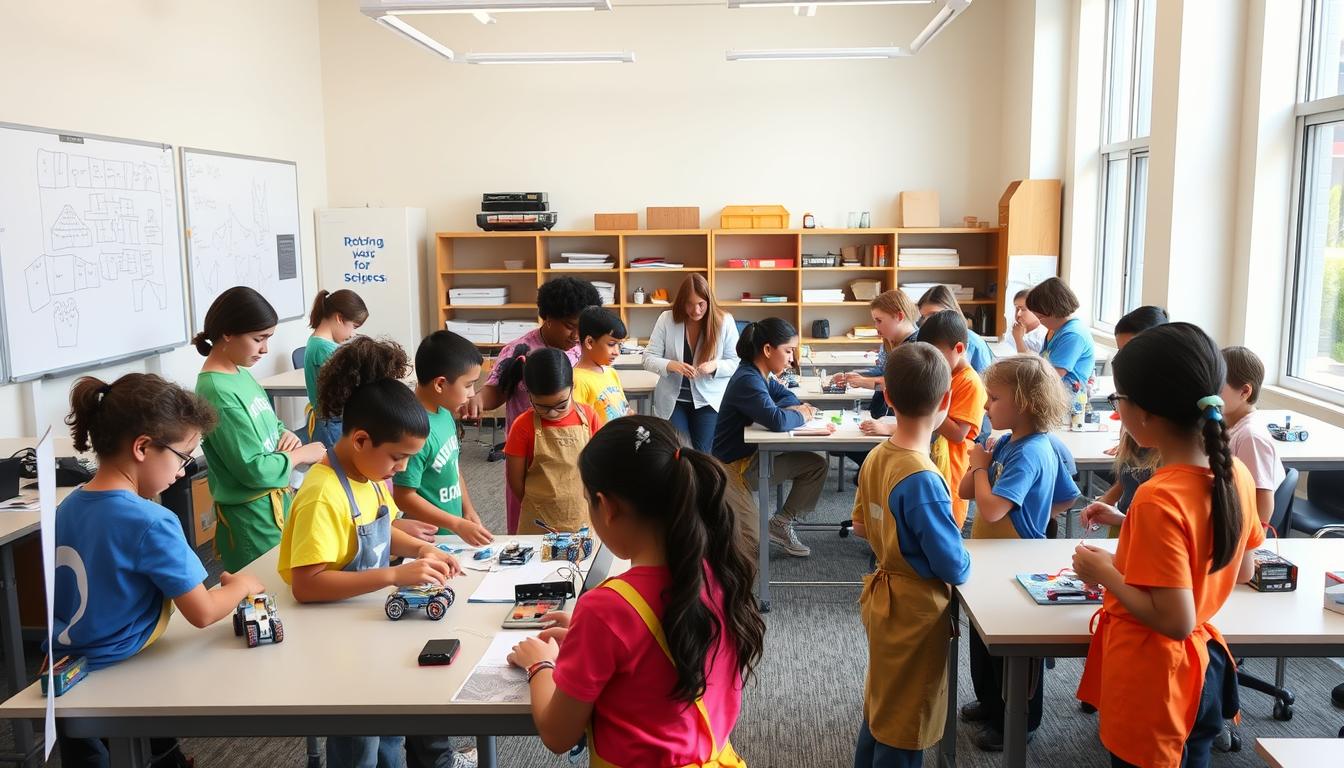
Let’s be honest. The phrase “hands-on learning” has been watered down a lot.
We’re here to make it strong again. It’s not just about kids playing with glue. It’s about architecting controlled chaos where steam power, physics, and teamwork meet.
Imagine it as a smart, fun boot camp. Students move through stations with a mission. They don’t just learn about things—they feel them happening.
This approach uses the best ideas in teaching. It turns hard-to-understand ideas into real, hands-on experiences. Like seeing data curves and hearing a small boiler pop.
Forget the theory. This is your guide to the messy, real world of STEAM.
Learning Outcomes and Overview
Our mission is to spark insight in young engineers, not just hear their engines roar. A workshop without a clear goal is just fun. But with one, it becomes a journey that shapes their minds for months.
We aim to show that hands-on steam science is key for learning. It covers content and process. Think of it like a movie—you remember the story, but the themes and character growth shape you.
We have clear goals for our workshop:
- Content Goals (The “What”): Students will show how thermal energy turns into motion. They’ll see the engineering design process from start to finish. They’ll learn about the parts of a steam system and what they do.
- Process Goals (The “How”): Teams will learn from failure and redesign. Students will collect and analyze data like scientists. Everyone will give feedback and solve problems together.
This framework supports the whole day. Each station helps with both content and process, as our core educational objectives show. It’s the difference between knowing a fact and understanding a concept.
By the end, it’s not just about a working boat. It’s about the confidence, data skills, and teamwork. This is our promise to students: a challenge for their curiosity.
Station A: Science of Steam (demos + mini-quiz)
We start with a live demonstration that makes steam physics seem like magic. This is the basic idea. It’s like revealing invisible ink for thermodynamics.
The main attraction is a safe, mesmerizing display of the pop-pop engine principle. You see a simple loop of tubing, water, and a heat source. Then, the thermal ballet begins. Rapid heating creates steam, expanding and pushing water. Instant cooling creates a vacuum, pulling it back.
The result? A rhythmic, popping motion that is utterly captivating. It turns the abstract concepts of phase change and pressure into a tangible, click-clacking spectacle. That is the “Eureka!” moment we’re engineering.
After the demo, we check if the lesson stuck. We use a quick, interactive mini-quiz. It’s like solving an alien code, but for steam cycles.
We ask simple, visual questions on tablets or projectors. “What force causes the initial push?” “Where does the ‘pop’ sound come from?” It’s a low-stakes, high-feedback loop. The goal is to catch misconceptions before they become building errors at the next STEM station.
Why does this structure work? It mirrors the observe-test-identify method of a great geology lab, but for engineering. Students see the phenomenon, then immediately engage with its rules. This station ensures everyone speaks the same basic language of force, heat, and motion before we hand them the wrenches.
| Approach | Traditional Lecture | Station A Demo-Based Learning |
|---|---|---|
| Engagement Style | Passive listening | Active observation & immediate application |
| Concept Grasp | Abstract, theoretical | Tangible, linked to physical phenomenon |
| Pace | Fixed, instructor-led | Dynamic, responsive to student reactions |
| Assessment | Delayed (test later) | Immediate (interactive quiz) |
| Fit for Rotating STEM Stations | Poor; creates a bottleneck | Excellent; primes groups for hands-on work |
This station is the brilliant, brief lecture before the lab. It transforms students from passive attendees into curious investigators. They don’t just learn about steam; they witness its personality. That foundational spark is what powers the entire workshop engine.
Station B: Pop-Pop Build (teams, checkpoints)
Welcome to the Pop-Pop Build, where chaos is planned out. This is the workshop’s heart. Here, theory meets reality with plywood, solder, and copper tubing.
We don’t do random groups. That’s amateur hour. Each team is a micro-engineering firm, with clear roles. Assigning student roles makes a team work like a machine.
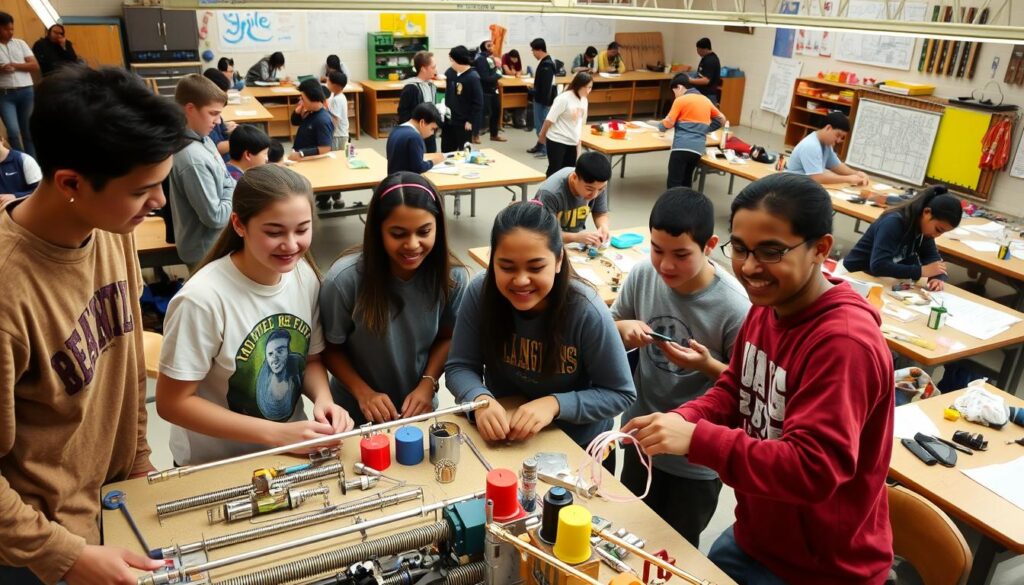
Think of it like a heist movie, but for steam power. You need a planner, a quartermaster, a lookout, and a numbers person. Our roles are just as strategic:
- Project Manager: The keeper of the blueprint. They ensure the team follows the sequence. They’re the team’s memory.
- Materials Chief: This role is all about inventory and quality control. Every nut, valve, and tubing is accounted for. A missing O-ring here is a mission failure later.
- Safety Officer: Our on-the-ground envoy. They’re not the fun police; they’re the reason we’re safe. They monitor tool use and workspace organization.
- Data Analyst: The forward-thinker. While the build happens, they’re prepping for Station C. They understand what metrics the engine will need to capture.
The process is checkpoint-driven, borrowed from proven models like the ROAVEE project. Teams don’t just build. They propose a plan, execute, test, and revise. It’s the engineering design cycle in miniature.
Checkpoints are our quality gates. Is the boiler soldered to spec? Did they follow the torque sequence on the fittings? The ultimate test: the watertight seal. A drip here isn’t a minor leak; it’s a fundamental lesson in precision.
This structured freedom is the real magic. In STEAM, a smart plan isn’t a cage. It’s the scaffold that lets brilliant improvisation climb higher. When a team hits a snag, their defined student roles give them a framework to problem-solve, not panic.
They learn that collaboration isn’t about everyone doing everything. It’s about experts trusting experts. The Data Analyst defers to the Safety Officer on a clamp placement. The Project Manager listens to the Materials Chief on part substitution. That’s how real engineering works.
By the time they fire up their Pop-Pop engine for a test, the chaos is gone. What’s left is the satisfying hum of a team that built something tangible, together. It’s controlled combustion, in every sense.
Station C: Kit Engine Operation and Data Capture
Forget the dramatic launch. The real drama is in the cold, hard data.
This is the pivot point. The workshop turns from a hands-on craft to a real scientific inquiry. Students start their pop-pop engines. The chug-chug sound is a victory, but here, it’s just the start.
The question changes from “Does it work?” to “How does it work, quantified?” We move from “Cool, it moves!” to creating a real dataset. Now, a toy becomes a lab instrument.
Teams become data detectives. They use simple tools like stopwatches and infrared thermometers. Their mission is to capture performance metrics.
They measure water temperature and piston cycles. This is like real science labs. It’s about numbers that tell a story.
This story is about efficiency and success. Did one team’s solder joint hold heat better? Did another’s boiler design work faster? The data shows the truth.
This station makes math real. Graphing skills get a practical use. Students plot their creation’s life story. The graphs show the results of their choices.
Kit engine operation is fun. Data capture is enlightening. It teaches a key lesson: in STEM, the data is more valuable than the artifact. The engine cools down, but the dataset remains.
Station D: Inspection & Best Practices
Station D is like the workshop’s conscience. It’s a quiet room where every detail is checked. Teams switch roles, moving from creators to forensic analysts.
This is the peer audit. Your task is to check another team’s Pop-Pop boat and data sheet. Look for neatness and if the data was recorded well. It’s about reconstructing the scientific narrative.
You’re looking for signs of friction. Check if the boiler is straight and if the data shows steady temperature rise. This helps develop an engineer’s eye and a scientist’s skepticism.
The process is like a design studio crit or an ethical review board. It’s about teamwork, not personal attacks. We aim to build a culture of quality control where the best idea wins.
Effective inspection follows a few simple best practices:
- Check the Story: Does the data support the team’s conclusions about engine performance?
- Seek the Source of Friction: Find one physical or design inefficiency in the build.
- Propose, Don’t Prescribe: Offer one, constructive suggestion for improvement.
This station teaches a valuable lesson: innovation comes from seeing things through others’ eyes. That moment of, “Why didn’t I think of that?” is when you learn. It makes the build activity a lesson in engineering design and accountability.
Timing, Roles, and Flow Management
The difference between a successful educational event and chaos often comes down to a single document: the facilitation plan. This isn’t just a suggestion; it’s your guide for the day’s activities. Without it, you risk a day filled with confusion, missed lessons, and stressed-out adults.
Let’s break down the day into precise parts. We’re not talking about vague blocks of time. Instead, we’re planning a sequence with the precision of a software sprint or a theatrical rehearsal.
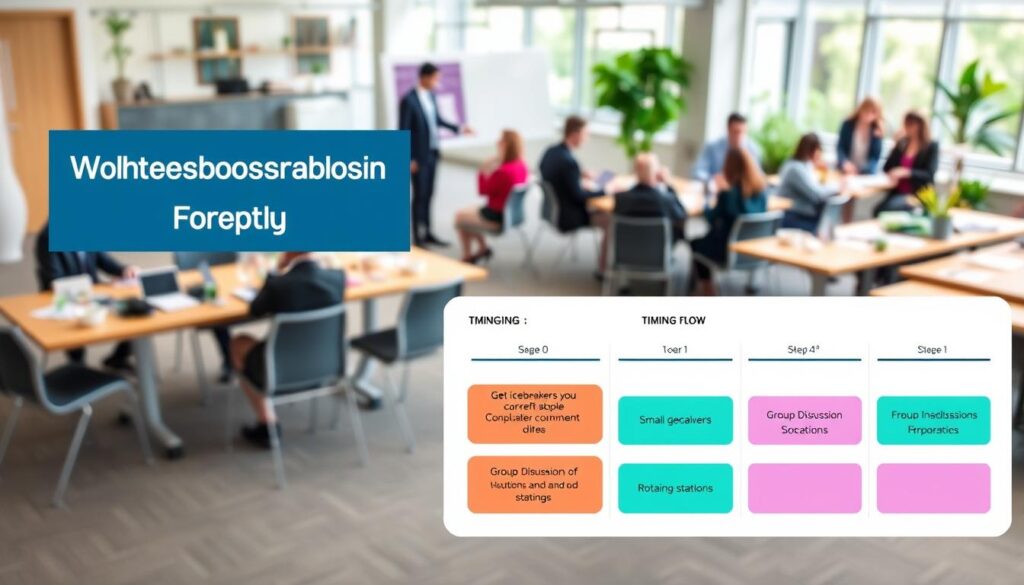
The day starts with a 15-minute launch, followed by 25-minute station rotations. These are linked by 10-minute transitions, which are activities, not breaks. Losing a minute here means losing a minute of learning forever. This pace is based on the best practices of STEM lessons, where keeping the momentum is key.
Your role as facilitator changes throughout the day. You start as the lecturer, then move to the coach helping teams, and end as the flow manager controlling the room’s energy. This is the art of managing the chaos.
| Time Block | Activity & Focus | Facilitator Primary Role | Student Role |
|---|---|---|---|
| 0:00 – 0:15 | Launch: Safety, Big Picture, Team Assignments | Lecturer & Stage-Setter | Active Listener & Questioner |
| 0:15 – 0:40 | Station A Rotation: Deep Dive into Core Concept | Content Expert & Demo Lead | Observer, Participant, Note-Taker |
| 0:40 – 0:50 | Transition 1: Clean-up, Data Log, Group Move | Flow Manager & Timekeeper | Procedural Agent & Peer Organizer |
| 0:50 – 1:15 | Station B Rotation: Hands-on Build Phase | Coach & Troubleshooter | Builder, Collaborator, Problem-Solver |
| 1:15 – 1:25 | Transition 2: Kit Inspection, Prep for Operation | Quality Control & Safety Monitor | Inspector & Preparer |
This table is your guide. It makes the plan concrete. But a plan on paper is useless without the right techniques. Enter two powerful tools: the strategic interruption and the Socratic nudge.
The strategic interruption isn’t rude; it’s necessary. It’s a clear warning that teams need to wrap up their work. “Teams, begin wrapping your solder points.” It stops teams from wasting time on perfection when time is running out.
The Socratic nudge helps teams that are stuck. Instead of giving answers, you ask key questions. “What happens if you reverse the boiler connection?” or “How does your data table suggest we adjust the pressure?” This helps teams think without giving away the answers.
Think of your facilitation plan as the project management behind the excitement. It makes the day feel smooth, not chaotic. You’re managing time, cognitive load, social dynamics, and student engagement. The goal is for the day to run so smoothly that students only feel the thrill of the steam.
Inclusion and Accessibility Strategies
If STEAM education were an exclusive club, we’d fail fast. The real magic happens when we remove barriers. Our workshop welcomes every student, aiming to elevate each one.
We design with inclusion in mind, not as an afterthought. Can a student with fine motor challenges contribute? Yes, if we design roles with care. For example, Data Analyst and Safety Officer roles don’t need precise physical skills.
Instructions are given in three ways: visual, written, and verbal. This approach helps all types of learners. It’s not extra, but essential for inclusivity.
The best youth organizations meet kids where they are. They use everyday materials, like a soda bottle and straw, to teach science. This makes learning feel less intimidating.
They also focus on teamwork and critical thinking. Sessions like “Tools for Today” show that tools are less important than the skills they teach. Organizations like Waukegan to College support diverse learners by providing multiple ways to learn.
In practice, students have choices when presenting their work. They can use graphs, sketches, or verbal explanations. The goal is to communicate results, not to follow a single format.
True inclusion means believing in brilliance from all corners of the classroom. We aim to make every corner welcoming and well-equipped. This way, we’re not just building engineers. We’re building a fairer model for youth organizations.
Reflection Expo and Peer Feedback
We don’t just end the workshop; we launch a mini science fair. Every team is both a presenter and a critic. This is the reflection expo. Why? Because learning doesn’t cement until it’s articulated.
Think of it as the project-based learning equivalent of a film’s post-credit scene. It’s where all the disconnected plot threads—the science, the building, the data—get woven into a coherent “aha!” moment.
Each team creates a mini-display. It’s not fancy. It features their pop-pop engine, their data graph from Station C, one key insight, and one glorious failure. Yes, we mandate showing the flop. It’s the most instructive part of the story.
The room transforms into a buzzing gallery walk. Teams rotate, examining each other’s work. But here’s the twist: they’re not passive tourists. They are equipped with a simple feedback framework. The goal isn’t to say “good job.” It’s to say, “Your sealing method was clever, but have you considered the thermal expansion issue we saw in the demo?”
This structured peer feedback is the engine of the expo. It forces critical thinking and application of the day’s lessons across contexts. It’s the difference between a pat on the back and a genuine intellectual exchange.
To understand the dynamic, let’s break down the two core roles everyone plays during this reflection expo.
| Role | Primary Task | Focus of Feedback | Learning Outcome |
|---|---|---|---|
| Exhibitor | Articulate the team’s process, results, and lessons learned. | Defends design choices and explains problem-solving. | Synthesis and verbal communication of technical concepts. |
| Critic | Analyze another team’s display using specific workshop concepts. | Offers constructive observations tied to science principles. | Application of knowledge to novel examples and critical analysis. |
| Facilitator | Models high-quality feedback and prompts deeper questioning. | Guides the conversation toward underlying engineering trade-offs. | Orchestrates the communal knowledge-building process. |
This isn’t just a nice way to finish the day. It’s the metacognitive capstone. By explaining their own work and scrutinizing others’, students cross-pollinate ideas. The individual experience of Team A’s steam pressure issue becomes a communal lesson for Teams B, C, and D.
We’ve seen this model work in everything from “Future in our Genes” PSAs to online AI ethics forums. The act of social sharing solidifies abstract concepts. The reflection expo transforms a room full of separate projects into a single, collaborative brain trust.
So, when the last feedback slip is filled out, the learning has moved. It’s no longer just in their hands from building the engine. It’s in their words, their critiques, and their shared understanding. That’s how you make a one-day workshop stick for a lifetime.
Assessment: Stamp Cards + Exit Ticket
We’re moving away from the red pen for something better: a stamp pad and a single question. It’s like switching from an autopsy to a live health check. Our assessment is not just a review of learning; it’s a daily health check.
The stamp card is our fun way to track progress. It’s something you can touch and feel. At each station, like launching a pop-pop boat or capturing data, you get a stamp. It’s not about scoring points. It’s about seeing your progress grow.
The exit ticket is where the teacher gets real feedback. It’s a single question on a piece of paper as students leave. No names, no grades. Just honest feedback.
Questions like, “What surprised you about energy loss in your steam system?” or “Draw the force cycle of a pop-pop engine.” The beauty is in the simplicity. One question makes you think deeply. And being anonymous lets you be honest.
This is valuable, formative feedback. The answers help me see what worked and what didn’t. Did learning about condensation stick? Did the safety checks feel useful or just a formality?
This pair creates a great feedback loop. The stamp card shows your journey. The exit ticket shows what you took away. It’s assessment that’s part of the learning experience—no Scantron needed.
Materials List and Budget
Let’s get down to business. We’re aiming to create a live-steam workshop on a school budget. This isn’t about spending heavily; it’s about making the most of available resources. The goal is to build an affordable makerspace — not a blockbuster production, but a sustainable learning environment.
The materials list becomes your roadmap. Start with the essentials: small steam engines, thermometers, and proper safety gear. Additional specialty tools can be added later when extra funding becomes available.
Use everyday materials whenever possible. Projects like the juice pouch rocket demonstrate how creativity can thrive with simple supplies. Purchasing materials in bulk and organizing clearly labeled tools helps reduce costs while improving safety and efficiency.
Our objective is to create a program that lasts beyond a single event. A thoughtful budget proves that hands-on STEAM education is a necessity, not a luxury. This mindset reflects real-world engineering practices, including heavy machinery solutions, where maximizing resources and planning for long-term value are key to successful operations.
