
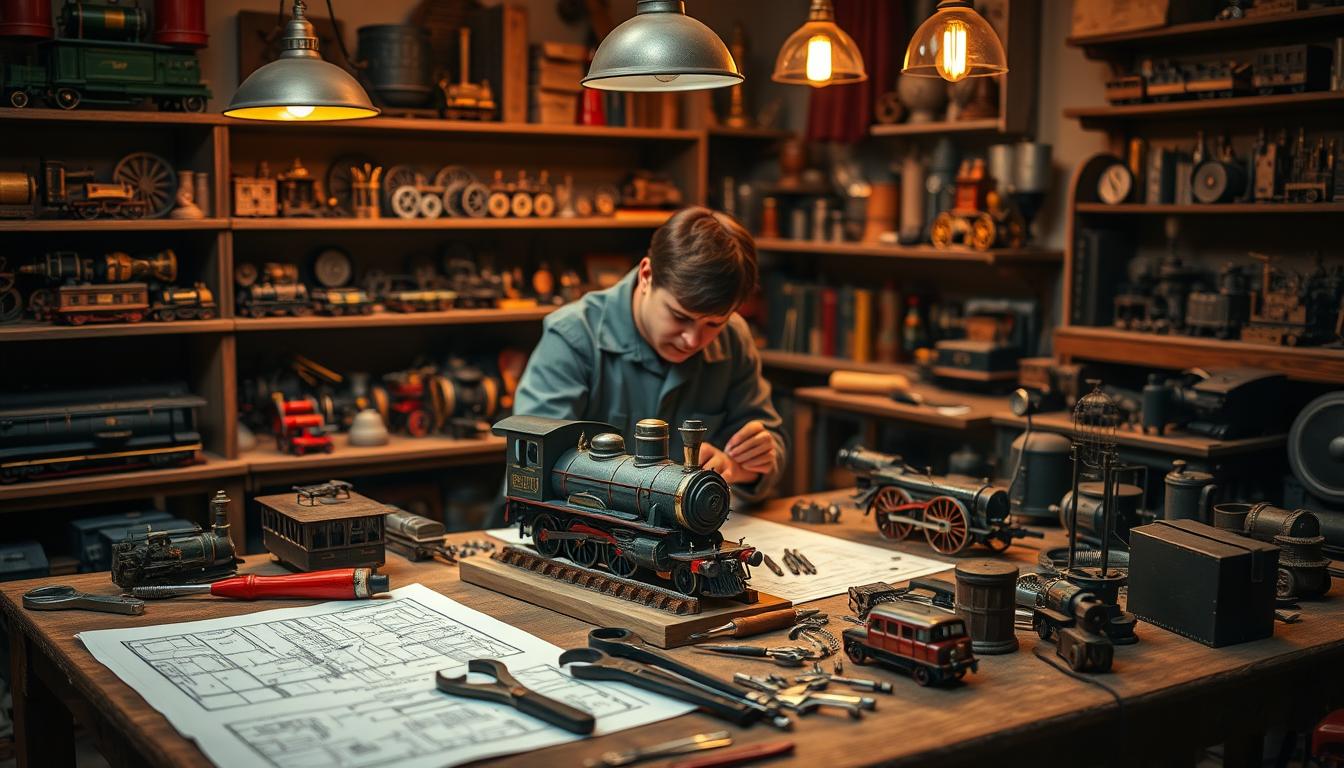
Ever thought about building a steam engine as a cool analog hobby? In today’s world, we often pay a lot for digital breaks and handmade crafts. But, making your own steam engine is different. It’s about getting your hands dirty and connecting with history.
Before starting, think about your workspace. You’ll need a solid bench, not just any table. A strong surface is key for the detailed work ahead. You’ll also need some basic tools like metric spanners, needle-nosed pliers, and Allen keys. No need for drills or soldering, just careful planning and maybe a friend to help with the heavy lifting.
Why build the chassis upside down until the cylinders are on? It’s not just smart engineering; it’s a way of thinking. Sometimes, the best answers come from looking at things differently.
So, are you ready to start this project? If you’re curious and want to learn more, check out our miniature train building guide. Let’s begin this exciting journey together!
Component Overview: Understanding Boiler, Cylinder, and Drive Systems in Miniature
The world of miniature steam engines is like a play with each part having its role. Knowing these roles is key for those into model steam engine construction. Each part works together, making sure the engine runs smoothly.
Let’s break down the key components:
| Kit Number | Components Included | Function |
|---|---|---|
| Kit 3 | Cylinder block, piston, rings & rod, front & rear covers, valve chest & cover, glands & studs, slide valve, drive block, lock nuts, gaskets | Transforms steam pressure into linear motion |
| Kit 9 | Boiler with smokebox, fitted door, fusible plug, chimney | Generates steam, the heart of the engine |
| Kit 2 | Wheelsets, coupling rods, hornblocks & hornstays, springs & platforms | Connects motion from the pistons to the wheels |
Think about this: what do a pressure cooker, a Victorian locomotive, and your last performance review have in common? They all deal with energy looking to be released. The boiler is like the star of the show—it’s powerful and needs care.
The cylinder is like the translator, turning steam into motion. It uses pistons and rings that fit very closely. Then, the drive system turns this motion into rotation.
Learning about each part makes the whole engine less scary. Each part works alone, and knowing them is key to success in your miniature train construction workshop. The maker sends these parts in order for a reason—it’s about learning.
Step 1: Cylinder Construction: Machining Techniques and Precision Measurement
Welcome to the world of cylinder construction, where engineering meets art. This step is more than just putting pieces together. It’s about understanding the mechanics that make your miniature train come to life. The cylinder block, with a pre-assembled piston and rings, is your canvas.
As you start this hands-on workshop, remember that precision is key. Here’s a quick rundown of the essential components you’ll work with:
- Cylinder block
- Piston and rings
- Front and rear covers
- Valve chest and cover
- Glands and studs
- Slide valve
- Drive block
- Lock nuts
- All necessary gaskets
- Fasteners and odds & ends
The cylinder block comes with some assembly done, but the real work starts when you connect the front and rear covers. You’ll need to seat gaskets that will contain pressurized steam. A gland nut torqued without care can lead to steam leaks.
Every step requires careful attention. The studs and lock nuts need methodical attention. You’re not just assembling; you’re engaging in a dance of mechanics. Every turn of the wrench is a step toward harmony.
Fortunately, no machining is required for these components. So, you can focus on assembly. But remember, “assembly” and “assembly with comprehension” are different. Understanding the why behind each step makes the task more meaningful.
As you dive into this project, remember that the cylinder is the heart of your steam engine. Approach this step with diligence and creativity. You’ll find that the process is as rewarding as the finished product.
Step 2: Piston Assembly: Understanding Steam Pressure and Mechanical Motion
Sliding a piston into place can feel like defusing a bomb. It’s your first time, and you might feel a bit nervous. The piston and rings fit into the cylinder with a bit of resistance.
Too tight, and you might face friction issues. Too loose, and steam will leak, making your engine less effective. It’s like a cat on a treadmill.
The guide bars and crossheads keep the piston rod in line. A wandering piston rod can ruin your project. Connecting rods link the crosshead to the wheels, turning linear motion into rotation.
Drop links and motion brackets are key. They help translate steam pressure into movement. Steam pressure is like political momentum—it builds and can be overwhelming if not managed. Luckily, steam engines have pressure gauges to keep things under control.
| Component | Function | Importance |
|---|---|---|
| Piston | Converts steam pressure into mechanical motion | Crucial for engine operation |
| Guide Bars | Stabilizes piston rod movement | Ensures precision |
| Connecting Rods | Links piston to wheels | Transforms motion types |
| Drop Links | Facilitates motion transfer | Enhances efficiency |
| Motion Brackets | Connects various components | Maintains structural integrity |
Step 3: Boiler Basics: Safety Principles and Heat Transfer Fundamentals
The boiler is more than just a metal box; it’s the heart of your miniature steam engine. We must talk about the elephant in the room: the risk of explosion. Boilers can be scary, and rightly so. They hold water at very high temperatures, far beyond what it can boil at normal pressure.
The fusible plug is key to boiler safety. It’s a special plug that melts at a low temperature. This plug saves the boiler from running dry and bursting. It’s like a hero that sacrifices itself to protect everyone else.
The backhead holds the boiler together with studs. Inside, the grate and baffle are where fuel burns. This is where the magic happens, turning fuel into steam.
Managing water is important. The clack valves let water in but keep steam out. They work like a one-way street, thanks to a ball and seat. These valves are more reliable than many human systems.
The boiler kit also has the fountain, steam valves, water valves, and pre-formed pipework. These parts help distribute resources, like a small city’s utility system. It’s all about balancing pressure and flow.
For student mechanical projects, the boiler is a high-stakes learning experience. Heat transfer is real when you see the pressure gauge rise. When the safety valve opens, it’s a sign that everything is working right. Respect the boiler, but don’t be afraid of it. Fear can lead to hesitation, while respect leads to careful safety checks.
| Component | Function | Importance |
|---|---|---|
| Fusible Plug | Prevents boiler explosion by melting at high temperatures | Critical safety feature |
| Backhead | Supports internal components | Structural integrity |
| Clack Valves | Allows water in, prevents steam escape | Ensures proper pressure |
| Steam Valves | Controls steam flow | Regulates engine performance |
| Safety Valve | Releases excess pressure | Prevents boiler failure |
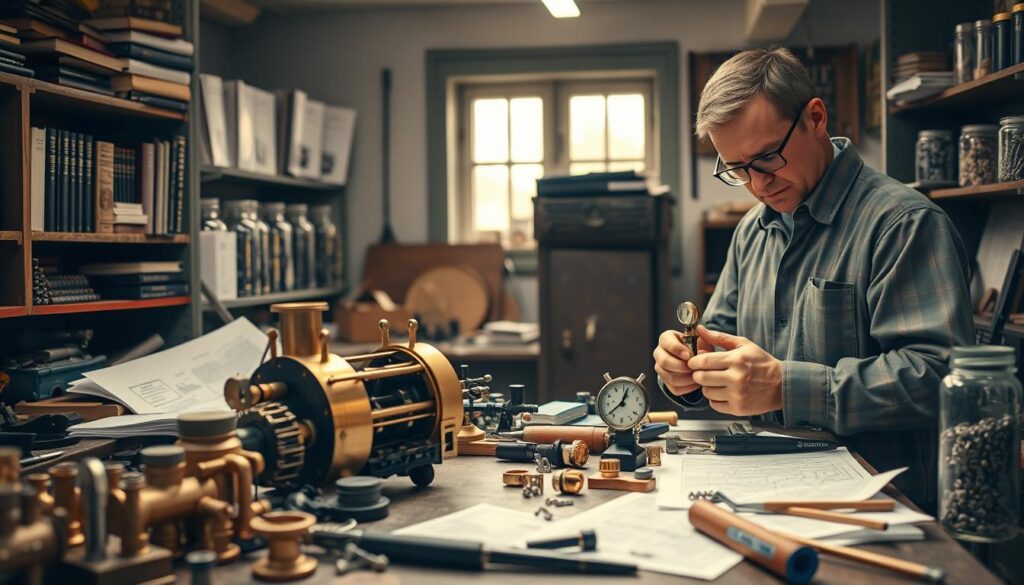
Step 4: Valve Systems: Controlling Steam Flow and Timing Mechanisms
If your miniature train is a finely tuned machine, then the valve systems are its critical nervous system. These components may appear complex at first glance, but understanding their function is essential for successful miniature train building. The valve gear includes union links, combination levers, radius rods, and the expansion link assembly, all working together to dictate the flow of steam.
Timing is everything in this mechanical ballet. A valve event occurring just a few degrees too early or late can turn your well-crafted train into a reluctant participant in the laws of thermodynamics. The eccentric rods are the unsung heroes here, converting rotary motion from the axle into the oscillating input that drives the valve gear. This feedback loop is so elegantly designed that even James Watt would tip his hat in approval.
Next, let’s pay homage to the mechanical lubricator. Steam, while a great source of power, is a terrible lubricant. Without proper lubrication, the metal-on-metal contact at high speeds can turn precision components into glitter. The lubricator ensures that your miniature train operates smoothly, avoiding the unfortunate fate of a seized engine.
Don’t overlook the reverser assembly and reach rod. These elements allow you to control both direction and cutoff, determining how much of the piston stroke receives live steam. A short cutoff leads to efficiency, while a long cutoff means raw power. It’s the engineering equivalent of choosing between eloquence and volume in a heated debate.
Lastly, let’s talk about draincocks. These nifty devices purge condensed water from the cylinders, as water, unlike steam, is not compressible. Attempting to compress an incompressible fluid is a surefire way to bend connecting rods and ruin your afternoon. In miniature train construction workshops, every detail counts, and understanding these systems will elevate your project to new heights.
Step 5: Drive Train Assembly: Connecting Pistons to Wheels and Axles
Drive train assembly is a key moment in building a model steam engine. It’s when all the parts start to look like a real train. The chassis is a jig-welded steel fabrication, meaning it’s already been put together by someone with fancy tools. The front and rear buffer beams mark the train’s size, getting ready for the next steps.
The wheelsets are the real highlight. They’re attached to axles and set at the right angle. This ensures the train can move smoothly, not getting stuck. If the angles are off, the train won’t go anywhere.
Coupling rods link the driving wheels, making them turn together. This turns individual wheel power into a strong force. The hornblocks and hornstays keep the axles in place, while springs and platforms help the train move smoothly.
Don’t forget about the brakes. They’re made up of a brake column, handle, and shoes. They’re important because, even at a small scale, stopping is a must.
| Component | Description | Function |
|---|---|---|
| Chassis | Jig-welded steel fabrication | Provides structural integrity |
| Wheelsets | Wheels pressed onto axles | Ensures accurate quartering and movement |
| Coupling Rods | Connects driving wheels | Transforms torque into tractive effort |
| Brakes | Brake column, handle, and shoes | Stops the locomotive effectively |
Testing Procedures: Safe Steam Testing and Performance Evaluation
Ready to test your miniature train? Let’s explore the exciting world of steam evaluation. Testing your steam engine is a moment of truth. It shows all your hard work paid off. But, this is not the time for surprises—make sure those boiler stays are tight!
Begin with a hydrostatic test. Fill the boiler with water, making sure there are no air pockets. Then, use a hand pump to pressurize it to 1.5 times the working pressure. This is safe because water doesn’t compress, so you’ll see leaks, not explosions, if something fails.
After passing the hydrostatic test, it’s time for the steam test. Your pressure gauge will show you how it’s going. The water gauge is key, making sure the boiler is covered. An uncovered boiler can lead to problems with fusible plugs, so it’s best to avoid that.
The safety valve should pop up at the right pressure. It’s like a fire alarm—it should work, not just be there. A safety valve that hesitates is as useful as a chocolate teapot!
When evaluating performance, start by running the engine on blocks. Check every linkage, listen for any knocks, and feel for tight spots. Only after that should you put it on the track. The advice to paint after assembly is smart: you’ll make mistakes once, and then it’s easier to fix them.
- Hydrostatic Test: Safety first—pressurize with water.
- Steam Test: Gauge your pressure and ensure water coverage.
- Safety Valve Check: Listen for that decisive pop.
- Performance Evaluation: Test on blocks before the real deal.
Testing your miniature train is more than a checklist. It’s a hands-on engineering workshop experience that brings your creation to life.
Troubleshooting Guide: Common Problems and Engineering Solutions
Every steam engine project has its own set of challenges. If you’re facing issues, don’t worry! A patient and methodical approach is key. Remember, all the necessary parts like pins and fasteners are in your kits.
Let’s tackle some common problems with your DIY train components. If you see steam leaks around glands, it might mean the packing needs adjusting or replacing. Glands are not permanent seals but consumable interfaces. If your engine lacks power, check the valve timing first. Then, look for steam leaks and ensure your boiler is at the right pressure. A pressure gauge’s accuracy depends on its condition!
If your engine runs briefly and then stops, it might have water in the cylinders. Open the draincocks to clear it out. If it won’t start from a certain position, the quartering is probably off. You’ll need to re-time the wheelsets. Lastly, if the coupling rods bind, something is out of parallel, likely a hornblock adjustment.
Understanding troubleshooting for miniature steam engines is key. Problems might seem mysterious at first, but they’re not. The manufacturer’s support is there to help, not just to say they care. Don’t be afraid to ask for help. The only mistake you can’t fix is not trying to solve the problem because of pride.
Project Extensions: Advanced Modifications and Customization Options
Building a steam engine is just the start. Once your miniature train runs, the real fun starts. You can add details like cab sheets, saddle tanks, and cleading for that Victorian look.
Assembling your locomotive is a big achievement. But, the choices you make can make it truly beautiful. Adding works plates, those brass plaques, gives it a personal touch. They tell your story, making it special.
When painting, do it in stages. You might paint parts as you build or wait until it’s all together. This way, you can check everything works before choosing colors. The colors you pick show your identity and history, hiding the coal dust.
For those who love to fix things, making changes is where the magic is. Upgrading to a bigger pressure gauge or a displacement lubricator can make your engine better. Consider a custom paint job that honors historic railways. Your steam engine can grow from a simple project to a place for new ideas.
So, be bold and try new things. Run your engine, make changes, and let it show your building journey. The Victorians knew this well. They didn’t just build; they improved. With each change, you write a new chapter in your workshop.
