
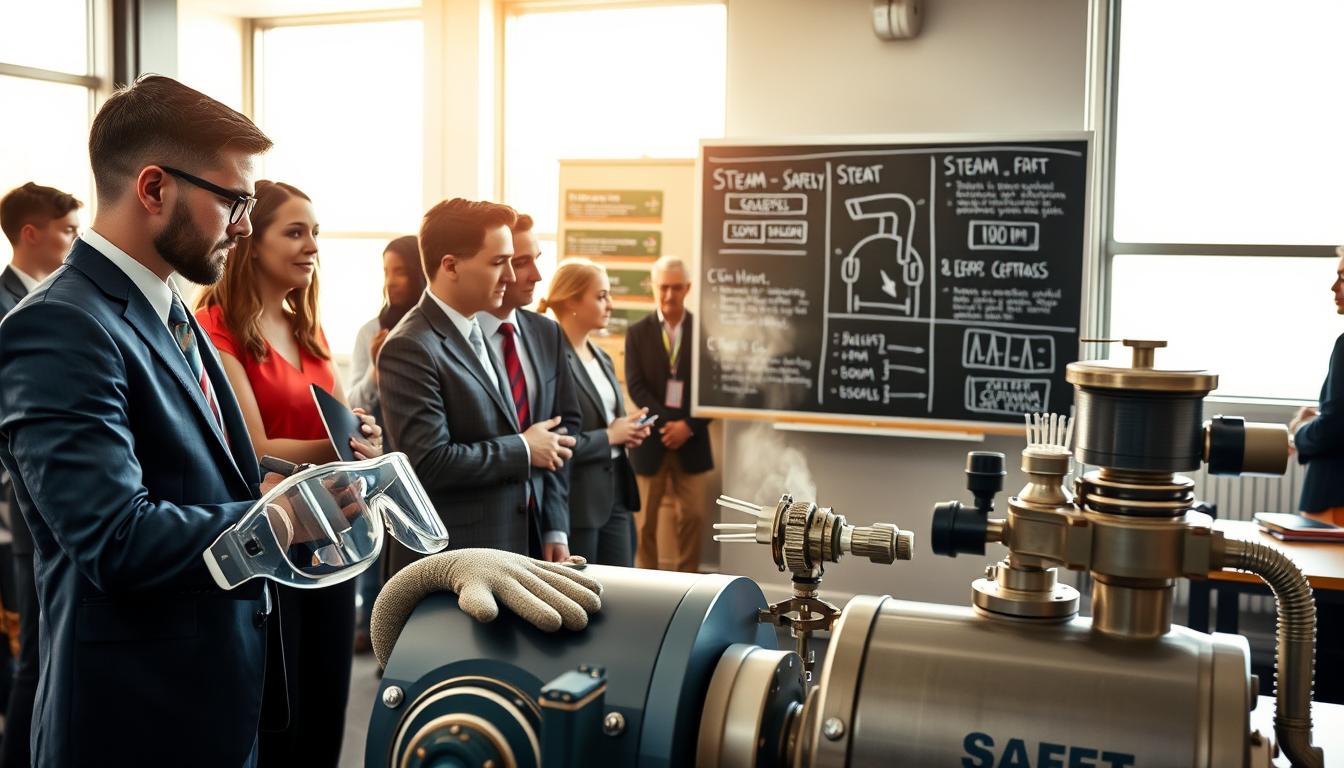
Steam is a powerful force. It drives industries, heats buildings, and sparks innovation in labs and workshops. For students and beginners, learning about this energy source is key.
Working with steam comes with big responsibilities. The main risks are heat, pressure, and equipment failure. It’s not just about following rules; it’s about making safety a habit.
In schools, from chemistry labs to engineering workshops, this knowledge is essential. It’s the foundation for safe experiments and protects everyone. Knowing lab safety steam principles turns danger into useful power.
This guide is your first step. We’ll cover important concepts and best practices. For more details, check out official guides like the core boiler safety guidelines. Let’s start with respect for steam and a commitment to learning.
Why Steam Safety Matters
Steam safety rules are not just suggestions. They are real ways to avoid serious harm. For students, knowing these risks is the first step to safe learning. Ignoring safety rules can cause serious injuries and damage to equipment.
Steam under pressure is very powerful. A small mistake can lead to big problems. Always focus on preventing accidents before they happen.
Let’s look at the main dangers. Severe burns from steam or hot water are a big worry. These burns can be very serious and may need a lot of medical care.
Pressure is also a big risk. If a container bursts or a line gets blocked, it can explode. This explosion can throw things around and hurt everyone nearby.
Scalding from broken lines is another danger. When hot water or steam spills, it can spread fast. Keeping the system safe and staying away from it is very important.
| Primary Risk | Common Cause | Potential Outcome |
|---|---|---|
| Severe Burns | Contact with superheated steam or water leaks | Deep tissue damage, permanent scarring, nerve injury |
| Pressure Explosion | Over-pressurized vessel, faulty relief valve, blocked vent | Projectile hazards, structural damage, blunt force trauma |
| Scalding | Ruptured hose or fitting, improper system bleed | Widespread skin burns, eye damage, slip hazards |
Following industry standards and getting proper training is key. Modern boilers have safety features like pressure relief valves. These features help prevent the dangers mentioned above.
Following boiler safety rules is not just about following rules. It’s about protecting students from harm. Regular checks make sure these safety features work when needed.
Training is very important. For students, this means learning step by step with guidance. It’s about understanding why safety steps are important, not just how to do them.
Learning about steam safety for students builds respect for the equipment and the process. It changes the way students think about safety. This proactive approach is essential for a safe and successful learning environment.
Understanding Burns, Pressure, and Material Limits
Working with steam systems means you need to think like an engineer. You must consider temperature, force, and how strong things are. If you ignore any of these, you risk big problems.
Heat is a big deal. Steam can cause burns, but not all burns are the same. Knowing the different degrees helps you understand how bad they are.
- First-degree burns only affect the outer skin layer, like a sunburn. Steam can cause these quickly.
- Second-degree burns damage deeper layers, causing blisters and a lot of pain. Contact with escaping steam often leads to this.
- Third-degree burns destroy all skin layers. These are a real risk with high-temperature steam or direct contact with pressurized lines.
Pressure is not just a number; it’s a measure of force. In the U.S., we use Pounds per Square Inch Gauge (PSIG). This shows pressure compared to the air around us. Even a little PSIG can push metal fragments or hot water.
Material limits are also key. Every container, pipe, and valve has a max pressure and temperature it can handle. Going past these stress limits can make materials weak, crack, or fail. That’s why knowing pressure vessel basics is so important. A pressure vessel is any container designed to hold gases or liquids at a pressure different from the air around us.
Not all systems are the same. Boilers are classified by their operating limits. Here’s a clear breakdown based on standard definitions:
| Boiler Type | Steam/Vapor Pressure | Water/Liquid Pressure | Temperature Threshold |
|---|---|---|---|
| High-Pressure Boiler | Greater than 15 PSIG | Greater than 160 PSIG | Greater than 250°F |
| Low-Pressure Boiler | 15 PSIG or less | 160 PSIG or less | 250°F or less |
This difference isn’t just about paperwork. It affects design standards, safety rules, and safety margins. Working with high-pressure systems requires much more caution.
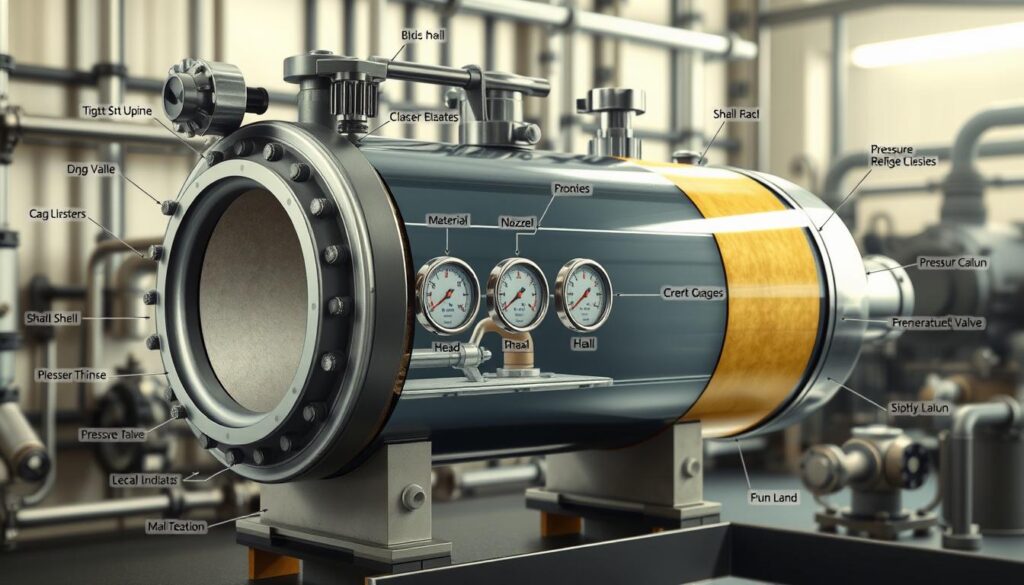
Think of these concepts as a safety triangle. Heat defines injury risk. Pressure defines explosive risk. Material limits define system strength. Your job is to keep all three balanced. Knowing if you’re using a low-pressure or high-pressure boiler is key for safety.
Understanding pressure vessel basics makes you more than just a user. You see a boiler as a system governed by physical laws. This mindset is your first and best protection.
Required PPE and Lab Setup
Practical steam safety relies on two key areas: what you wear and where you work. You can’t have one without the other. Your personal protective equipment is your first defense against dangers. A well-prepared lab environment is key to preventing accidents.
First, let’s talk about the gear you need. This is a must for anyone working with steam.
Heat-resistant gloves are a must. They protect your hands from hot surfaces and steam burns. Never use regular gloves. Safety goggles with side shields are needed to protect your eyes from hot spray. For high-risk operations, a full face shield over goggles gives full facial protection.
A good lab coat is also essential. It’s made of flame-resistant material and covers your body. This basic PPE kit is your first line of defense.
Your lab setup is also critical. A messy or poorly set up space is a recipe for disaster. Make sure work areas are clear and post warning signs for high heat zones. Emergency gear like a fire extinguisher and first-aid kit should be easy to find and unobstructed.
Good ventilation is also important. It keeps the air safe and comfortable. But safety isn’t just about the space. It’s also about the equipment. As important data shows, “Make sure pipes are properly insulated.” Without insulation, pipes can get too hot, causing burns and risking failure.
The following table provides a clear checklist, contrasting personal protection with environmental preparation.
| Personal Protection (PPE) | Environmental Preparation (Lab Setup) |
|---|---|
| Heat-Resistant Gloves | Clear, Designated Workspace |
| Protects hands from burns and hot surfaces. | Prevents trips, falls, and accidental contact with hot equipment. |
| Safety Goggles / Face Shield | Proper Safety Signage |
| Shields eyes and face from steam and splash hazards. | Warns all personnel of active high-heat and high-pressure zones. |
| Flame-Resistant Lab Coat | Accessible Emergency Equipment |
| Covers arms and torso, protecting clothing and skin. | Fire extinguisher and eyewash station must be in plain sight, ready for use. |
| Closed-Toe, Sturdy Shoes | Adequate Ventilation |
| Prevents foot injuries from dropped tools or hot spills. | Disperses heat and steam, maintaining safe air quality in the lab. |
| Attentive Mindset | Insulated Pipes & Fittings |
| The most important “gear” – staying focused and following procedures. | Prevents external burn hazards and protects the integrity of the steam system itself. |
Mastering steam lab safety means committing to this two-part system every single time. Check your gear. Inspect your space. Only then are you truly ready to begin.
Heat Sources: Electric vs. Open Flame Considerations
Before starting your steam experiment, you must choose a heat source. This choice affects your experiment’s safety and efficiency. It’s important to know the differences between electric and open flame heat sources for lab safety steam.
Let’s compare the main features of each method.
| Feature | Electric Heating Element | Open Flame (Gas) Source |
|---|---|---|
| Control | Precise, adjustable via dial or digital controller. | Less precise; relies on valve adjustment and air mixture. |
| Startup Time | Slower to reach target temperature. | Very rapid heating capability. |
| Energy Source | Electrical outlet (requires stable power). | Combustible gas (e.g., natural gas, propane). |
| Primary Risk Focus | Electrical shock, overheating of element. | Fire, explosion from unburned gas, burns. |
Electric Heating Elements: Controlled and Contained
Electric heaters, like immersion coils or hot plates, are great for many projects. They offer excellent temperature control, which is key for steady-state experiments. They also don’t produce harmful combustion byproducts like carbon monoxide.
But, electric heaters heat water slower and depend on a stable power source. From a lab safety steam view, they avoid some hazards like open flames. Yet, they can pose risks from electrical faults or hot surfaces.
Open Flame Sources: Powerful but Demanding Caution
Gas burners, like Bunsen burners, provide intense heat. They’re perfect for quickly boiling water. But, they require careful handling due to fuel and combustion risks.
Important safety steps include:
- Secure fuel hose connections to prevent leaks.
- Clearance of all flammable materials from the area.
- Constant supervision while the flame is active.
Remember, never assume a combustion chamber is safe to light. If a flame goes out, or you’re starting a cold boiler, unburned gas can build up.
Trying to relight without clearing these gases is “the most common cause of boiler furnace explosions.” Always follow the rule to purge ventilation. Open all dampers and air inlets for several minutes to clear unburned fuel before reigniting.
Making the Right Choice for Your Project
Your choice should match your project’s needs and your team’s safety skills. Ask yourself:
- Is precise temperature control more important than speed?
- Do we have secure access to the required gas lines or electrical capacity?
- Are we fully trained on the ignition and shutdown procedures for our chosen source?
Electric sources focus on electrical safety and thermal guarding. Open flames require careful fuel handling and purging. Both paths need respect and specific knowledge, making the heat source choice critical for a safe steam lab experience.
Safe Handling of Water, Boilers, and Tubing
Your steam system’s safety depends on three key areas: the water, the boiler, and the tubing. Knowing how to handle these is essential for pressure vessel basics. This part turns complex rules into simple steps you can follow every time.
Keeping the right water level in the boiler is the most critical rule. Water takes heat and turns into steam. If the level gets too low, the metal shell can get too hot. This can lead to a big failure. You check the level with a sight glass or water glass.
Watching the sight glass closely is very important. If you see no water, turn off the boiler right away. Don’t add water to a hot, empty boiler. This is your first and most important action.
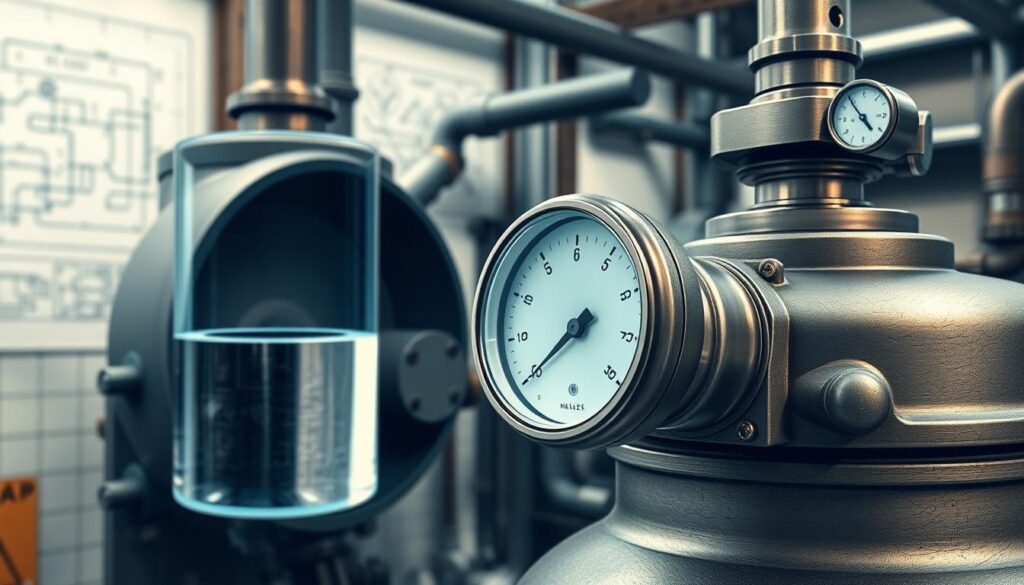
Modern boilers have a special safety feature: the low-water cutoff. It’s the most important safety device. It turns off the heat if the water gets too low. But, always check the sight glass yourself first.
Step-by-Step Safe Procedures
Follow these steps carefully before and during any steam experiment.
- Filling the Boiler: Use distilled or deionized water to avoid mineral buildup. Fill to the middle of the sight glass as the maker suggests. Never fill above the max line.
- Pre-Operation Check: Check the water level in the glass. Make sure all drain valves and fittings are closed. Also, check that the low-water cutoff works well—this is key for pressure vessel basics.
- Connecting Pressure-Rated Tubing: Use only tubing that can handle the steam pressure and temperature. Use the right wrenches to attach fittings. Don’t over-tighten. Keep the tubing away from heat and people to avoid damage.
These steps are not just a list. They are a careful routine that keeps your experiment safe. Always watch the water level and make sure connections are secure. This is the base of all safe steam work.
Pressure Relief and Venting Basics
A good pressure relief system is key to avoiding equipment failure and burns. It’s the last defense in any steam setup. If pressure gets too high, these systems kick in to stop a disaster.
The safety valve is vital on a boiler. It releases steam if pressure gets too high. This stops the boiler from getting too dangerous. All safety valves should be kept free of debris by testing the safety valve regularly. A stuck valve can’t save your life.
Venting is also key in pressure vessel basics. Systems like condensate tanks need clear vent lines. These lines let air out and stop pressure from building up. A blocked vent can turn a safe tank into a danger.
Here are some safe venting and relief practices:
- Check valve discharge areas and vent openings for blockages before each use.
- Document and perform regular manual tests of safety valves as per the manufacturer’s schedule.
- Never modify, tamper with, or disable a pressure relief device.
- Ensure vent lines are routed to a safe location where escaping steam won’t cause injury.
Knowing this system is linked to first aid burn response. A working pressure relief system stops the explosive failures that cause severe burns. By keeping these systems in check, you lower the risk of needing first aid burn response. Keep these paths clear—your safety depends on it.
First Aid and Emergency Response Plan
When a burn happens or pressure gets too high, quick action is key. This part covers how to treat injuries and handle lab emergencies.
Acting fast with the right first aid burn response can lessen steam injury damage. For small steam burns or scalds, follow these steps right away.
- Cool the Burn: Use cool water, not cold, for 10-20 minutes. This stops the burn and eases pain.
- Remove Constrictive Items: Carefully remove jewelry or tight clothing near the burn before it swells.
- Protect the Burn: Use a sterile, non-stick dressing or clean cloth to cover the area.
- Seek Medical Attention: Always have a supervisor check the injury. For big burns, blisters, or burns on the face, hands, or major joints, see a doctor.
Every lab needs a detailed Emergency Response Plan. This plan helps everyone act together. It should be easy to follow, practiced, and easy to find.
First, find and mark important controls. Everyone should know where the main steam shut-off valve, gas/electric cut-offs, and master water valve are. Also, set up clear ways to communicate, like who calls for help and how.
Plan and practice evacuation routes. Think about risks like a pressure trap failing. A clogged trap can cause water hammer, leading to pipe rupture and injury. Your plan should show how to safely isolate the system and evacuate.
| Plan Component | Key Action | Responsible Person | Location/Details |
|---|---|---|---|
| Emergency Shut-Off | Turn main steam valve to closed position | Instructor or designated student | Valve located on west wall near boiler |
| Medical Emergency | Administer first aid, then call school nurse/911 | Instructor initiates, student runner assists | First aid kit in cabinet by door; emergency phone in hall |
| Evacuation Signal & Route | Sound alarm, exit using primary route to assembly point | Instructor gives signal, all students comply | Primary route: Main door to parking lot. Assembly: Flagpole. |
| Hazard-Specific Response (e.g., Water Hammer) | Isolate equipment, evacuate immediate area, report | Instructor directs isolation | Isolation valve for steam generator line is labeled in red |
Writing down this plan is a must for lab safety. These steps are the core of your classroom safety contract. When students sign the contract, they agree to follow these emergency steps, not just general rules.
Having a clear first aid burn response and a detailed emergency plan helps everyone. It makes sure that if something happens, everyone knows what to do, not just panic.
Student Safety Contracts and Checklists
Empowering students starts with clear rules. Safety rules are not just suggestions; they are essential. A classroom safety contract and checklists help make these rules a part of daily life.
These documents make safety a personal promise. They turn rules into a commitment to safety.
Why is a signed agreement important? It makes students take safety seriously. When they sign, they promise to follow the rules. This makes the rules more than just words.
A good classroom safety contract is about being clear and empowering. It helps students know what is expected of them and their peers.
Every safety agreement should have key parts. Use this list to create your own.
- Statement of Understanding: A clear statement that the student knows all lab safety rules.
- Personal Responsibility Pledge: A promise to follow procedures, use PPE right, and report hazards.
- Equipment-Specific Protocols: Acknowledging training for tools like steam generators and pressure relief valves.
- Emergency Procedure Acknowledgement: Knowing where exits, eyewash stations, and first aid kits are and the emergency plan.
- Signature and Date Lines: Spaces for students, parents, and teachers to sign, making it official.
Checklists make the contract real. They break down big tasks into smaller, easy steps. Using them every time helps build safe habits.
Pre-Operation Checklist: Students do this before starting any steam work.
- Check PPE (gloves, goggles, apron) for damage.
- Make sure the work area is clean, dry, and clear.
- Look for secure fittings and no cracks in tubing and connections.
- Ensure the pressure relief valve is clear and free.
- Check the boiler water level and the heat source is clear.
Post-Operation Checklist: This ensures a safe shutdown and prepares for the next user.
- Turn off and disconnect the heat source completely.
- Let the system cool before touching any parts.
- Vent any leftover pressure safely.
- Clean the area and put tools back where they belong.
- Tell the teacher about any problems or unusual things.
These tools empower students. They give a clear path to success and safety. A classroom safety contract and checklists help students work confidently and independently. They replace doubt with a reliable process.
Using these documents every day makes safety habits automatic. This creates a safe culture in the lab, protecting everyone.
Instructor Supervision Ratios and Training
In hands-on steam experiments, the instructor’s expertise is key. A good lab safety steam program relies more on leadership than on equipment. The educator must guide and protect the students.
Setting clear supervision ratios is essential. For steam work, a low student-to-instructor ratio is vital. We suggest no more than six students per instructor for active tasks. For high-risk activities, like boiler testing, the ratio should be four-to-one or lower.
This ensures each student gets the attention they need. An instructor can’t watch over safety in a large group.
What makes an instructor qualified? They need formal training in key areas. A good curriculum includes:
- The basic physics of steam generation and pressure.
- Safe use of lab boilers, autoclaves, and related gear.
- Identifying and avoiding common hazards like scalds and leaks.
- Knowing how to handle emergencies and first aid.
This knowledge is not just good practice—it’s the law in many places. For example, Minnesota Statutes require a license for boiler operation. They also demand constant supervision by a licensed engineer during tests.
This law highlights a critical point. Steam education needs professional knowledge. Instructors should be trained to a high standard, not just know the equipment.
The instructor’s role goes beyond just watching. They show safe behavior, teach caution, and make quick risk assessments. Their training helps students turn theory into daily practice.
When instructors are well-trained and groups are small, the learning environment is safer. This foundation of expert guidance lets students explore steam with confidence and respect.
Risk Assessment Template
A classroom safety contract is more effective with tools to spot hazards early. This section offers a simple method and a template ready to use. It turns safety into a thinking exercise, not just a list of rules.
Every steam project has its own risks. A one-size-fits-all approach doesn’t work. A proactive risk assessment helps students and teachers think critically about their setup.
The process has three steps: identify hazards, assess risk, and implement controls. This logical flow builds a strong safety mindset. It makes students active in their own safety.
First, identify all possible hazards. Look at equipment, materials, and procedures. Consider heat sources, pressure vessels, hot surfaces, and moving parts. Don’t forget electrical connections and slippery floors.
Next, assess the risk level for each hazard. Ask two questions: How likely is an incident? How severe would the consequences be? This helps focus on the most dangerous risks.
Then, decide on control measures. These are actions to reduce or eliminate the risk. The best controls remove the hazard. If not possible, use barriers, warnings, or personal protective equipment.
Use the template below before starting any lab activity. It’s a guide for your pre-lab planning. Filling it out should be a team effort between students and the instructor.
| Hazard Identification | Risk Level (Low/Med/High) | Recommended Control Measures |
|---|---|---|
| Open flame under a boiler | High | Use an electric hot plate instead. If flame is necessary, use a safety shield and keep flammable materials away. |
| Steam release from a vent tube | Medium | Direct vent tube into a sink or safe container. Mark a clear “hot zone” with tape. Require heat-resistant gloves. |
| Water spill on electrical outlet | High | Use a GFCI outlet. Keep all water containers away from cords and plugs. Have absorbent towels ready. |
| Hot glassware after experiment | Medium | Designate a “cooling zone” with a heat-resistant mat. Use tongs or mitts for handling. Post a visible warning sign. |
| Pressure buildup in a sealed container | High | Never seal a system completely. Always include a pressure relief valve or vent. Test at low pressure first. |
This template makes safety steps clear and actionable. Using it becomes part of your lab protocol. It encourages everyone to think before acting.
Link this assessment with your classroom safety contract. The contract outlines the rules. The assessment shows how to apply them in real situations. This combination fosters a culture of careful planning and evaluation.
Students who learn this skill apply it beyond the lab. They learn to systematically evaluate risk in many areas. This shows true scientific thinking and responsible practice.
Make the risk assessment template a standard part of your project planning. Update it as procedures change. Review past assessments to improve future experiments. This living document makes your safety agreement a practical, working tool.
Parent Communication and Permission Language
A good steam safety program goes beyond the classroom. It includes clear communication with parents and guardians, helping build trust and ensuring everyone understands the learning objectives and safety expectations.
Effective permission slips should be clear, informative, and respectful. They explain planned lab activities, potential risks, and the safety procedures in place, including the first aid burn response plan. This transparency reassures families that student well-being is a top priority and reflects safety standards similar to those followed in professional engineering environments and heavy machinery solutions, where careful planning and risk awareness are essential.
For families who speak different languages, providing translated materials is especially important. Schools can work with interpreters or bilingual staff to ensure information is accessible. Sharing details in a family’s home language allows parents and guardians to fully understand the activities and provide informed consent.
A strong permission form becomes more than paperwork. It confirms that families understand the experiments, safety precautions, and emergency procedures involved. This collaborative approach creates a strong safety partnership between schools and families, completing a comprehensive educational safety program.
