
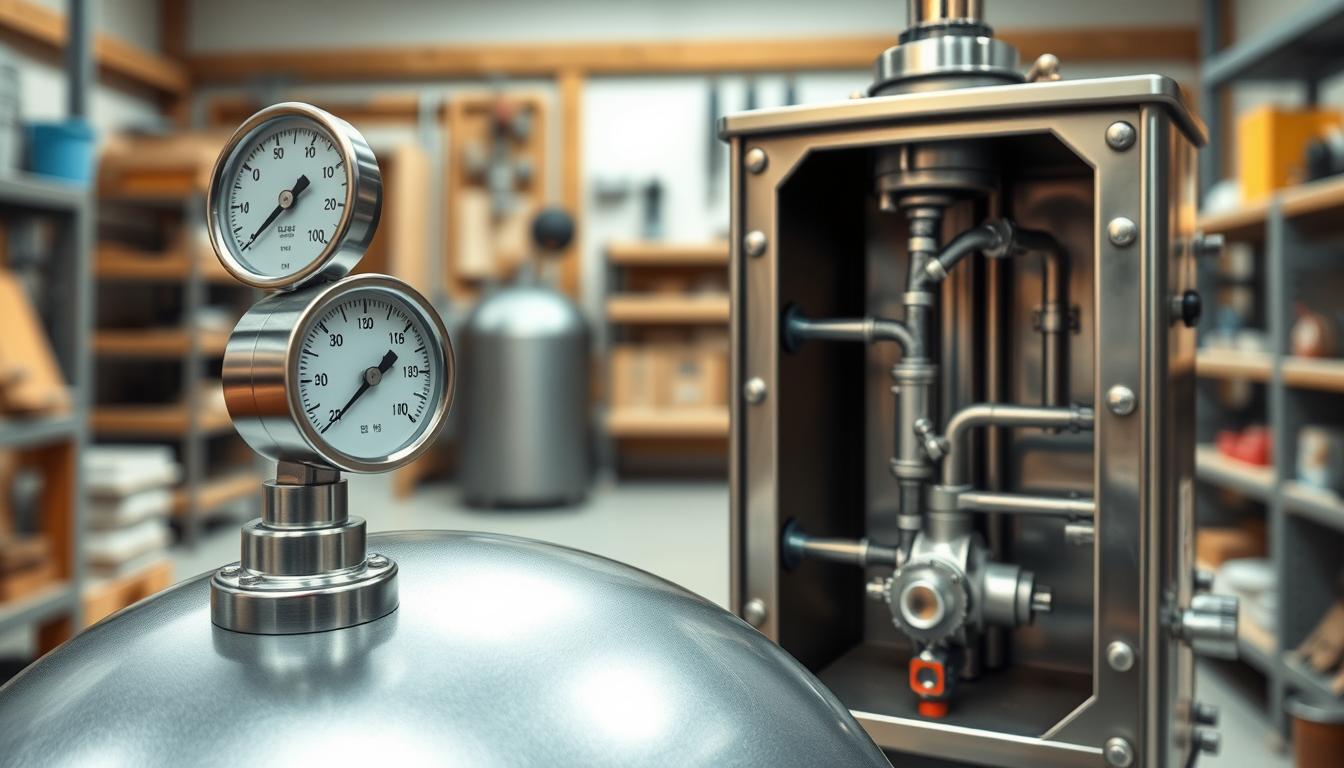
Forget everything you know about industrial power plants. We’re diving into a tiny, self-contained drama of physics on your workbench. A model steam boiler is like a pressure vessel, a fancy kettle. It transfers heat to water until it changes phase.
Think of your kitchen pressure cooker. The same rules apply. You trap water, add heat, and watch as pressure plays a tense game between liquid and energy. It’s a beautiful, almost political, balance.
This isn’t just about making steam. It’s about understanding the rules of the game before you light the fire. We’ll look at how sensible heat warms water and latent heat drives the phase change. Controlling this process is key to bringing a model to life.
Consider this your essential briefing. Mastering these core principles of pressure and control is what makes a builder confident. Let’s begin.
Anatomy: Shell, Firebox, Tubes, Fittings
Exploring a model boiler is like dissecting a dragon. You find the scales (shell), the fiery breath (firebox), and the vital arteries (tubes). This small boiler anatomy showcases miniaturized engineering. Every part is vital in turning water into steam.
The shell is the boiler’s outer layer. It’s the metal can that holds everything together. Its main job is to keep from bursting under pressure.
The firebox is the boiler’s heart. It’s where fuel burns, starting the heat process. Whether it’s solid fuel, alcohol, or gas, the firebox is key.
The tubes are like the boiler’s veins. In firetube designs, hot gases flow through them. They heat the water around them efficiently.
The fittings are the boiler’s senses and safety. The sight glass lets you see the water level. Without it, you’re blind to the boiler’s state.
The safety valve is the boiler’s protector. It opens when pressure gets too high, releasing steam. It’s essential for safety.
Boilers vary in design. This affects how they heat water. Here’s a quick look at the two main types:
| Feature | Firetube Boiler | Watertube Boiler |
|---|---|---|
| Basic Principle | Hot gases flow through tubes surrounded by water. | Water flows inside tubes surrounded by hot gases. |
| Common in Models | Extremely common; simpler construction. | Less common; often for specialized, high-pressure applications. |
| Key Advantage | Large water volume, forgiving, slower steam production. | Faster steam generation, higher pressure capability. |
| Critical Fitting | Sight glass is essential for monitoring large water reserve. | Pressure gauge is often more critical due to faster dynamics. |
| Safety Focus | Relies heavily on the safety valve due to larger steam space. | Multiple safety valves may be used due to higher operating pressures. |
So, the shell holds, the firebox ignites, the tubes transfer, and the fittings inform and protect. Knowing this small boiler anatomy is key. It helps you control the boiler, not the other way around.
Water Management: Levels, Priming, Scale
Water management in a live-steam model is a three-act play of precision. Each act has its own risk of disaster. Missing your cue can turn a masterpiece into a farce. Let’s pull back the curtain.
Act One is all about level. Your boiler’s water isn’t a passive pool. It’s a dynamic, boiling mass that must be kept in a Goldilocks zone. Too low, and you risk the horror of dry-firing—heating metal with no water to absorb the energy. It’s a quick path to a melted masterpiece. Too high, and you get wet, sputtering steam. Your engine will cough and stall, a pathetic performance. The sight glass is your front-row seat to this drama. Watch it like a hawk.
Now, enter Act Two: Priming. This is the boiler’s equivalent of an actor getting over-excited and spitting on the audience. Priming is the violent carryover of liquid water droplets into the steam lines. The result? Poor steam “purity.” Your piston gets slapped with water instead of pushed by dry vapor. Efficiency plummets. What causes it? Often, it’s simply overfilling. Sometimes, it’s a too-rapid fire. It’s a sign you’ve lost control of the narrative.
But the most insidious villain is a slow-burner. It doesn’t cause a dramatic failure today. It ensures a mediocre performance forever. We’re talking about scale.
Act Three: Scale and the Art of the Blowdown. The water you use, your feed water, is never pure H2O. It contains dissolved minerals—hardness. As steam is produced, these impurities don’t evaporate. They stay behind, becoming more and more concentrated. Eventually, they precipitate out as a rock-hard, insulating crust on the inside of your tubes and shell. Scale is the boiler’s version of arterial plaque. It drastically reduces heat transfer, forcing you to use more fuel for less steam.
The solution is elegantly simple: the controlled purge. In large industrial plants, they call it a blowdown. For your model, it’s the same concept in miniature. Periodically, you open a valve and release a small amount of the concentrated, impurity-laden water from the bottom of the boiler. You’re resetting the concentration. It’s a necessary release of pressure, both literal and metaphorical. Think of it as changing the oil in your car’s engine—preventative maintenance that prevents a major breakdown.
To keep this three-act play straight, let’s put it in a program. The table below is your cheat sheet for managing your boiler’s fickle protagonist.
| Act (Issue) | The Problem | Primary Cause | Corrective Action |
|---|---|---|---|
| 1. Level | Dry-firing or wet, inefficient steam. | Incorrect filling; ignoring the sight glass. | Maintain water level in the middle third of the sight glass at all times. |
| 2. Priming | Water carryover into steam lines; sputtering, weak performance. | Overfilling, excessive firing rate, or sudden pressure changes. | Reduce heat, check water level, and ensure steady operation. |
| 3. Scale | Insulating deposits reduce heat transfer and efficiency. | Mineral impurities in the feed water concentrating over time. | Use distilled water and perform regular blowdown to purge concentrated water. |
Mastering these three acts isn’t just model engineering; it’s a lesson in thermodynamics and chemistry. The principles of impurity concentration and heat transfer scaling are identical in a giant power plant boiler. For a deeper dive into how these concepts translate to massive savings and reliability in the real world, explore the principles of effective industrial boiler water treatment. In our miniature realm, proactive water management is the difference between a show-stopping performance and a closing-night disaster.
Heat Sources: Solid, Alcohol, Gas, Electric (Pros/Cons)
Choosing a heat source for your live-steam model is more than a technical choice. It’s like picking a favorite political party at a small, hot convention. Your fuel affects the experience, from the rhythm to the romance of the run. We have four main options: solid fuel, alcohol burners, gas systems, and electric elements. Each has its own set of beliefs.
Solid fuel, like hexamine tablets, is the traditional choice. It offers a direct, hands-on experience. You tend the fire and watch the flames. The pros include simplicity and a nostalgic feel. The cons are the lack of control and the mess it leaves behind.
Denatured alcohol burners are a middle ground. They burn cleanly and offer adjustable flames. You get precision without the mess, making it a balanced choice for those who want involvement without the cleanup hassle.
Butane gas is the modern choice. It provides precise, powerful heat with instant control. The key advantage is the control it offers. The downside is the need for a sealed fuel system, adding complexity and cost.
Electric elements are the quiet, modern choice. They are clean, silent, and easy to manage with a thermostat. The primary benefit is their consistency and lack of combustion byproducts. The con is that some find it too soulless.
| Fuel Type | Primary Pros | Primary Cons | Ideal For |
|---|---|---|---|
| Solid (Hexamine) | Simple, hands-on, atmospheric | Messy, imprecise, sooty | The traditionalist & tinkerer |
| Alcohol (Denatured) | Clean, adjustable, reliable | Moderate cost, refill needed | The balanced pragmatist |
| Gas (Butane) | High control, powerful, clean burn | System complexity, higher cost | The precision engineer |
| Electric (Element) | Ultra-clean, quiet, consistent | No “fire” ambiance, needs power | The modern purist |
This choice affects your firing techniques. Do you prefer the hands-on ritual of solid fuel or the precision of gas? The debate is about control versus character.
Your firing techniques reflect your ideology. Gas users are like conductors, while solid fuel enthusiasts are like campfire storytellers. Choose based on the experience you desire, not just the steam.
Instruments: Gauges, Sight Glass, Burner Control
Knowing how to use three simple devices can make all the difference. This isn’t just a toy panel. It’s a control center for a small power plant.
The pressure gauge is key. It shows the boiler’s health. Think of it as the system’s energetic altimeter. A rising needle means heat, water turning to vapor, and energy building up. Ignoring it is risky.
The sight glass is like a fuel gauge. It shows the water level inside. Always see water in it. A low or empty sight glass warns of a dry-fire disaster. Always keep an eye on it.
The safety valve is a silent guardian. It watches the pressure. If it gets too high, it opens, releasing steam. It acts without asking.
The burner control is your main tool. It adjusts the flame, affecting the pressure. It’s a feedback loop. Adjust the flame to match the pressure gauge’s reading.
You’re not just pressing buttons. You’re conducting. The pressure gauge sets the pace, the sight glass keeps harmony, and the burner control is your guide. The safety valve keeps things in check.
Here’s a quick-reference table to keep these roles straight:
| Instrument | Primary Function | Critical Warning |
|---|---|---|
| Pressure Gauge | Measures steam pressure inside the boiler (system state). | Needle in the red zone indicates dangerously high pressure. |
| Sight Glass | Provides a visual monitor of the internal water level. | No visible water means an immediate shutdown is required. |
| Burner Control | Regulates heat input by adjusting fuel flow (gas/alcohol valve). | Erratic or unresponsive control can lead to unsafe pressure swings. |
Master these instruments and respect the safety valve. You’ll go from just operating to truly commanding. These tools don’t just show data. They tell a story. Are you listening?
Classroom Procedures: Fill, Warm-Up, Run, Cool-Down
Mastering the boiler is not about brute force. It’s about following a ritual. This ritual includes Fill, Warm-Up, Run, and Cool-Down. It’s what makes a lesson enlightening, not a cautionary tale.
Let’s go through the steps. It’s like an operator’s ballet.
Act I: The Fill. Start with treated “feed water.” Using anything else is like building on sand. You aim for the sight glass to be halfway full.
Too little water, and you risk a dry fire. Too much, and you might get priming. This can damage your equipment. Get this wrong, and the rest of the acts won’t matter.
Act II: The Warm-Up. Patience is key here. It’s like the boiler’s “low-fire hold.” You increase the heat slowly.
Why? Thermal shock is a silent killer. Metal needs to expand evenly. Raising the heat too fast is like pouring boiling water into a frozen glass.
Act III: The Run. Now the show starts. Pressure is in the right range. Your firing techniques become an art form.
Your job is to keep the pressure steady. It’s a dance between the burner and the engine. You adjust the flame and watch the gauge.
A steady hand keeps the needle steady. Advanced firing techniques involve reading steam quality and anticipating changes. It’s the main event, relying on the first two acts.
Act IV: The Cool-Down. The show ends, but the work doesn’t. You can’t just walk away from a hot system. That’s how accidents happen.
The cool-down is a natural exit. Shut off the burner and let the system depressurize. Let the heat dissipate slowly. This final phase shows respect for the process and equipment.
| Phase | Key Action | Purpose & Primary Risk |
|---|---|---|
| Fill | Add treated feed water to correct sight glass level. | Establish a safe working volume. Risk: Priming or dry firing. |
| Warm-Up | Apply heat very gradually (“low-fire hold”). | Prevent thermal shock by allowing even metal expansion. |
| Run | Modulate heat input to maintain steady pressure. | Demonstrate controlled steam generation. Risk: Pressure spikes or drops from poor firing techniques. |
| Cool-Down | Let system depressurize and cool naturally after shutdown. | Prevent component stress and ensure safe storage. |
This four-act structure turns a chaotic session into a safe, educational experience. It teaches discipline, the physics of state changes, and firing techniques. Follow the script, and the boiler will perform every time.
Mini Experiments: Steam Quality and Boiling Point
Imagine watching the laws of thermodynamics bend right on your workbench. Our live-steam model turns from a toy to a real lab. Let’s do two simple tests.
The first test shows how pressure affects boiling point. You know water boils at 212°F at sea level. But that’s just a local rule, not a universal law.
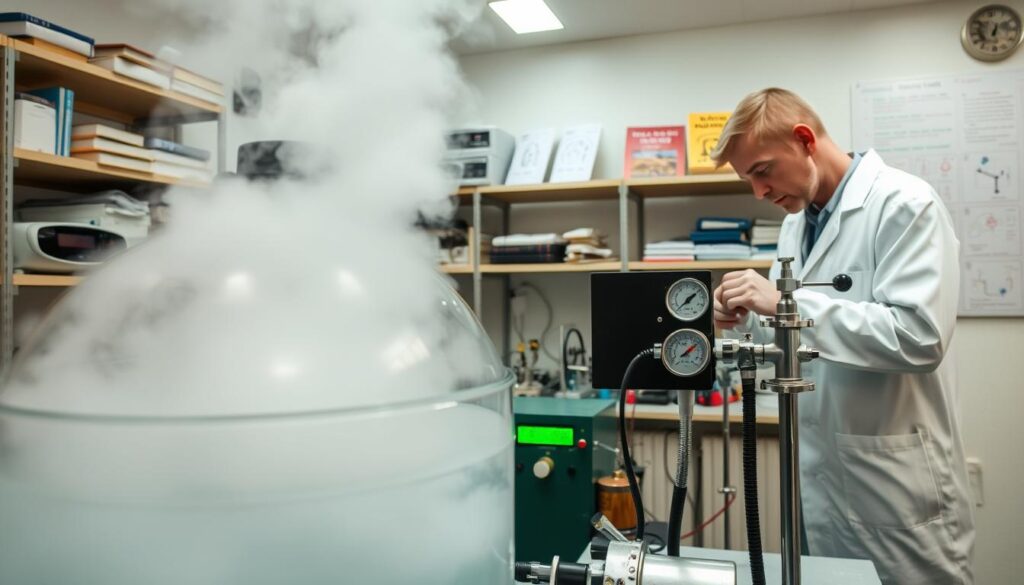
Make a partial vacuum over your water. Use a hand pump and a sealed flask. As pressure drops, watch the magic. The water will boil at a lower temperature.
This shows the pressure-temperature link. At altitude or in a vacuum, water molecules need less energy to vaporize. The boiling point goes down. This is why your boiler’s safety valve and pressure gauge are always working together.
The second test looks at steam quality. In industry, “dry” steam is the best—a pure, energetic gas. “Wet” steam is a weak, misty mix of water droplets. Your small engine feels the difference.
Try it yourself. Direct steam onto a cool metal surface. Observe the condensation. Dry steam forms a clear film of water. Wet steam spatters and leaves big, uneven droplets.
See how steam spins a small pinwheel or turbine. Dry steam pushes strongly and steadily. Wet steam is slow and uneven.
This quality, called the “dryness fraction,” matters a lot. Dry steam has more usable heat energy. Wet steam wastes energy heating its own water droplets. This makes a big difference in engine efficiency.
To make it clear, here’s a comparison:
| Characteristic | Dry Steam (High Quality) | Wet Steam (Low Quality) |
|---|---|---|
| Appearance | Invisible, clear vapor jet | Visible, white, cloudy mist |
| Water Content | 0% suspended liquid droplets | Contains fine water droplets |
| Heat Energy (Enthalpy) | Higher, more usable energy | Lower, energy wasted heating water |
| Effect on Turbines/Engines | Powerful, smooth, efficient rotation | Weak, erratic, can cause erosion |
| Condensation Test | Forms even film of water | Forms large, splattering droplets |
These mini experiments make abstract ideas real. You’re not just reading about saturation curves; you’re seeing boiling point change with pressure. You’re not just hearing about “steam quality”; you’re feeling its effect on performance.
It turns your boiler into a philosopher’s stone, revealing heat and power’s secrets. Now, go prove it to yourself.
Routine Care: Cleaning, Descale, Storage
Running your boiler is like a concert. Routine care is like cleaning up after the show. It keeps your precision instrument in top shape. Neglect it, and nature will cover it in soot, scale, and rust.
Start with the outside. After running, your boiler gets dirty. Use a soft, damp cloth to wipe it down. For tough spots, a mild solvent works well. The goal is to remove dirt that can cause corrosion.
Now, clean the inside. Minerals in your water can build up inside your boiler. This is called scale. For models, use a solution of white vinegar and water to dissolve it. Always follow the manufacturer’s instructions.
A key step is the blowdown. It’s not a meltdown, but a controlled purge. Open the blowdown valve or drain plug while steam is present. This removes sludge and particles from the bottom of the boiler. A final blowdown as it cools helps get rid of more mess.
Storage is the last step. Never store your boiler wet. Evaporating water leaves scale behind, and moisture causes rust. Dry it well with compressed air or heat, then add a desiccant packet inside before sealing it.
| Task | Primary Purpose | Key Action & Frequency |
|---|---|---|
| Cleaning | Remove external contaminants (soot, grease, moisture) to prevent corrosion and maintain appearance. | Wipe down with a damp cloth after every operating session. Address heavy soot as needed. |
| Descaling | Dissolve internal mineral deposits (scale) that insulate heat and reduce efficiency. | Chemical clean (e.g., vinegar solution) periodically, based on water hardness. Include a blowdown before storage to remove sludge. |
| Storage | Prevent internal corrosion during periods of inactivity. | Ensure boiler is completely dry inside. Use a desiccant packet and store in a dry place. Perform before long-term layup. |
This trio of tasks is the backbone of the hobby. It’s not just maintenance; it’s a fight against decay. You’re not just an operator, but a curator. The hiss of steam is your reward for the quiet, diligent work of cleaning, purging, and dry storage. Do it well, and your model will serve you for years, show after show.
Red-Tag Conditions and Instructor Checks
In the world of live-steam, a red tag is like a circuit breaker for your conscience.
It’s the system’s non-negotiable veto power. This isn’t a suggestion or a gentle nudge. It’s a full stop.
The philosophy is borrowed from the big leagues—industrial boilers with their “High-Limit Safety Pressure Control.” That’s a fancy term for a switch that shuts everything down and won’t restart until a human manually resets it. It’s humility, engineered.
Your model boiler operates on the same sage principle. When certain failures occur, you don’t troubleshoot. You don’t improvise. You tag it red and walk away.
A stuck or weeping safety valve is an instant red flag. This device is your last line of defense. If it can’t do its job, the game is over.
No visible water in the sight glass? That’s a red tag. You’re now piloting a pressure bomb, not a boiler.
Significant leaks from fittings or tubes? Red tag. A persistent drip isn’t a character flaw; it’s a structural failure.
These are not moments for heroics. They are moments for surrender. The red tag transforms a technical fault into a procedural command: Stop. Do not proceed.
This is where the “Instructor Check” enters the stage. It’s the mandatory audit, the expert sign-off.
Think of it as the manual reset from the industrial world. The student’s role ends at identifying the problem and applying the tag. The instructor’s role begins with a forensic-level check.
Was the safety valve cleaned properly? Is the sight glass truly empty, or is it an illusion? What caused the leak? The instructor check isn’t just a fix. It’s a diagnosis and a lesson.
That manual-reset safety valve philosophy turns a safety rule into a ritual. It builds a culture where respect for the machine isn’t optional. It’s embedded in the process.
You’re not just learning about steam pressure. You’re learning about accountability. The red tag isn’t a mark of shame. It’s the system working exactly as designed—telling you, in the clearest terms possible, to stop and think.
Reflection Questions and Vocabulary Quiz
This section is your final exam, without Scantron sheets. The real learning begins when the burner cools. It’s time to synthesize.
Procedure is for technicians. Understanding is for engineers. These reflection questions are designed to explore the why behind the how.
First, think about this: why does pressure spike when you throttle the steam output on your model steam engine? It’s not just a gauge quirk. You’re seeing the basic interaction between energy input and volume restriction. Less exit area means steam piles up behind the valve. The boiler must maintain equilibrium. Pressure climbs until the force can push through. It’s a tiny, perfect lesson in thermodynamics.
Next, think about priming. In our miniature world, it’s a wet mess on the tracks. But in a full-scale plant? It’s a crisis. Imagine superheated water droplets slamming into turbine blades at several hundred miles per hour. The mechanical equivalent of a heart attack. Our tabletop mishap suddenly illustrates million-dollar engineering problems.
Mastering the machine is half the battle. Mastering the language is the other. You can’t discuss jazz without knowing what a bridge is. You can’t navigate steam without this lexicon.
Let’s run a quick vocabulary quiz. Match the term to its soul:
- Sensible Heat: The energy that changes a substance’s temperature. You feel it. The kettle gets hot.
- Latent Heat: The hidden energy that changes a substance’s state. The silent workhorse turning water to steam at a constant saturation temperature.
- Blowdown: The necessary evil. The process of dumping concentrated, sludge-laden water from the boiler to prevent scale. It’s a controlled purge.
- Firetube vs. Watertube: The classic architectural debate. Does the hot gas run through tubes surrounded by water (firetube), or does water run through tubes surrounded by fire (watertube)? One is a tank; the other is a radiator. History favors both.
Getting these right isn’t pedantry. It’s your passport. This vocabulary is the key to reading historical treatises, modern manuals, and forum debates with authority. It transforms you from a hobbyist following instructions into a conversant enthusiast who understands the principles.
So, when someone mentions priming or blowdown, you won’t just nod. You’ll know the story behind the words. And that’s where the true steam culture lives.
Teacher Procurement and Budget Tips
So you’ve mastered the theory. Now comes the fun part: spending someone else’s money. Buying a live-steam model isn’t just a simple purchase — it’s a thoughtful investment in teaching and hands-on learning.
Will your boiler handle short demonstrations or extended lab sessions? The answer helps determine the type of equipment you should choose and ensures it meets your classroom needs.
Think about the cost of producing steam. A model alcohol burner may look authentic, but an electric heating element provides cleaner and more consistent heat. Deciding which option saves money over time becomes an important budgeting consideration.
My budget tip? Think like a museum curator rather than a casual shopper. Look for used equipment through model engineering groups or educational communities, where high-quality tools are often available at lower prices. This approach reflects procurement strategies seen in professional engineering environments and heavy machinery solutions, where durability and long-term value matter more than appearance.
Focus on essential safety components first, such as a reliable safety valve and a clear sight glass. These features are critical for safe operation, while decorative details can remain secondary.
Your goal is simple: choose a tool that is safe, reliable, and built to last. With the right equipment, learning about thermodynamics becomes tangible, engaging, and genuinely exciting for students.
